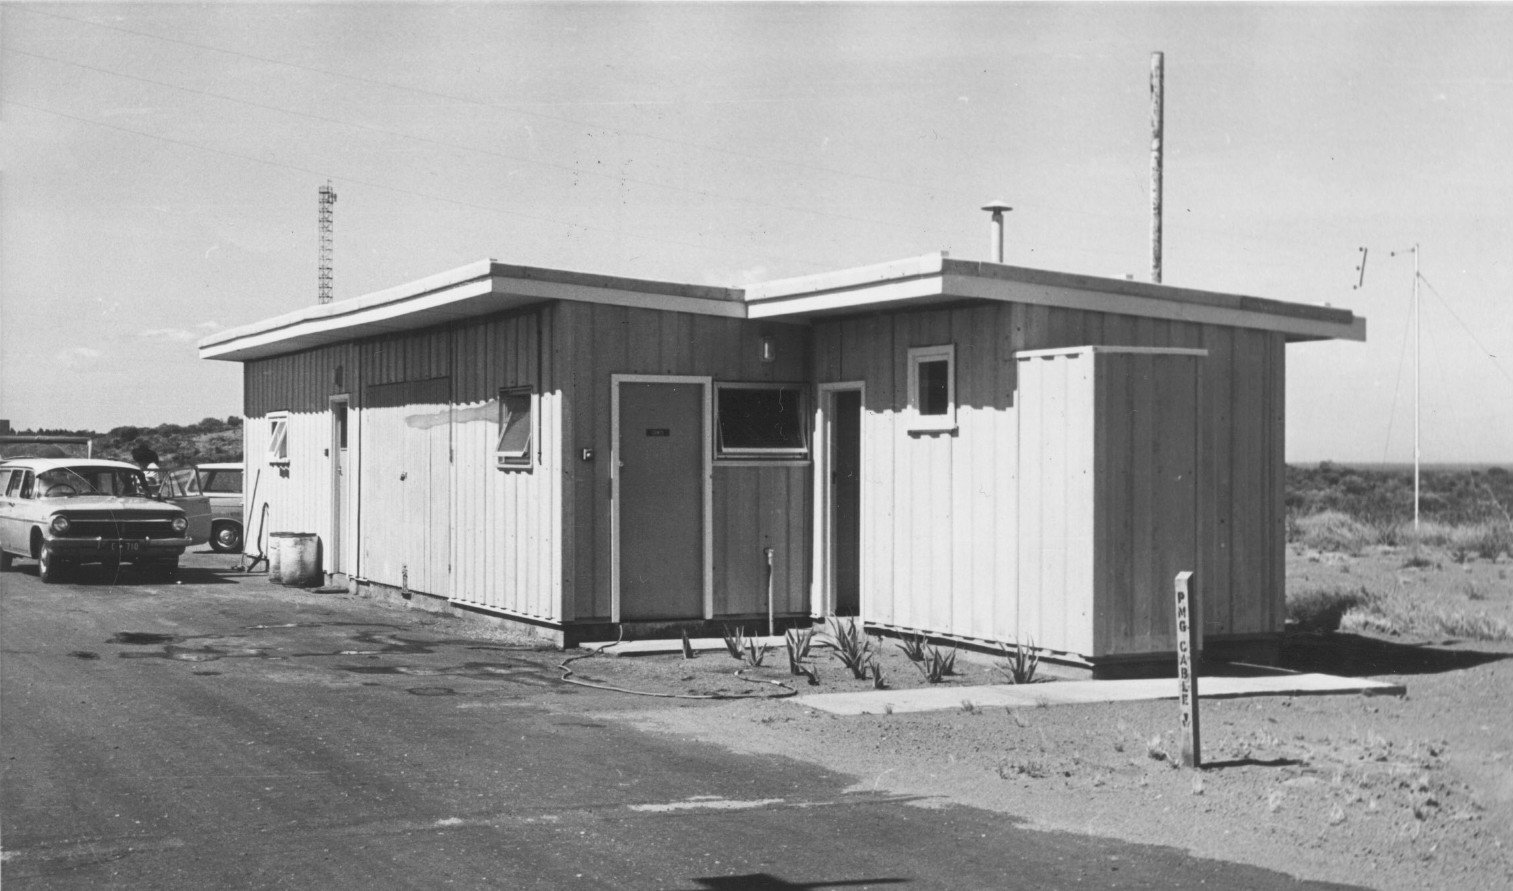
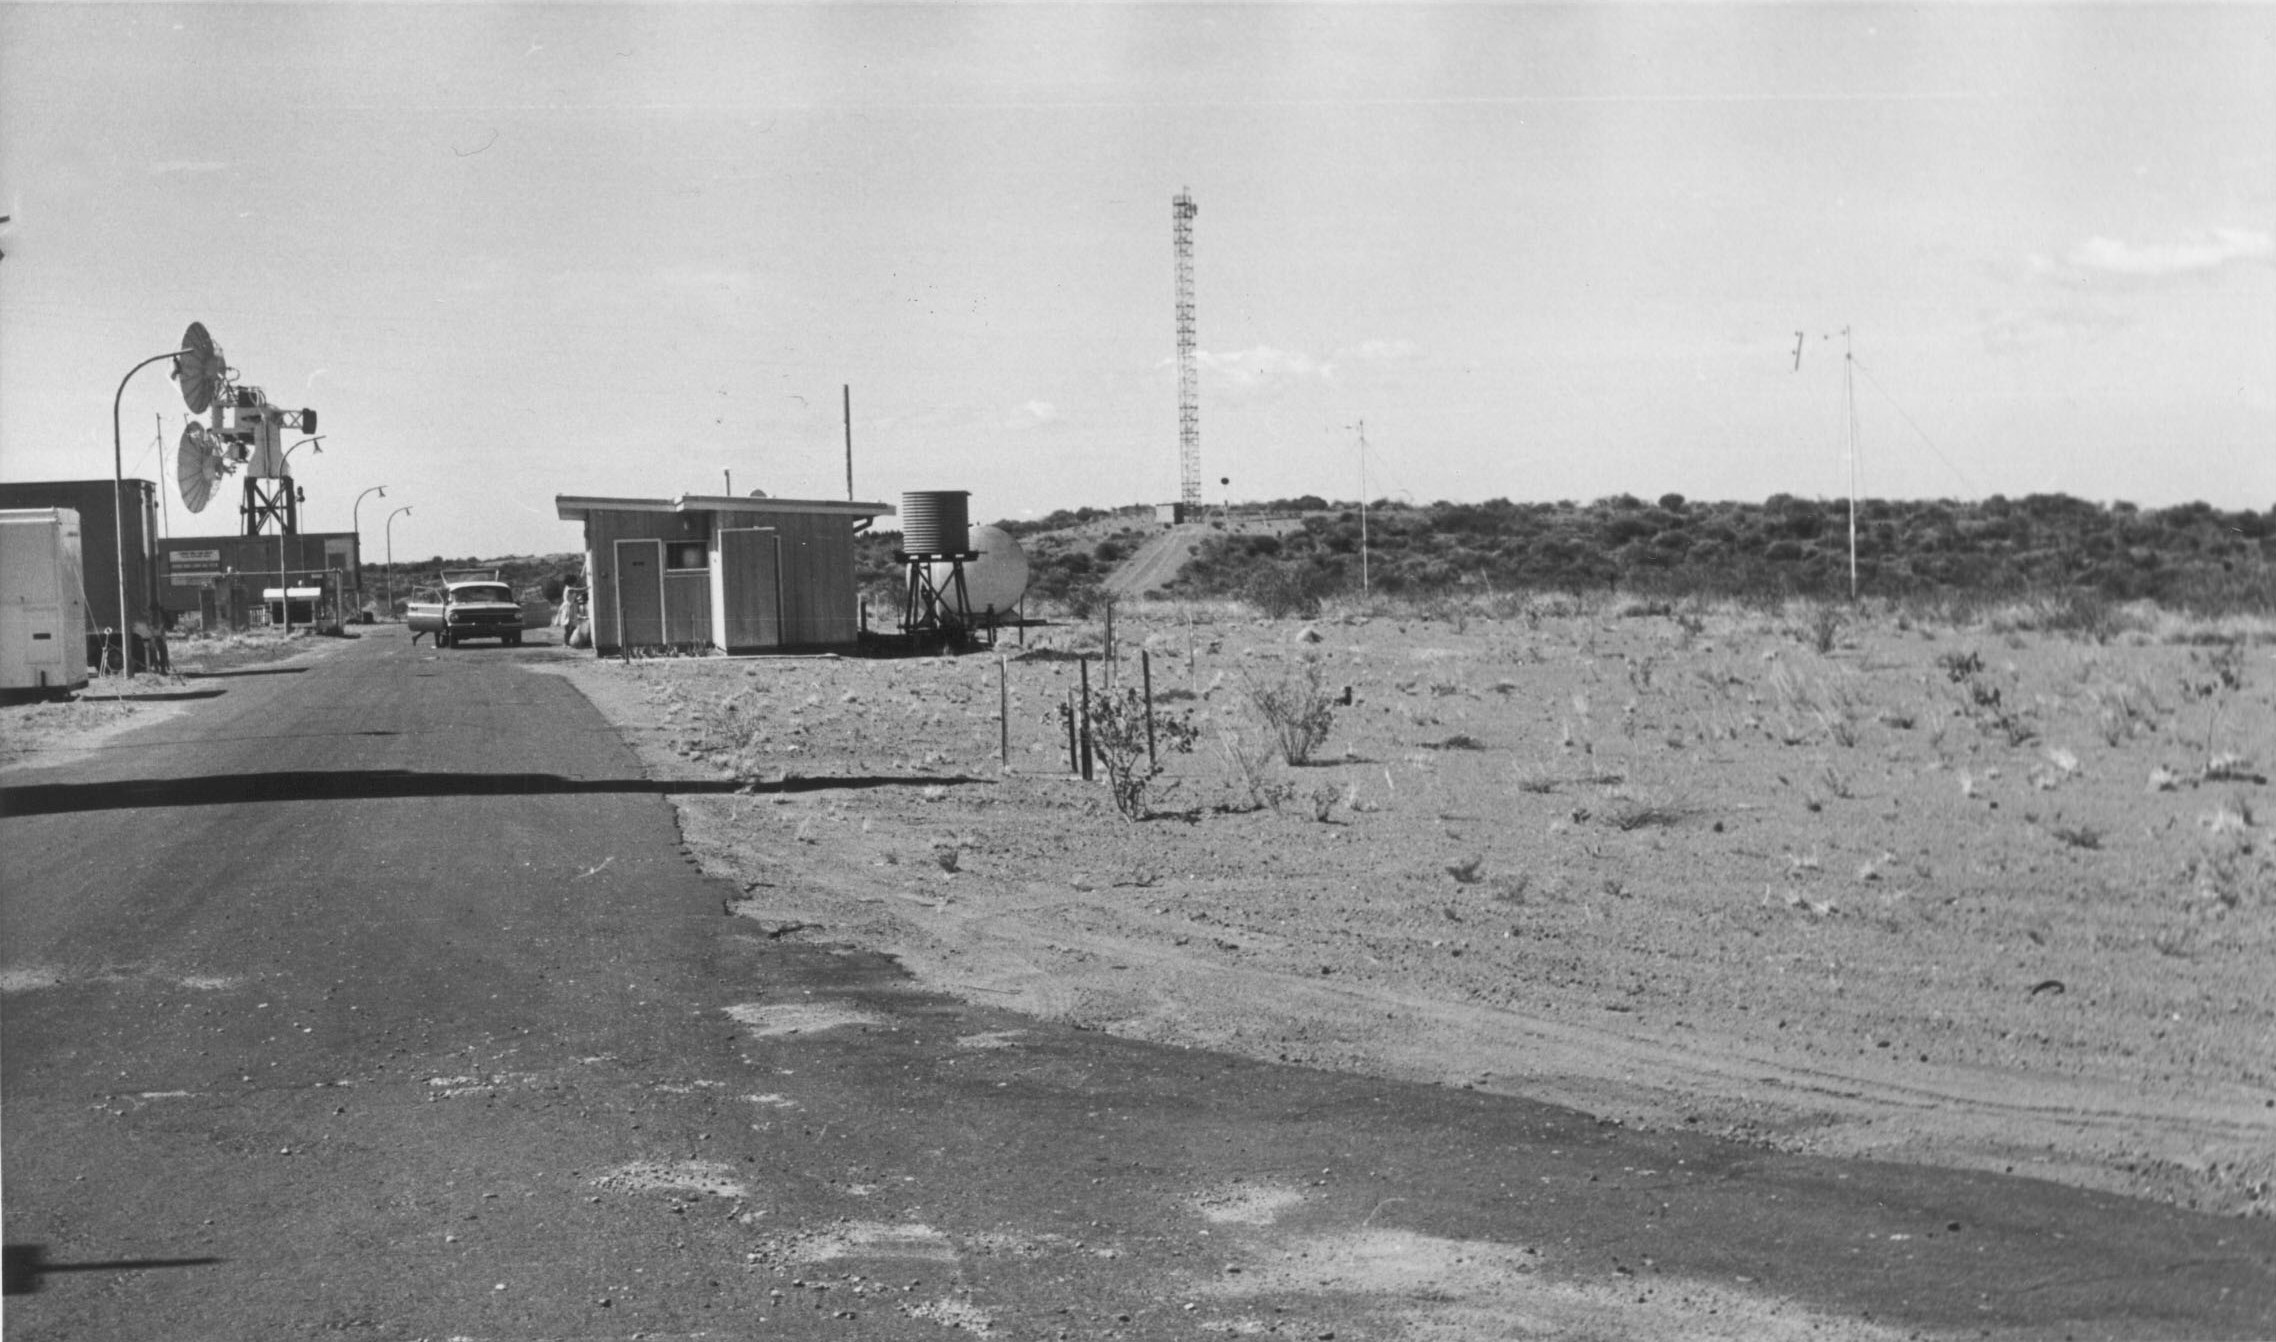
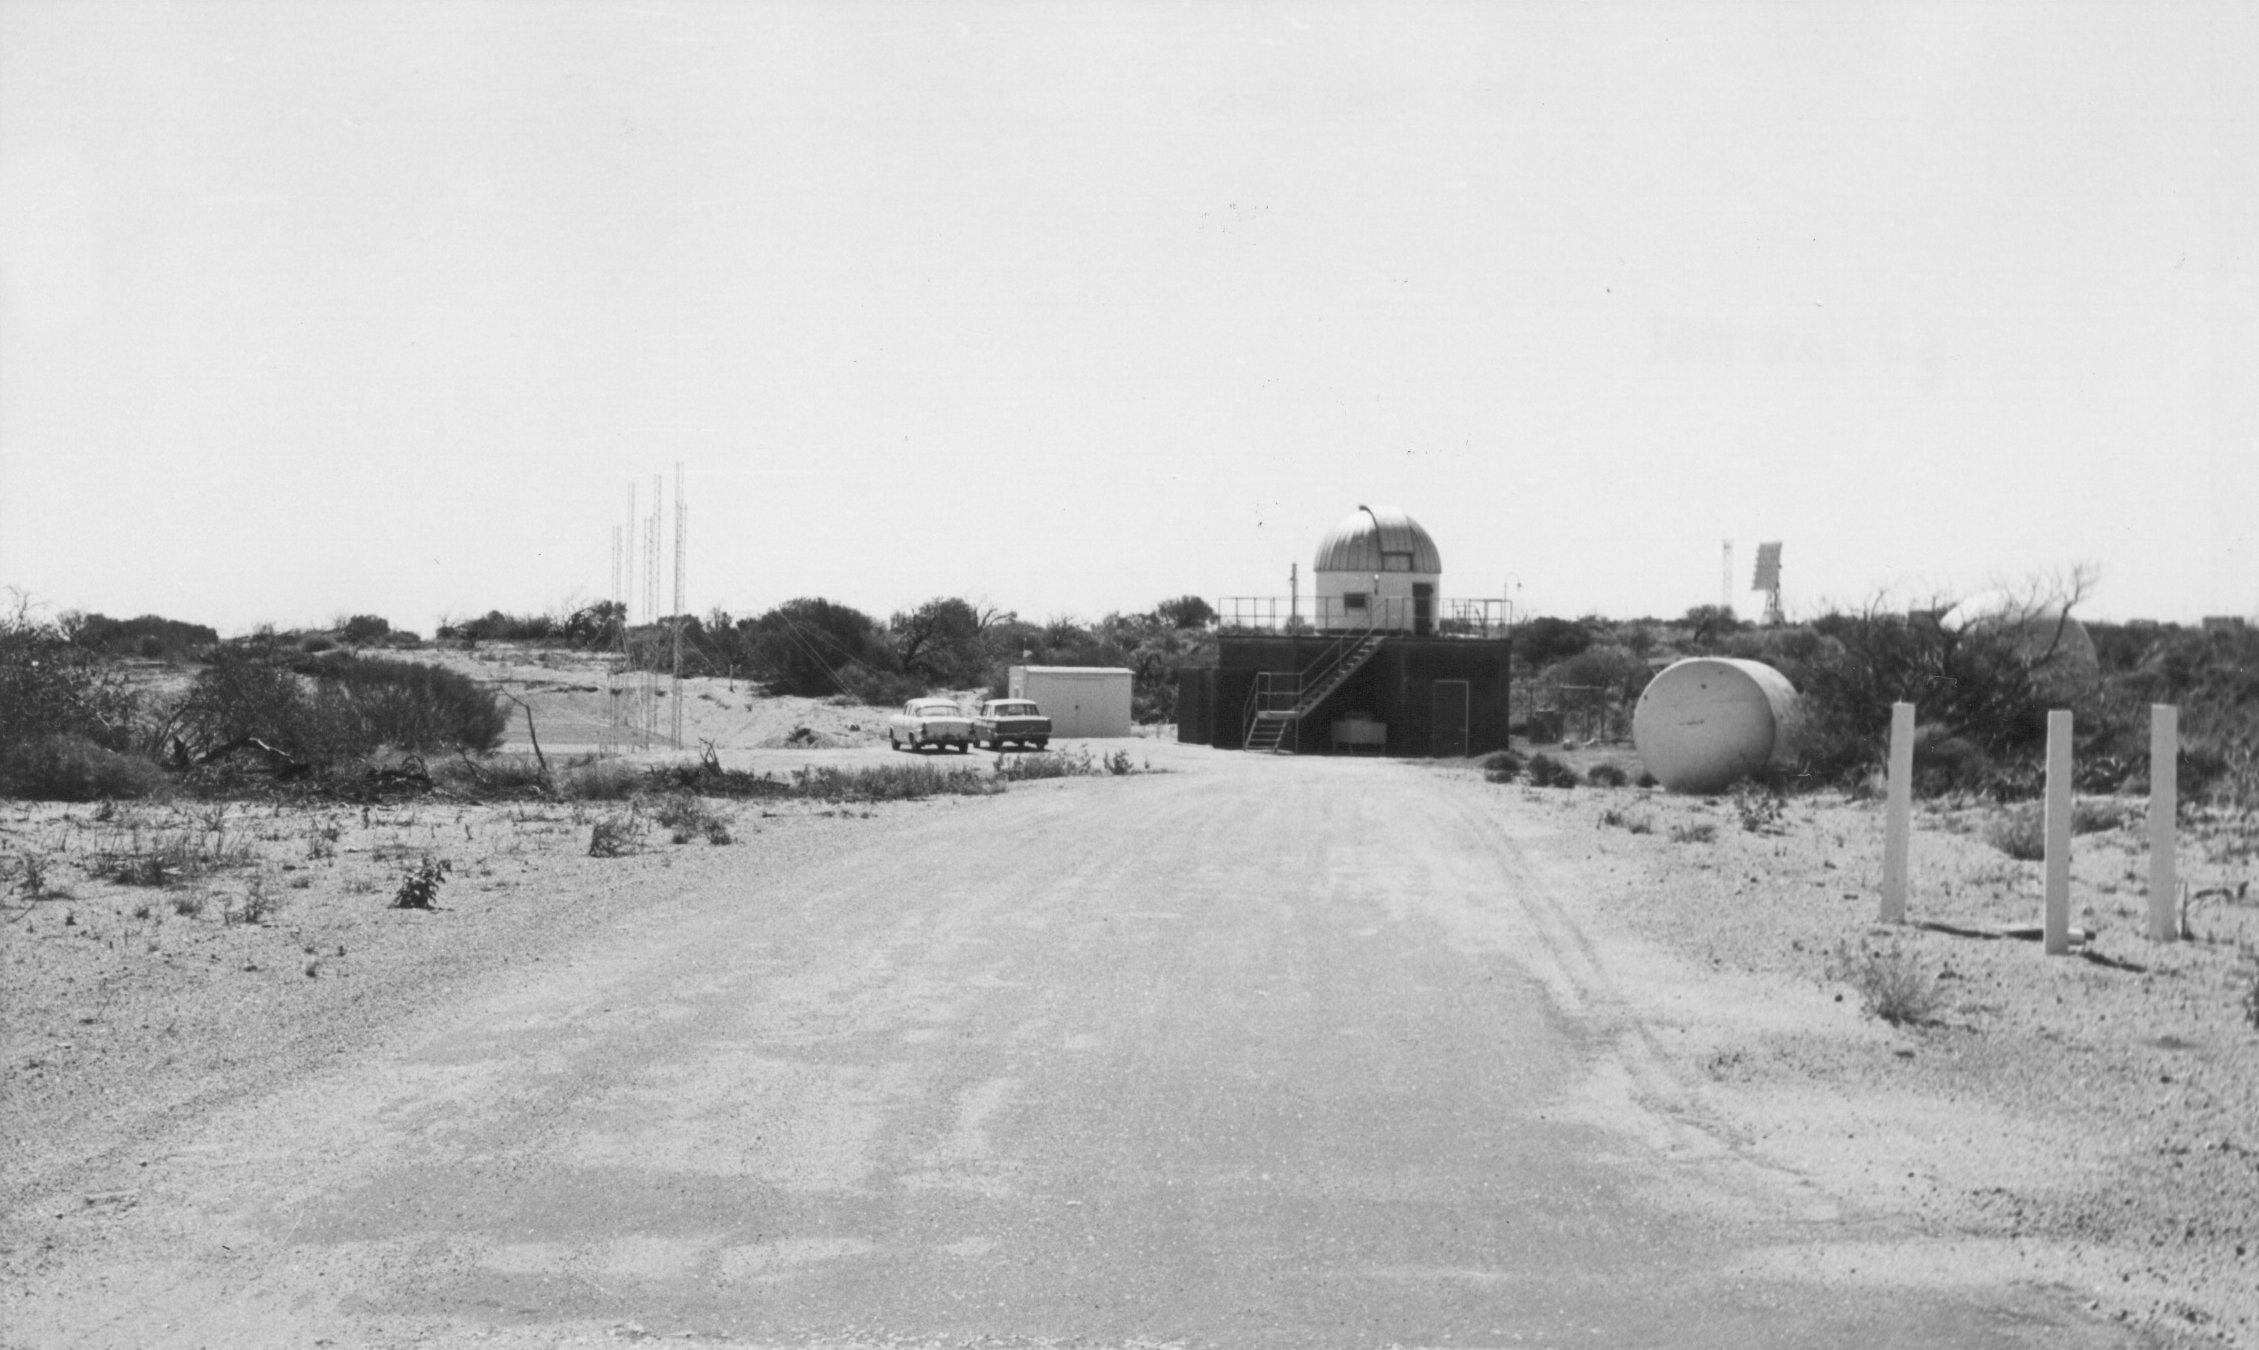
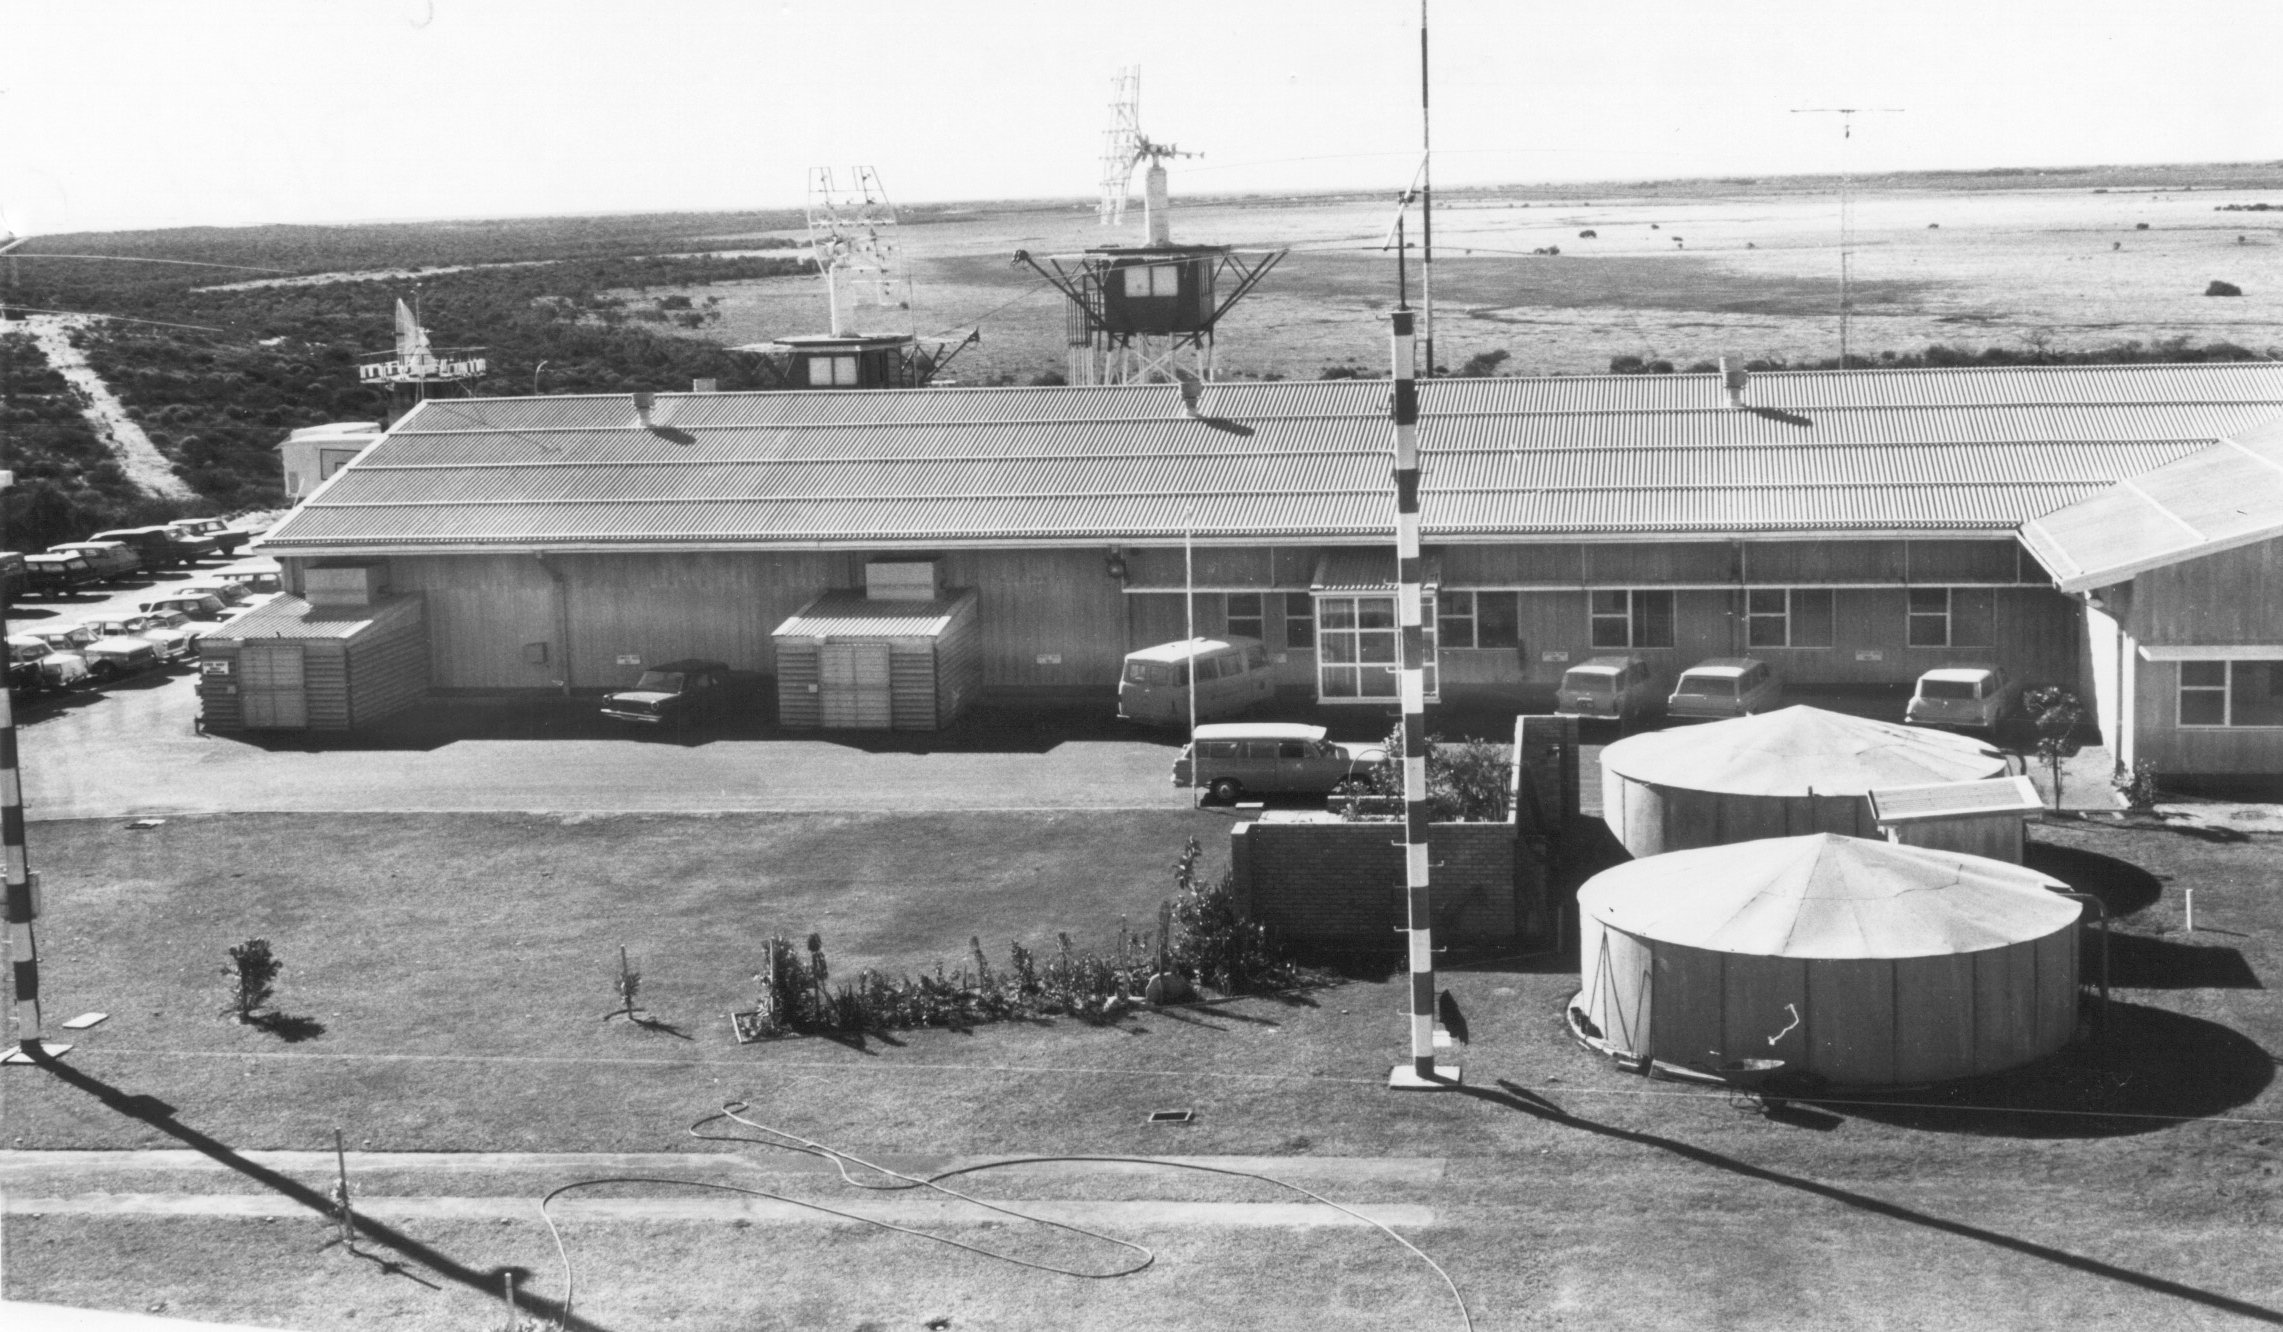
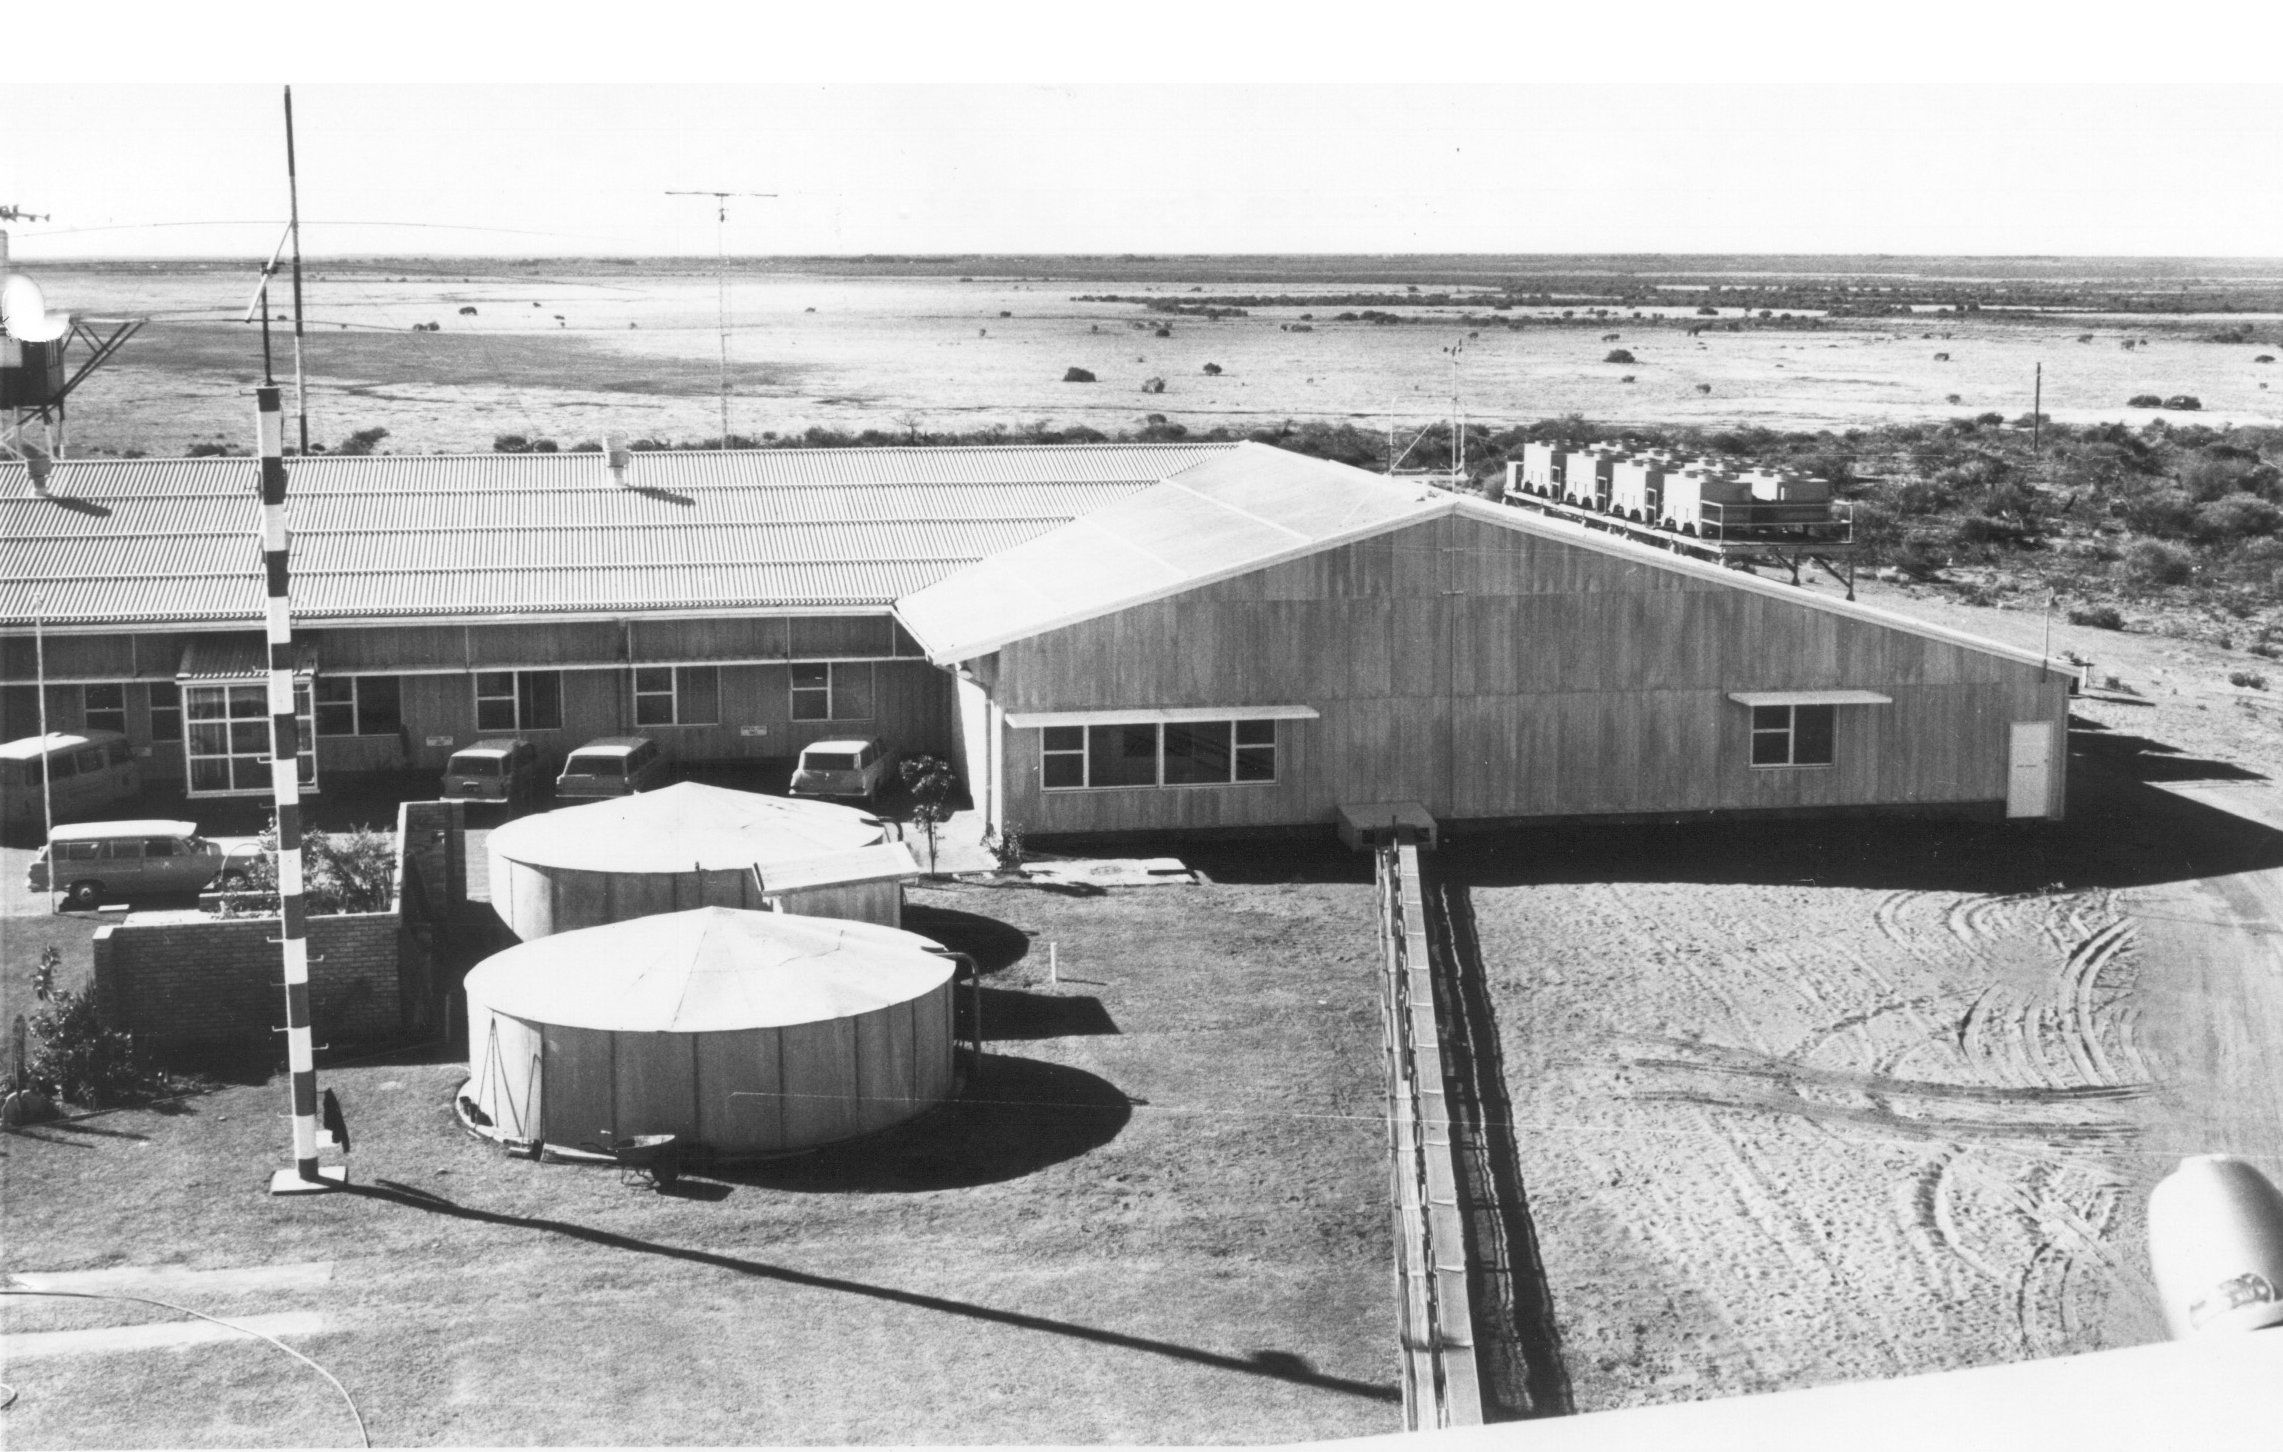
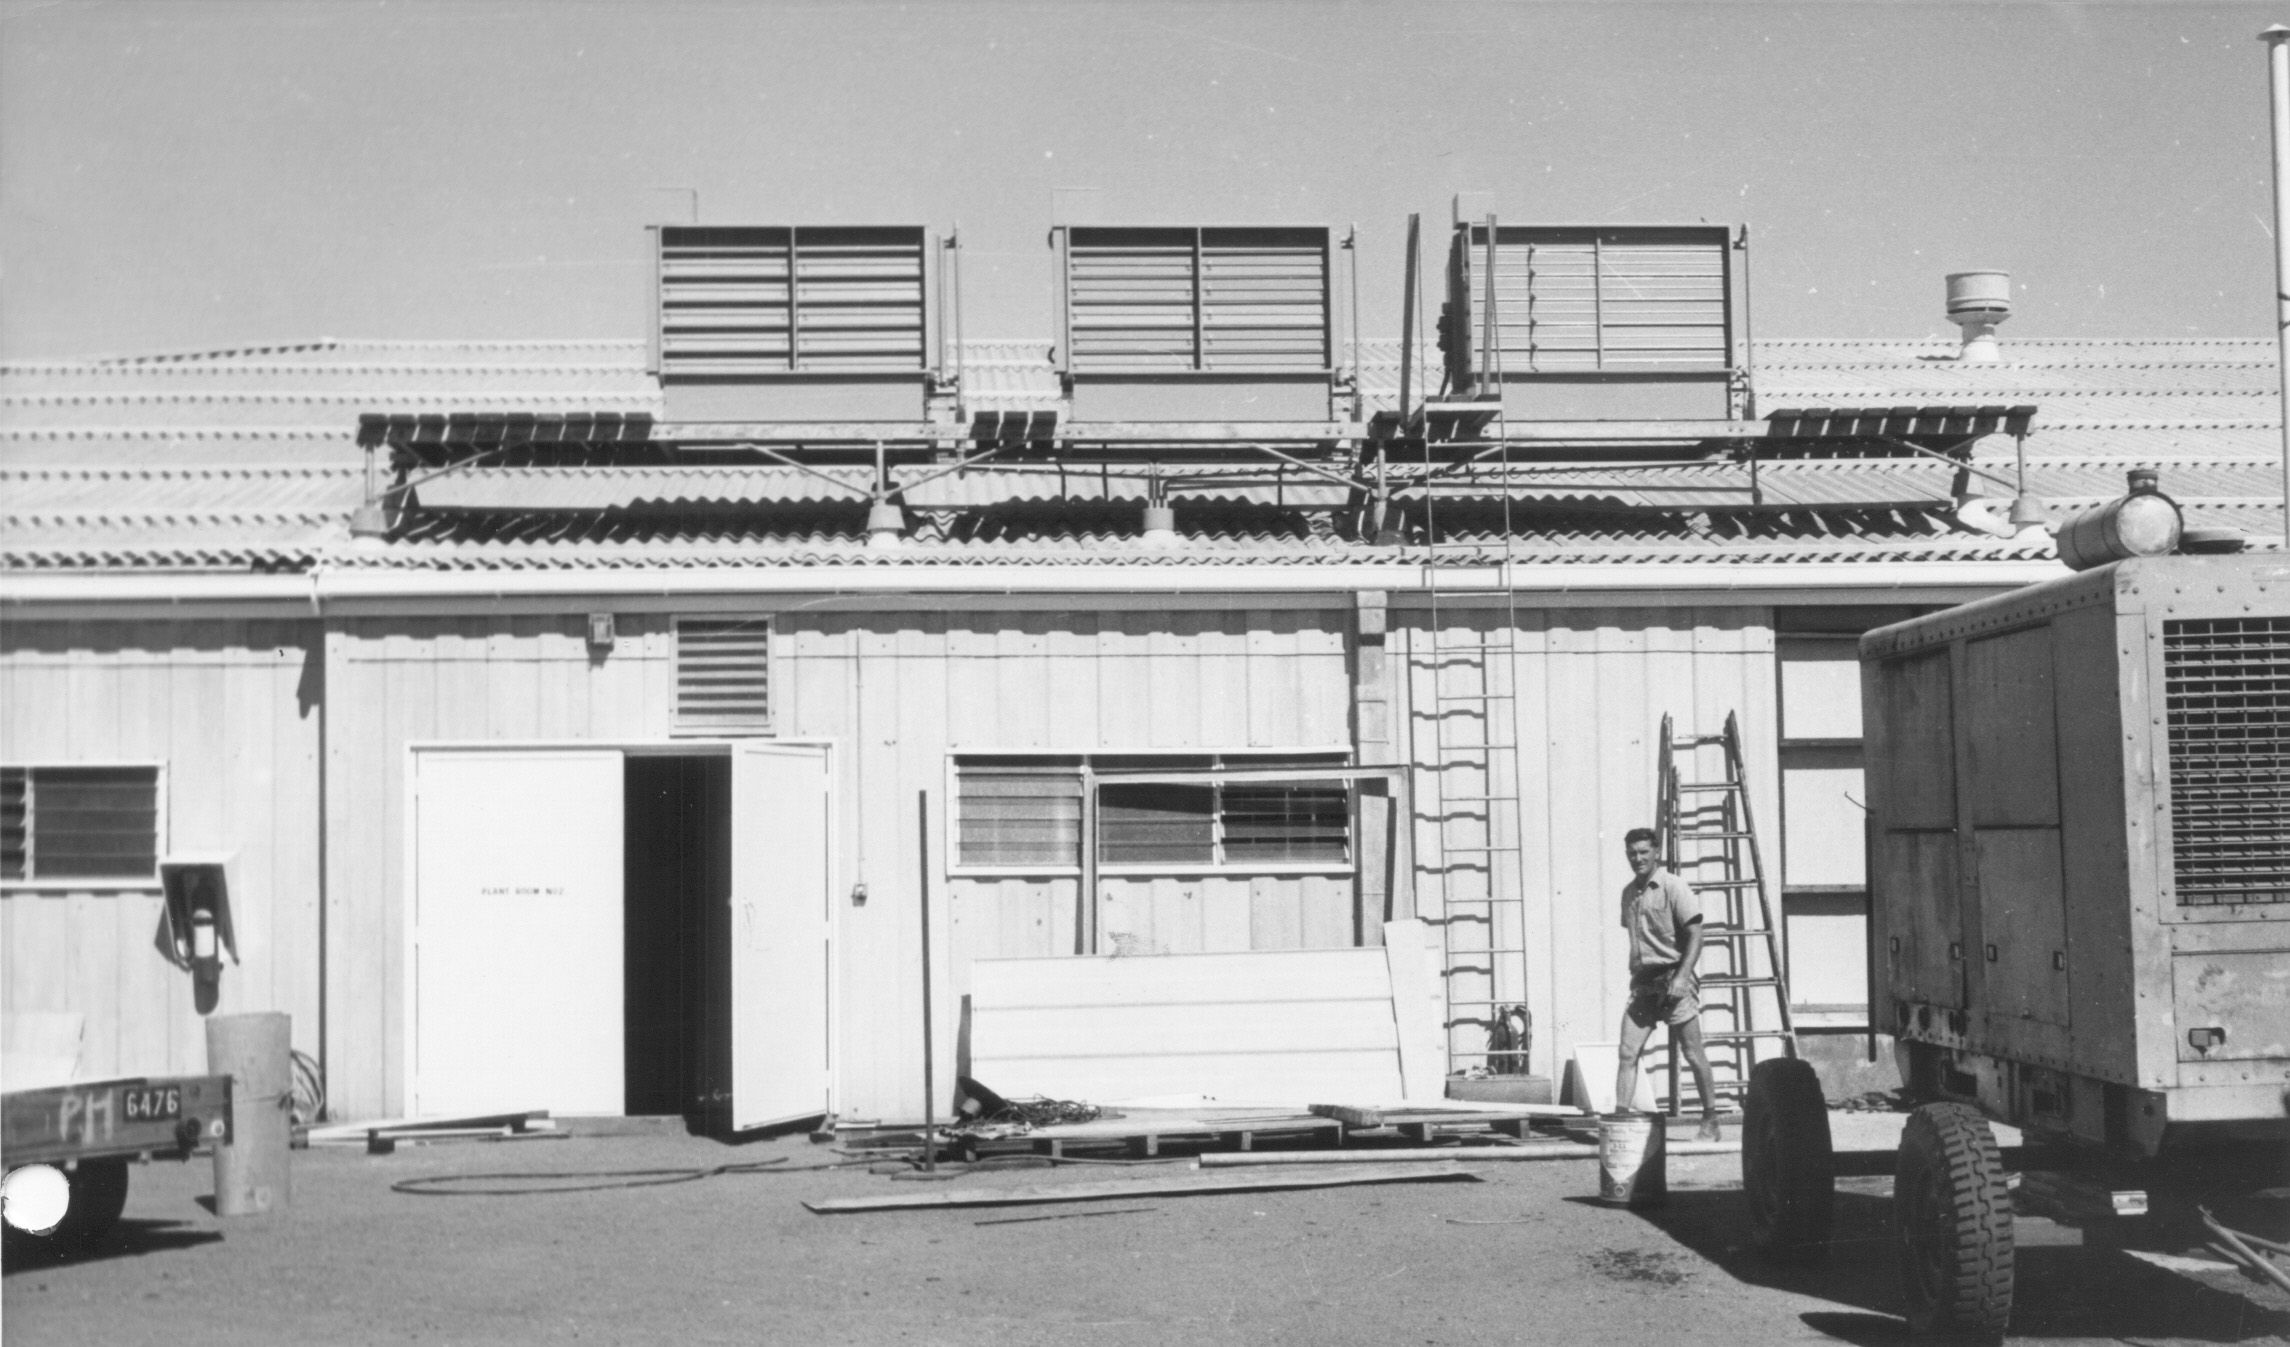
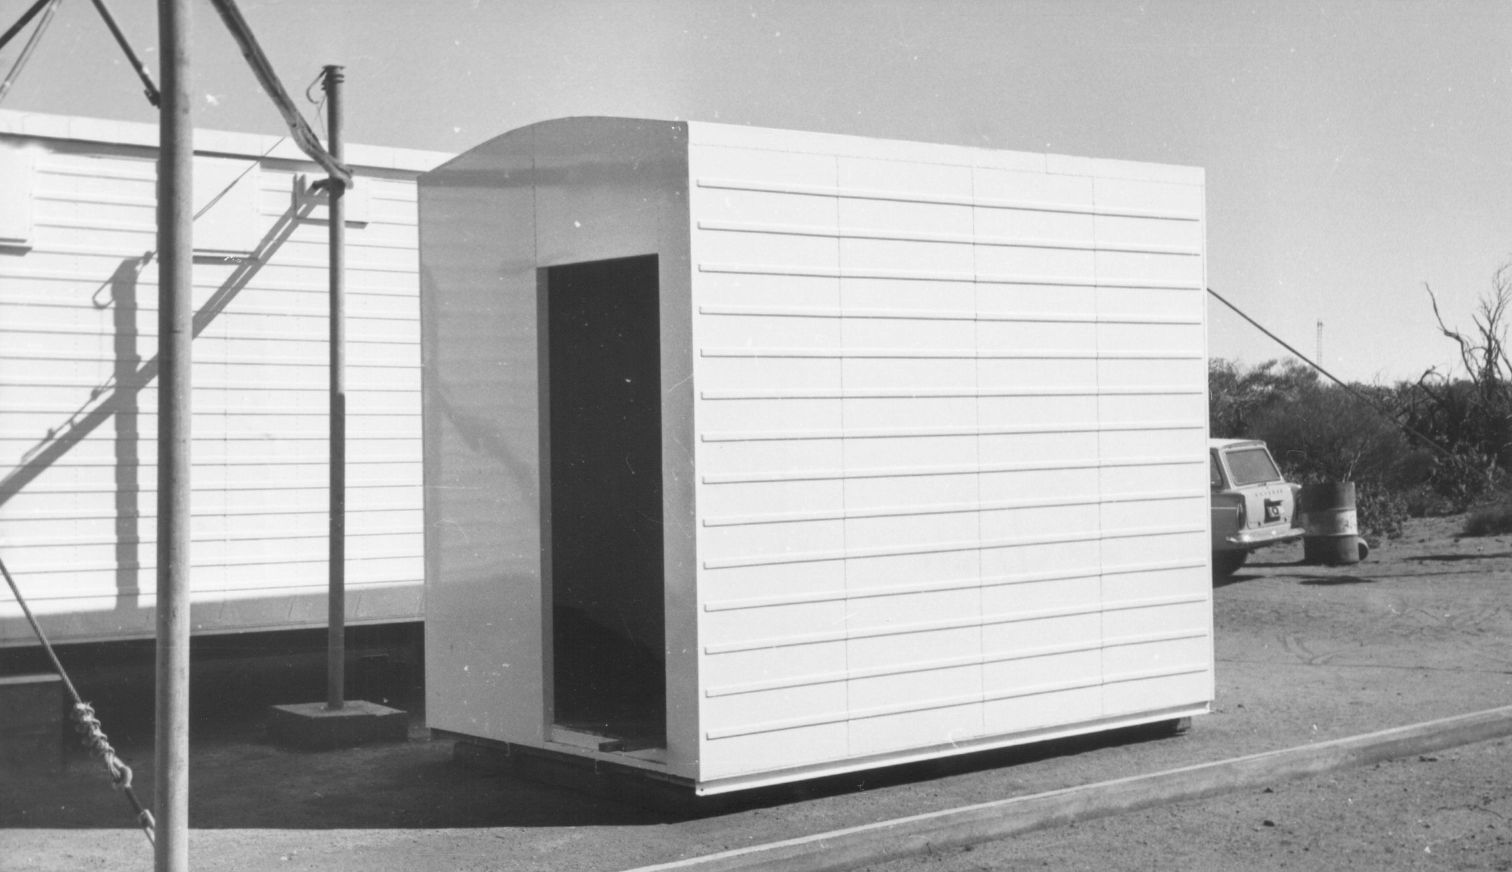
1a. Services Building.
Black & white photos of Carnarvon
These photos were taken in May 1966 and January 1967 – possibly by a Department of Supply photographer.
With thanks to Trevor Mosel for preserving the set and to Stuart Wattison for making the scans.
Photo repair and formatting by Colin Mackellar.
The descriptions are generally those on the back of the photos – transcribed by Stuart Wattison.
For orientation, this station map may come in handy.
Photos taken from the USB antenna have been combined into a panorama on this page.
25 January 1967
|
1a. Services Building. |
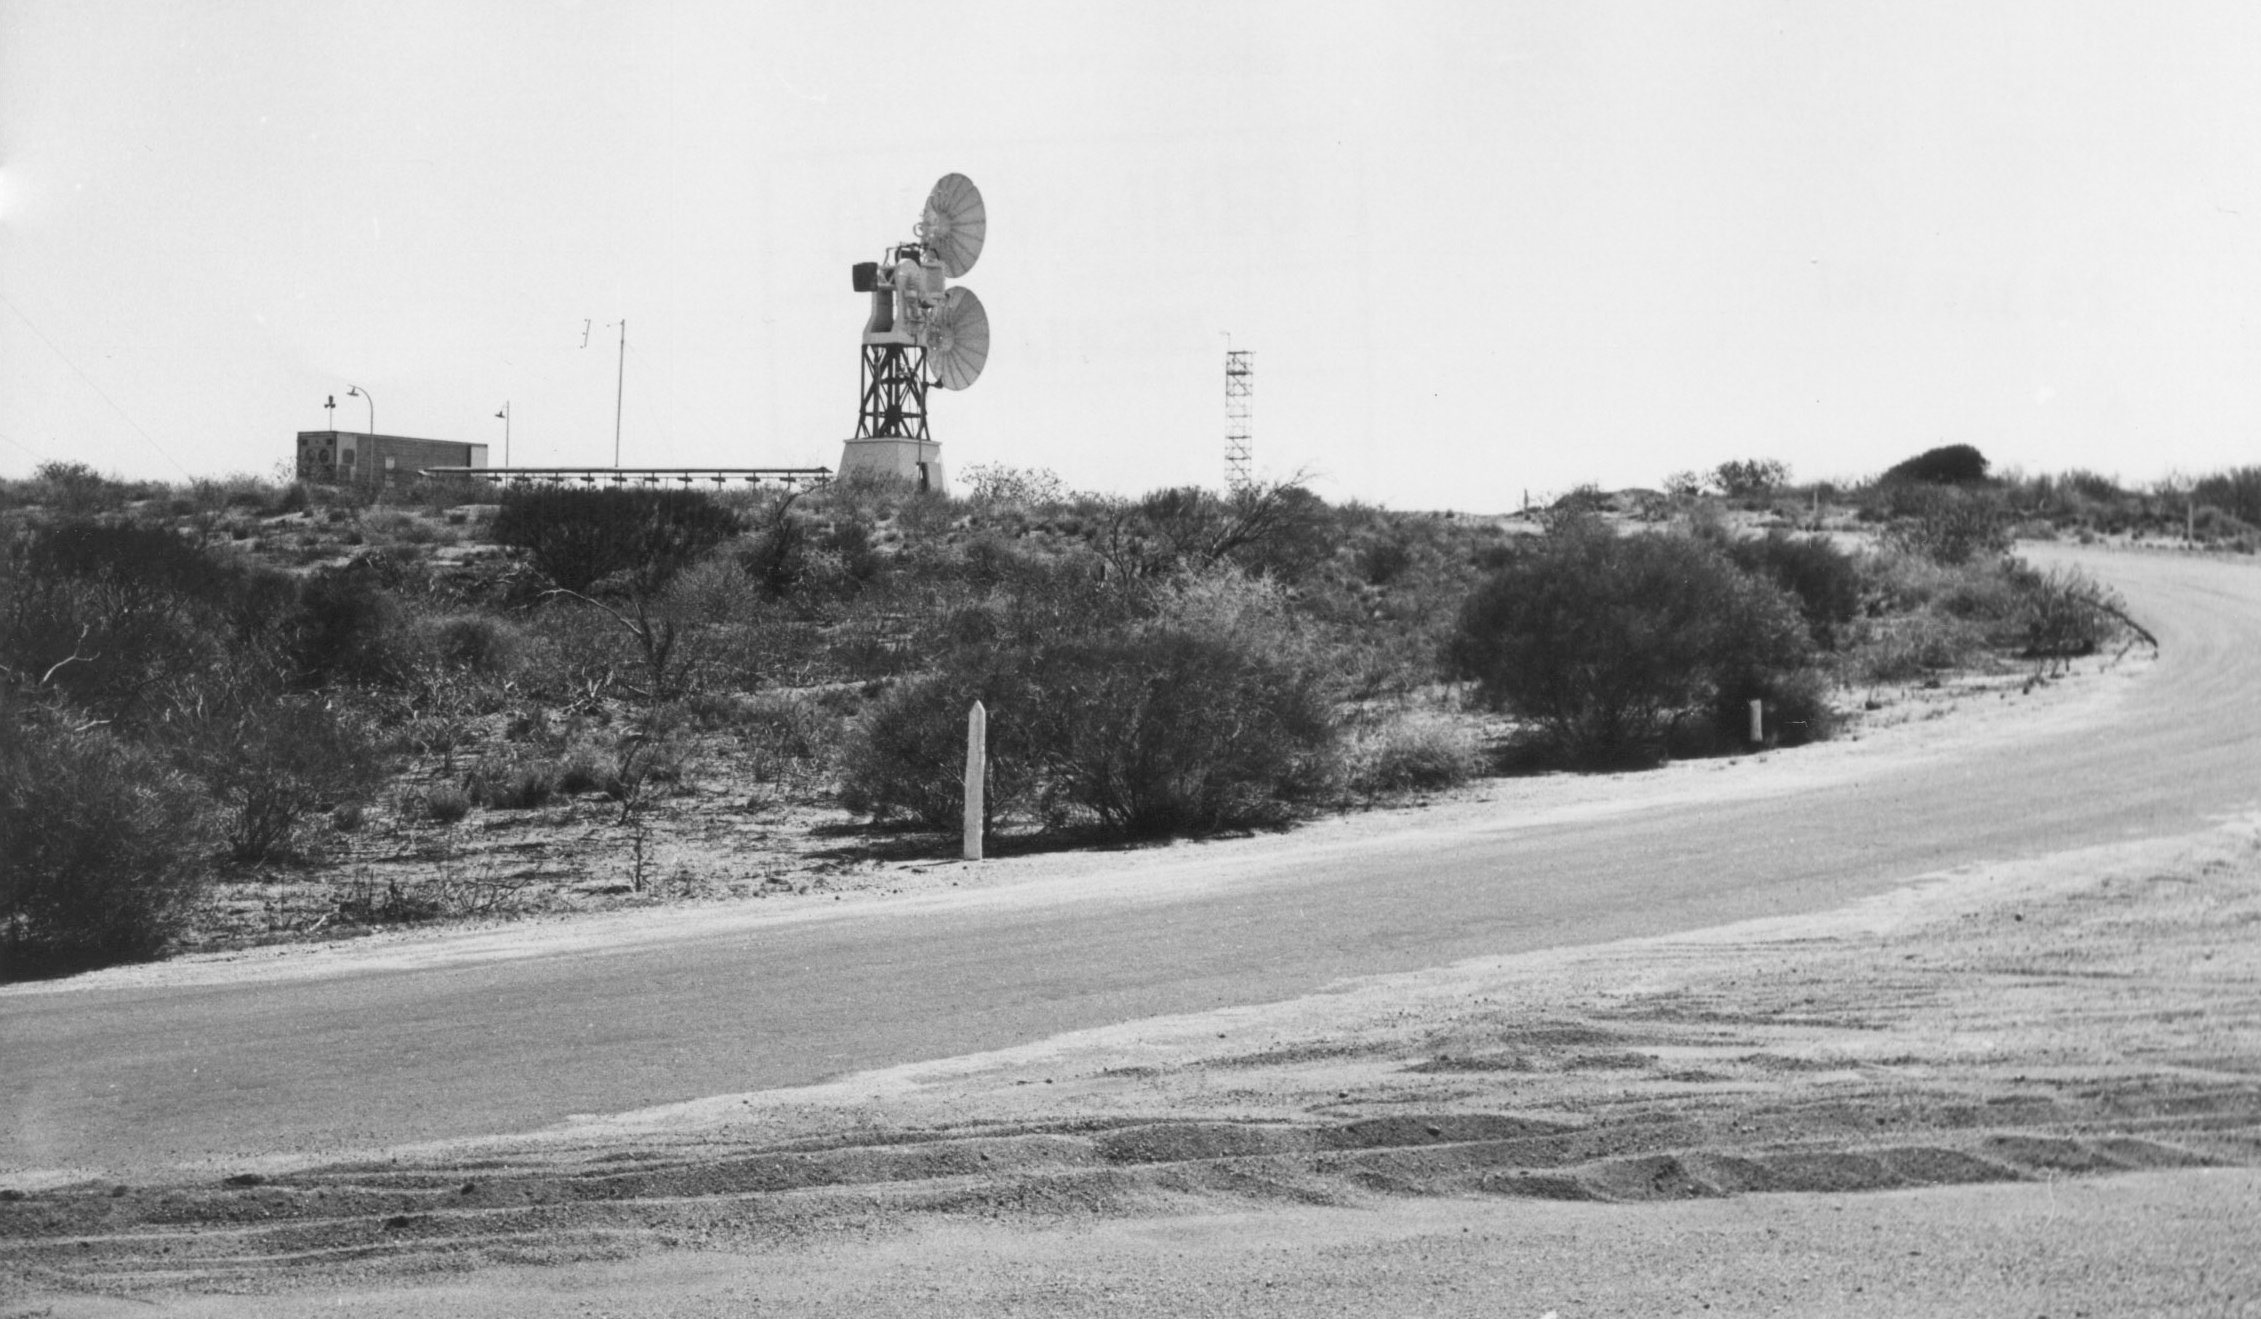 |
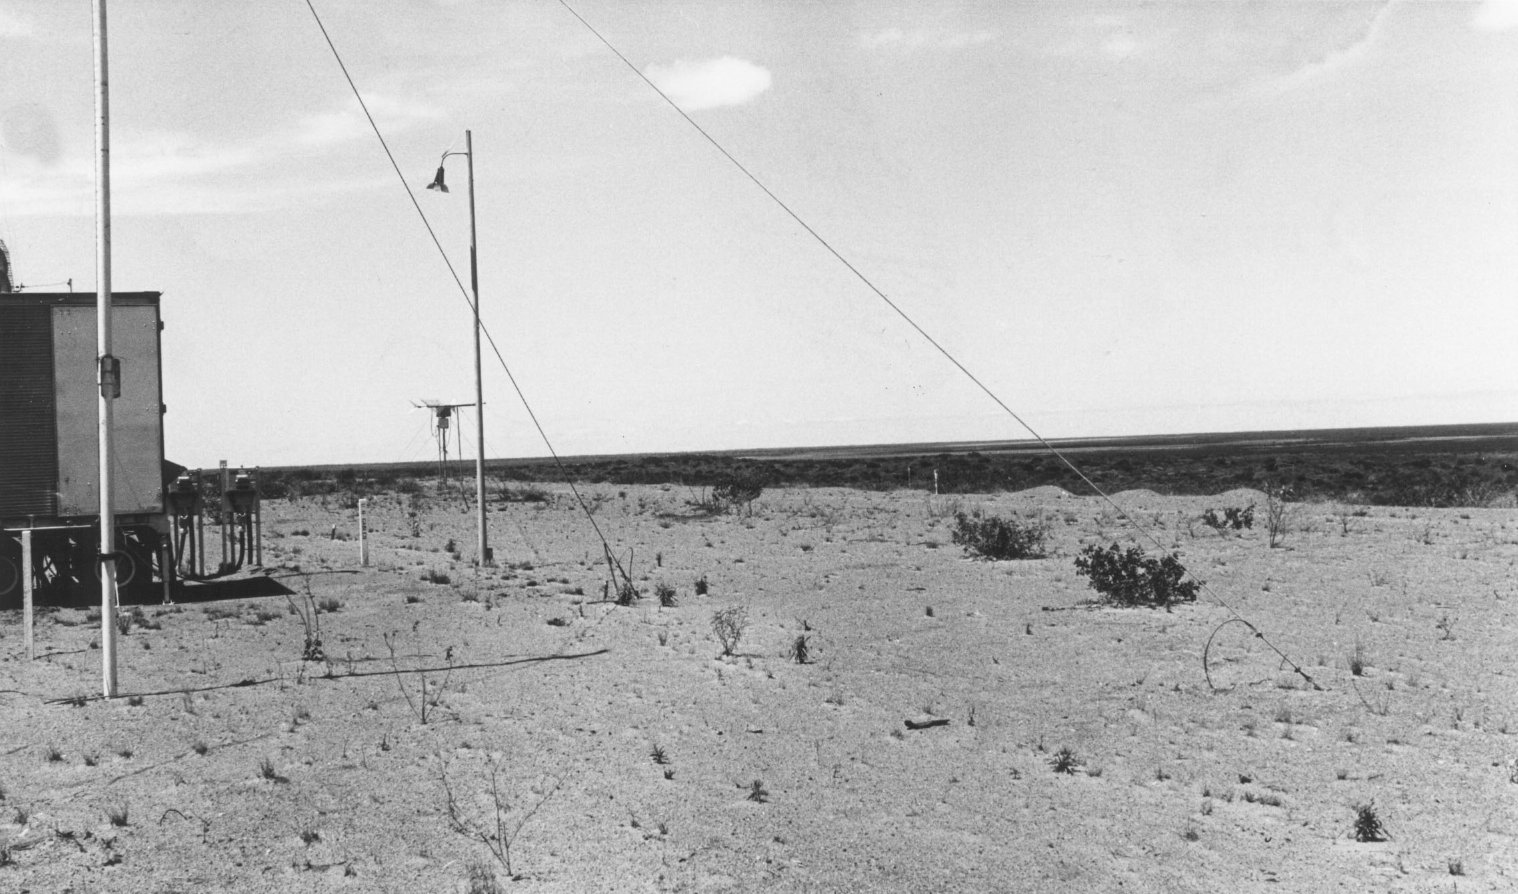
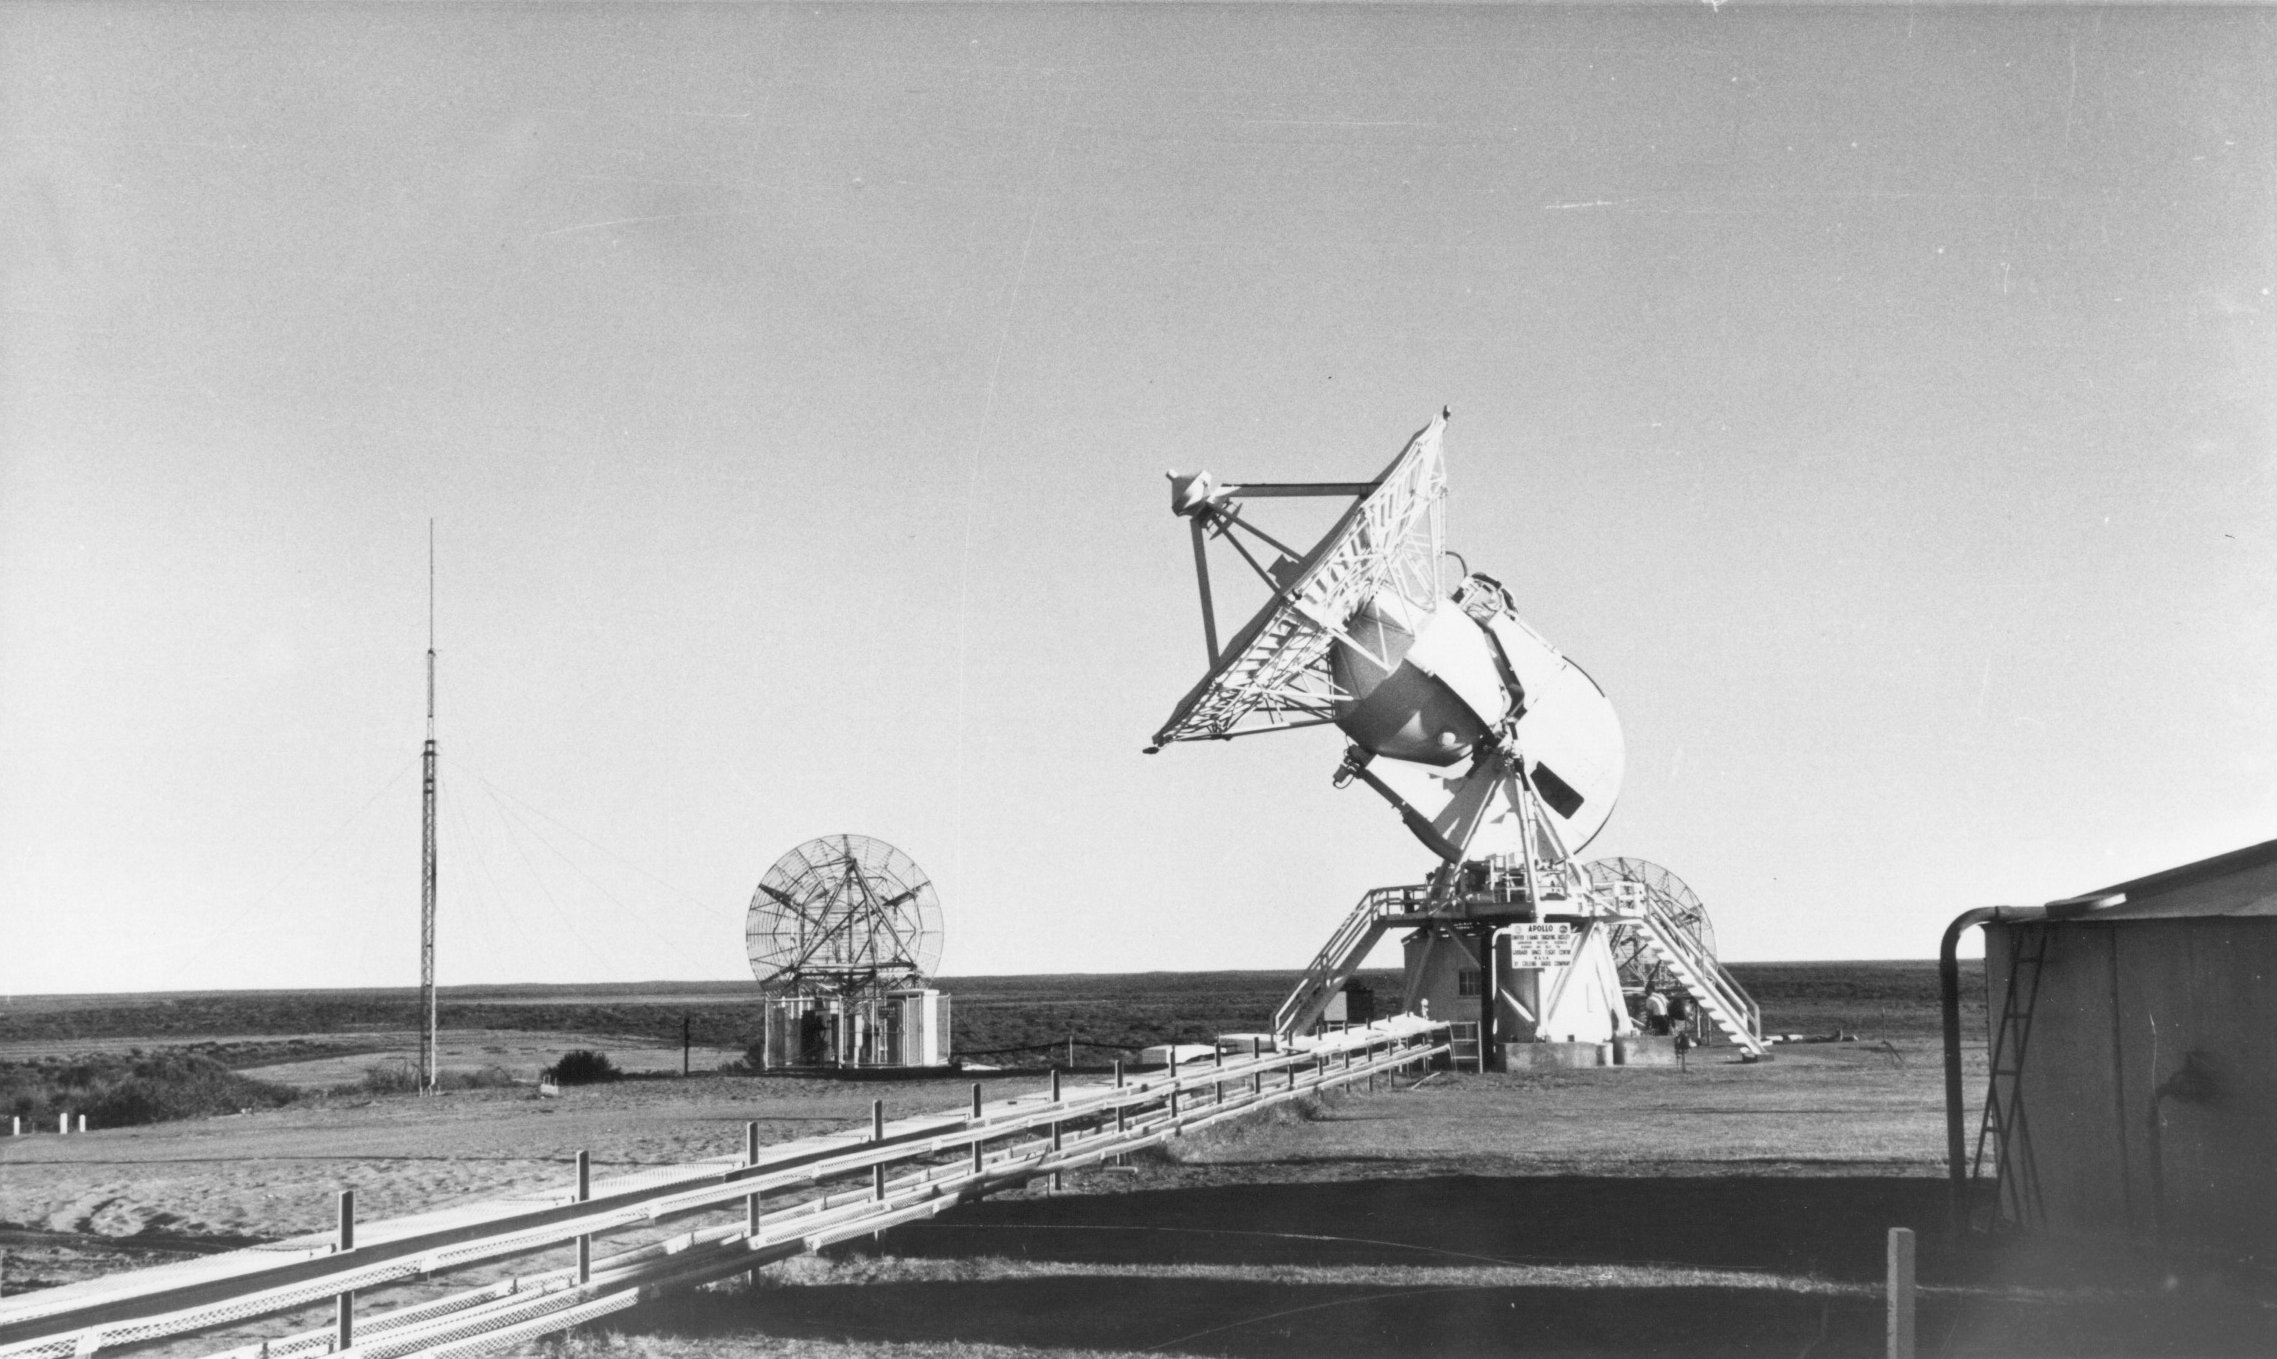
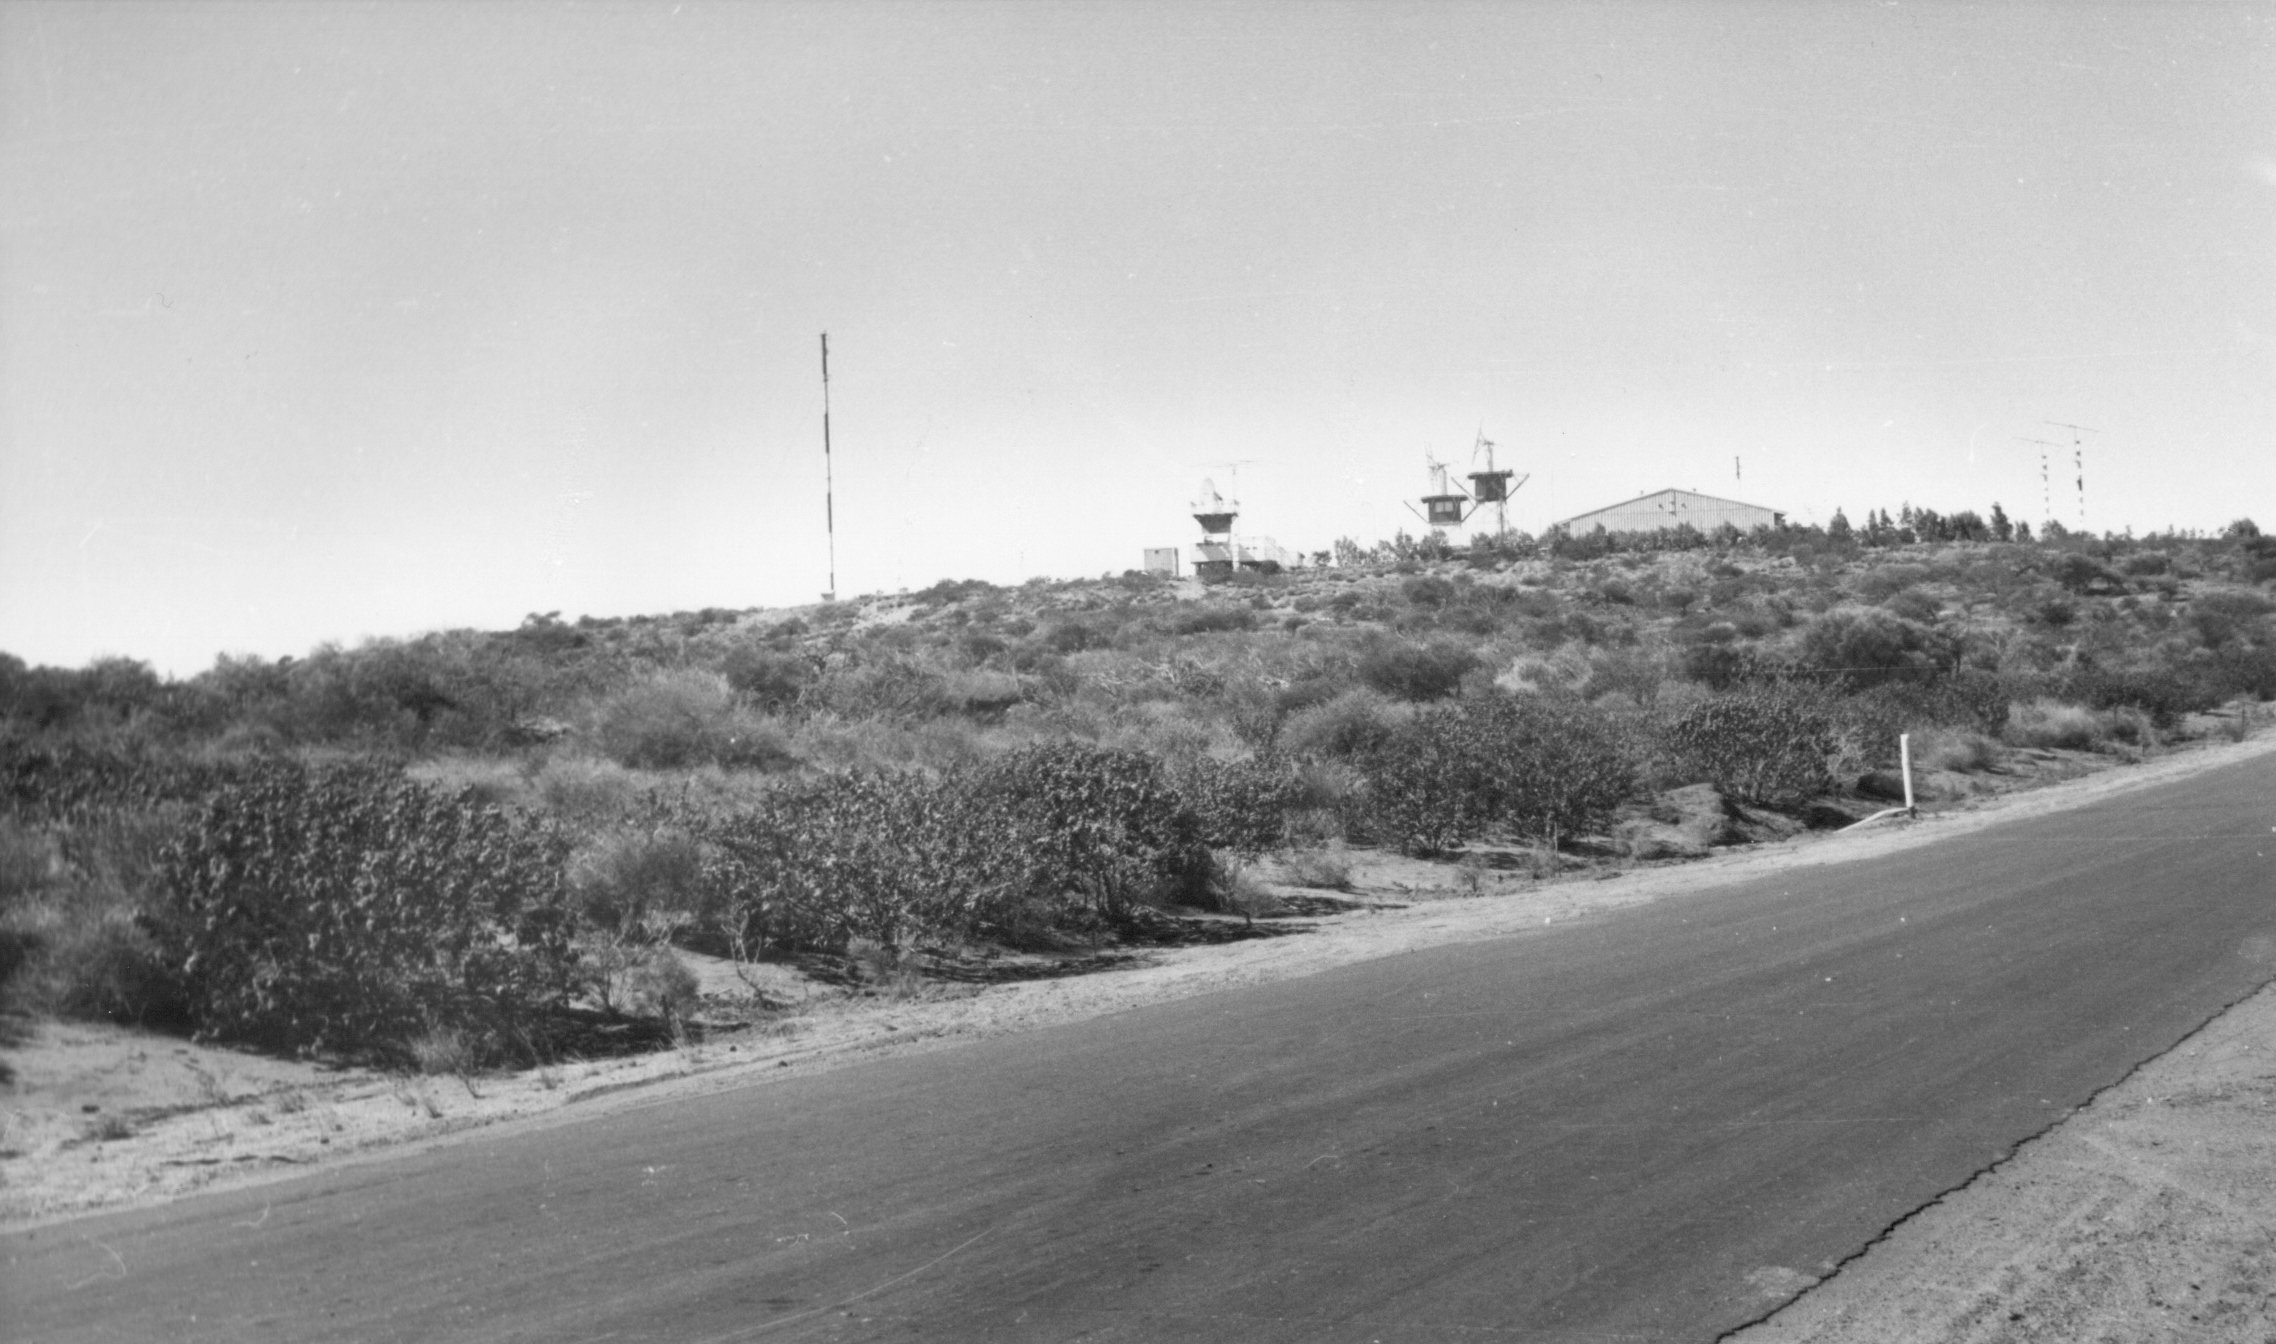
1b. Range and Range Rate Access Road. |
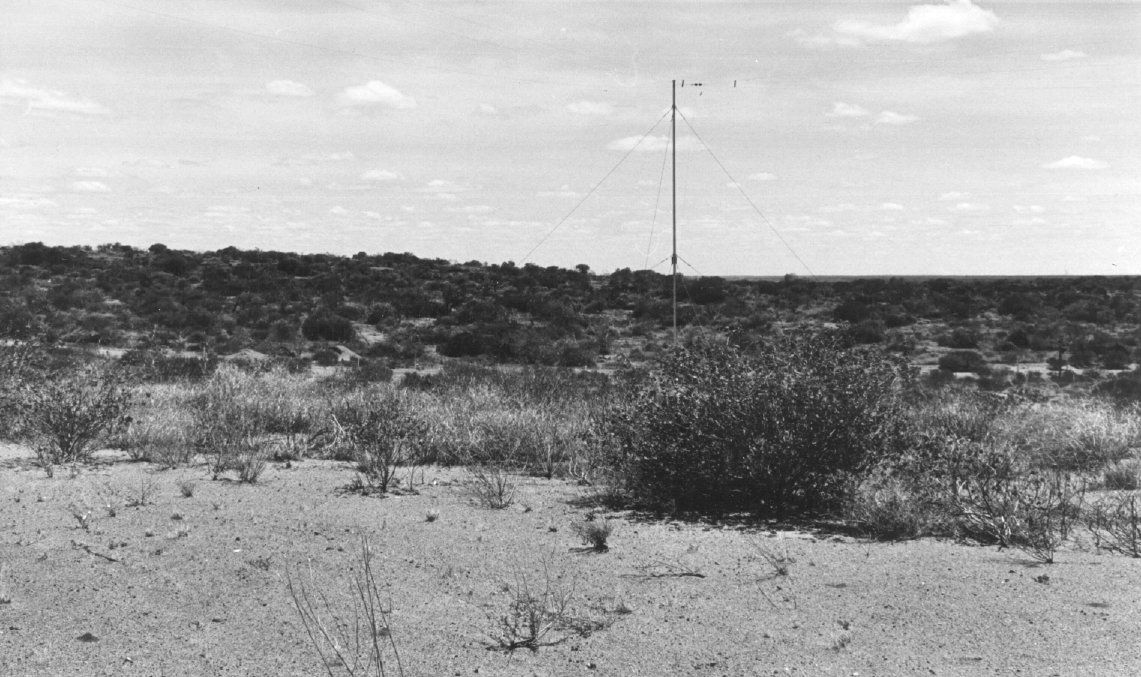 |
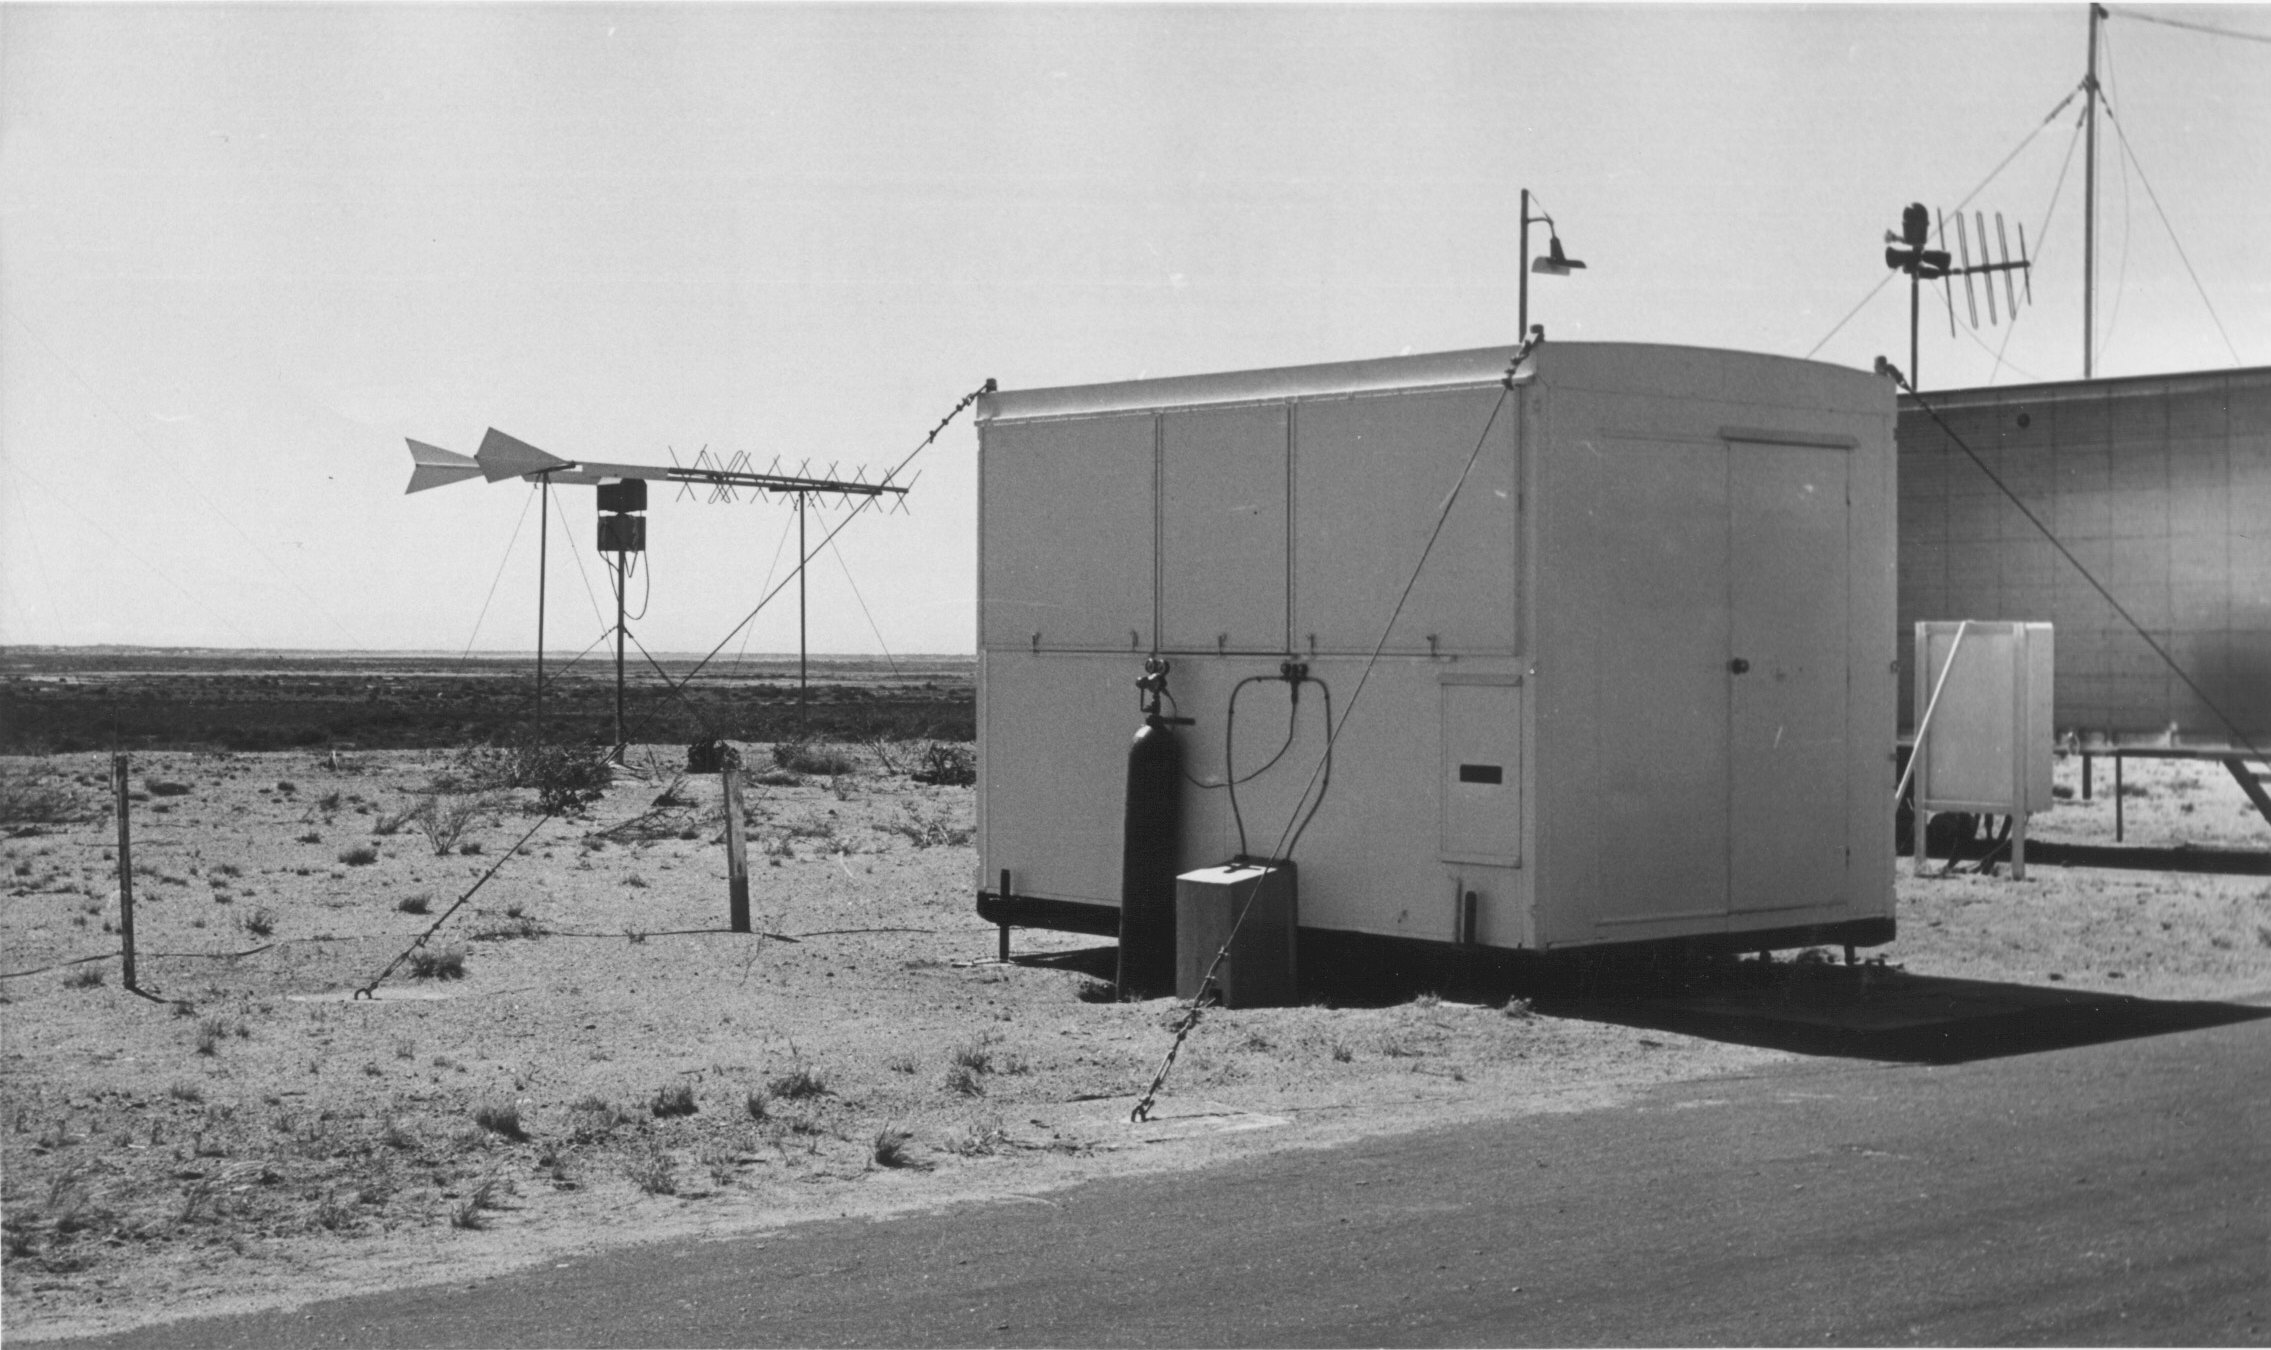
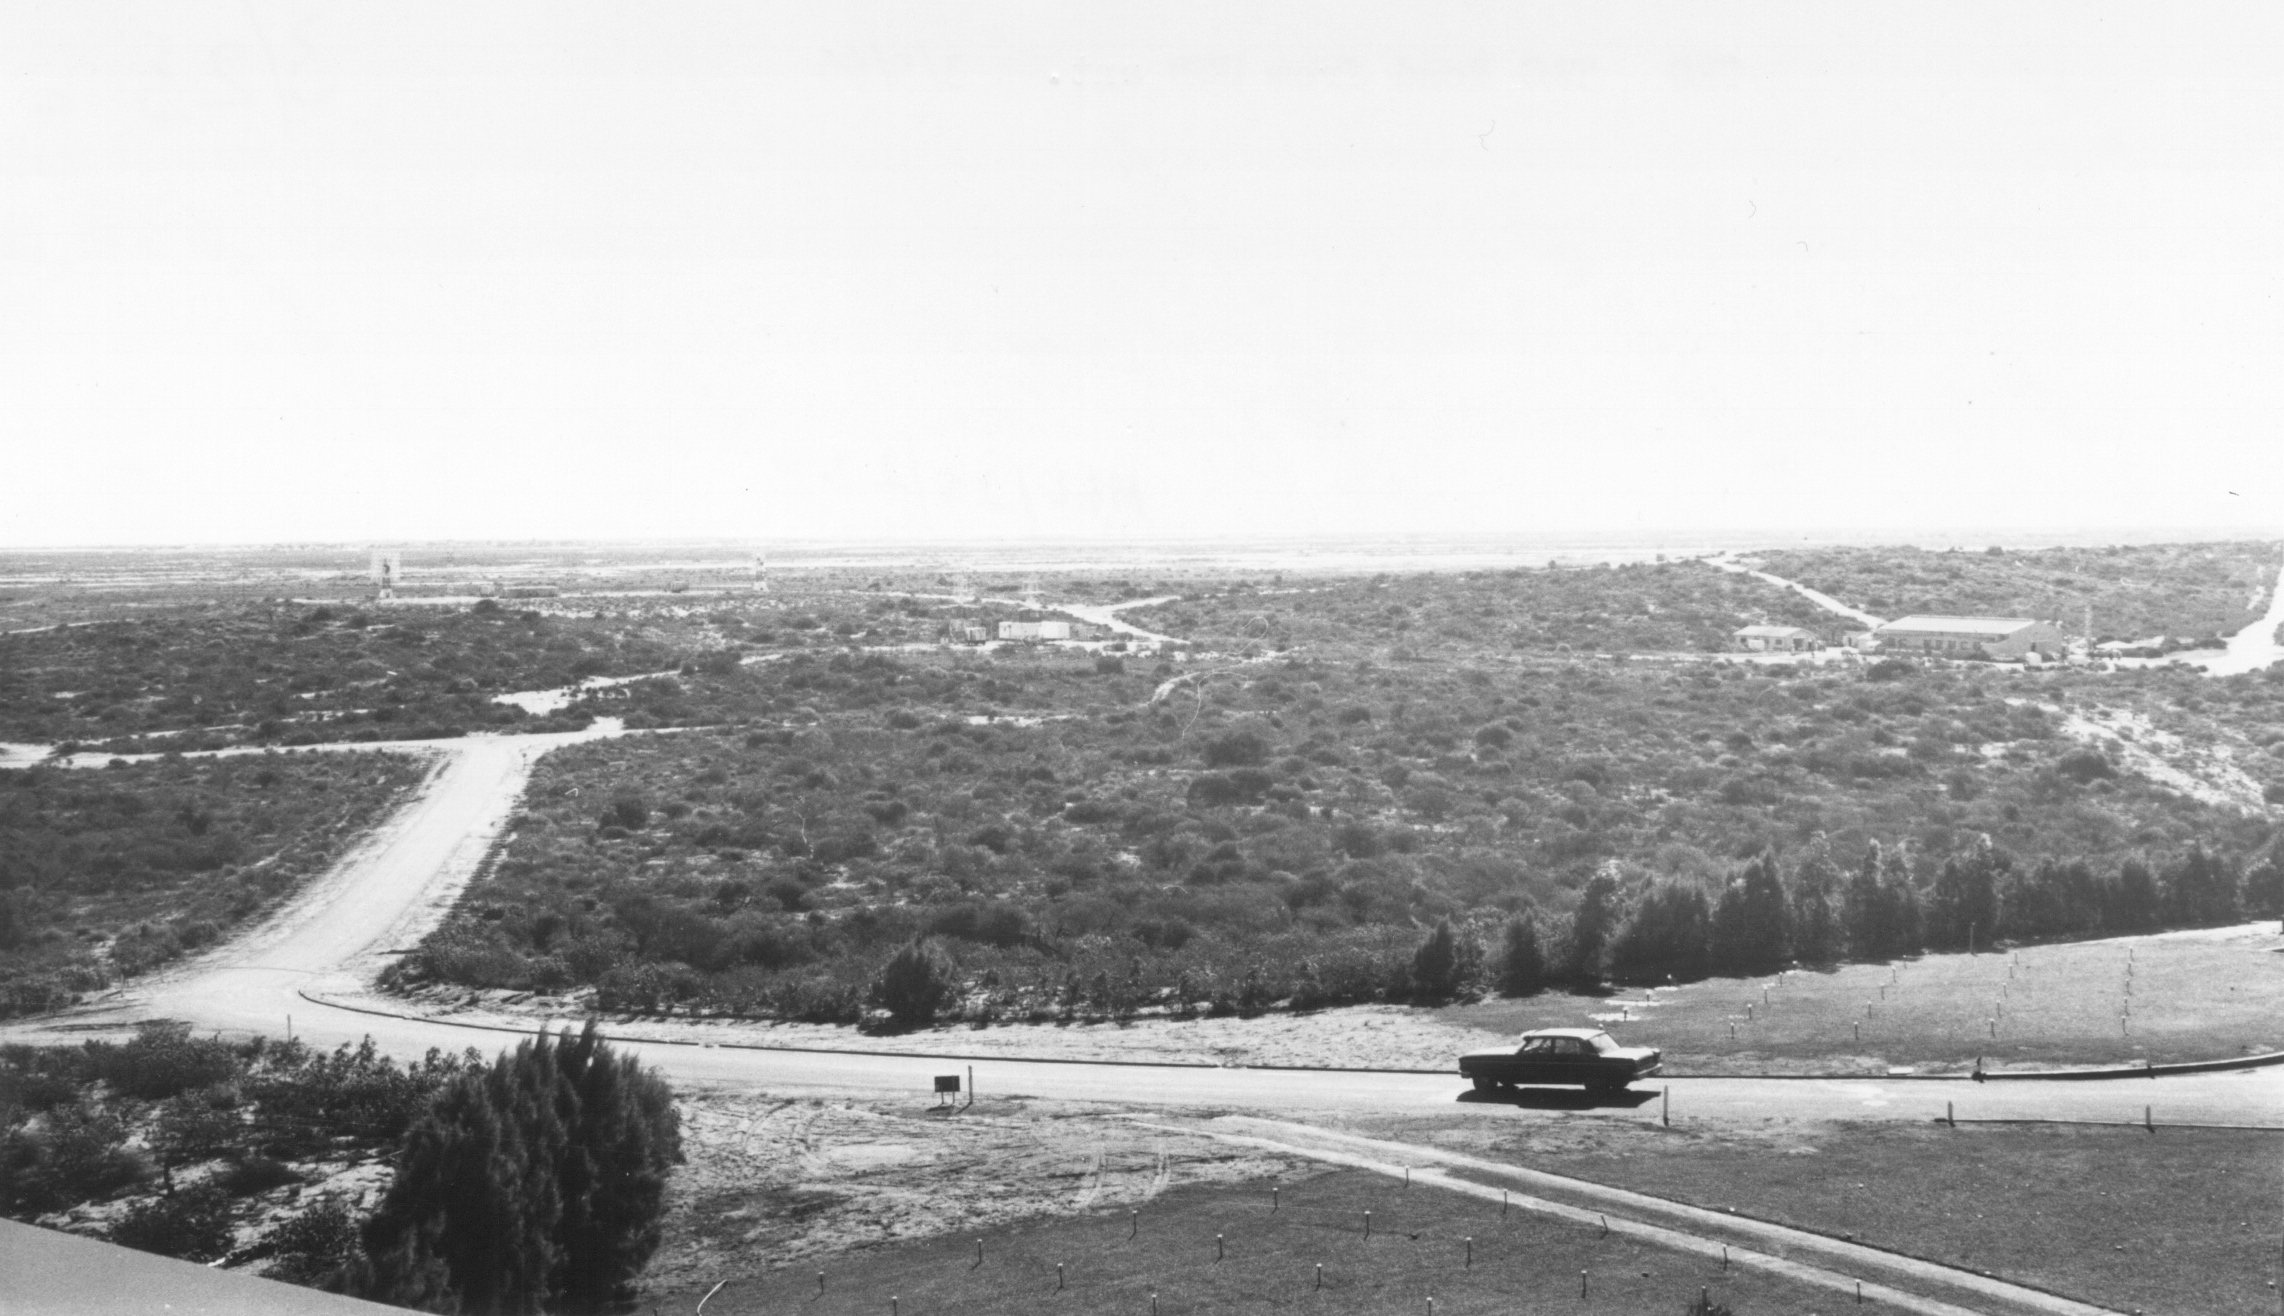
2a. R & RR – Proposed Road Realignment Area. |
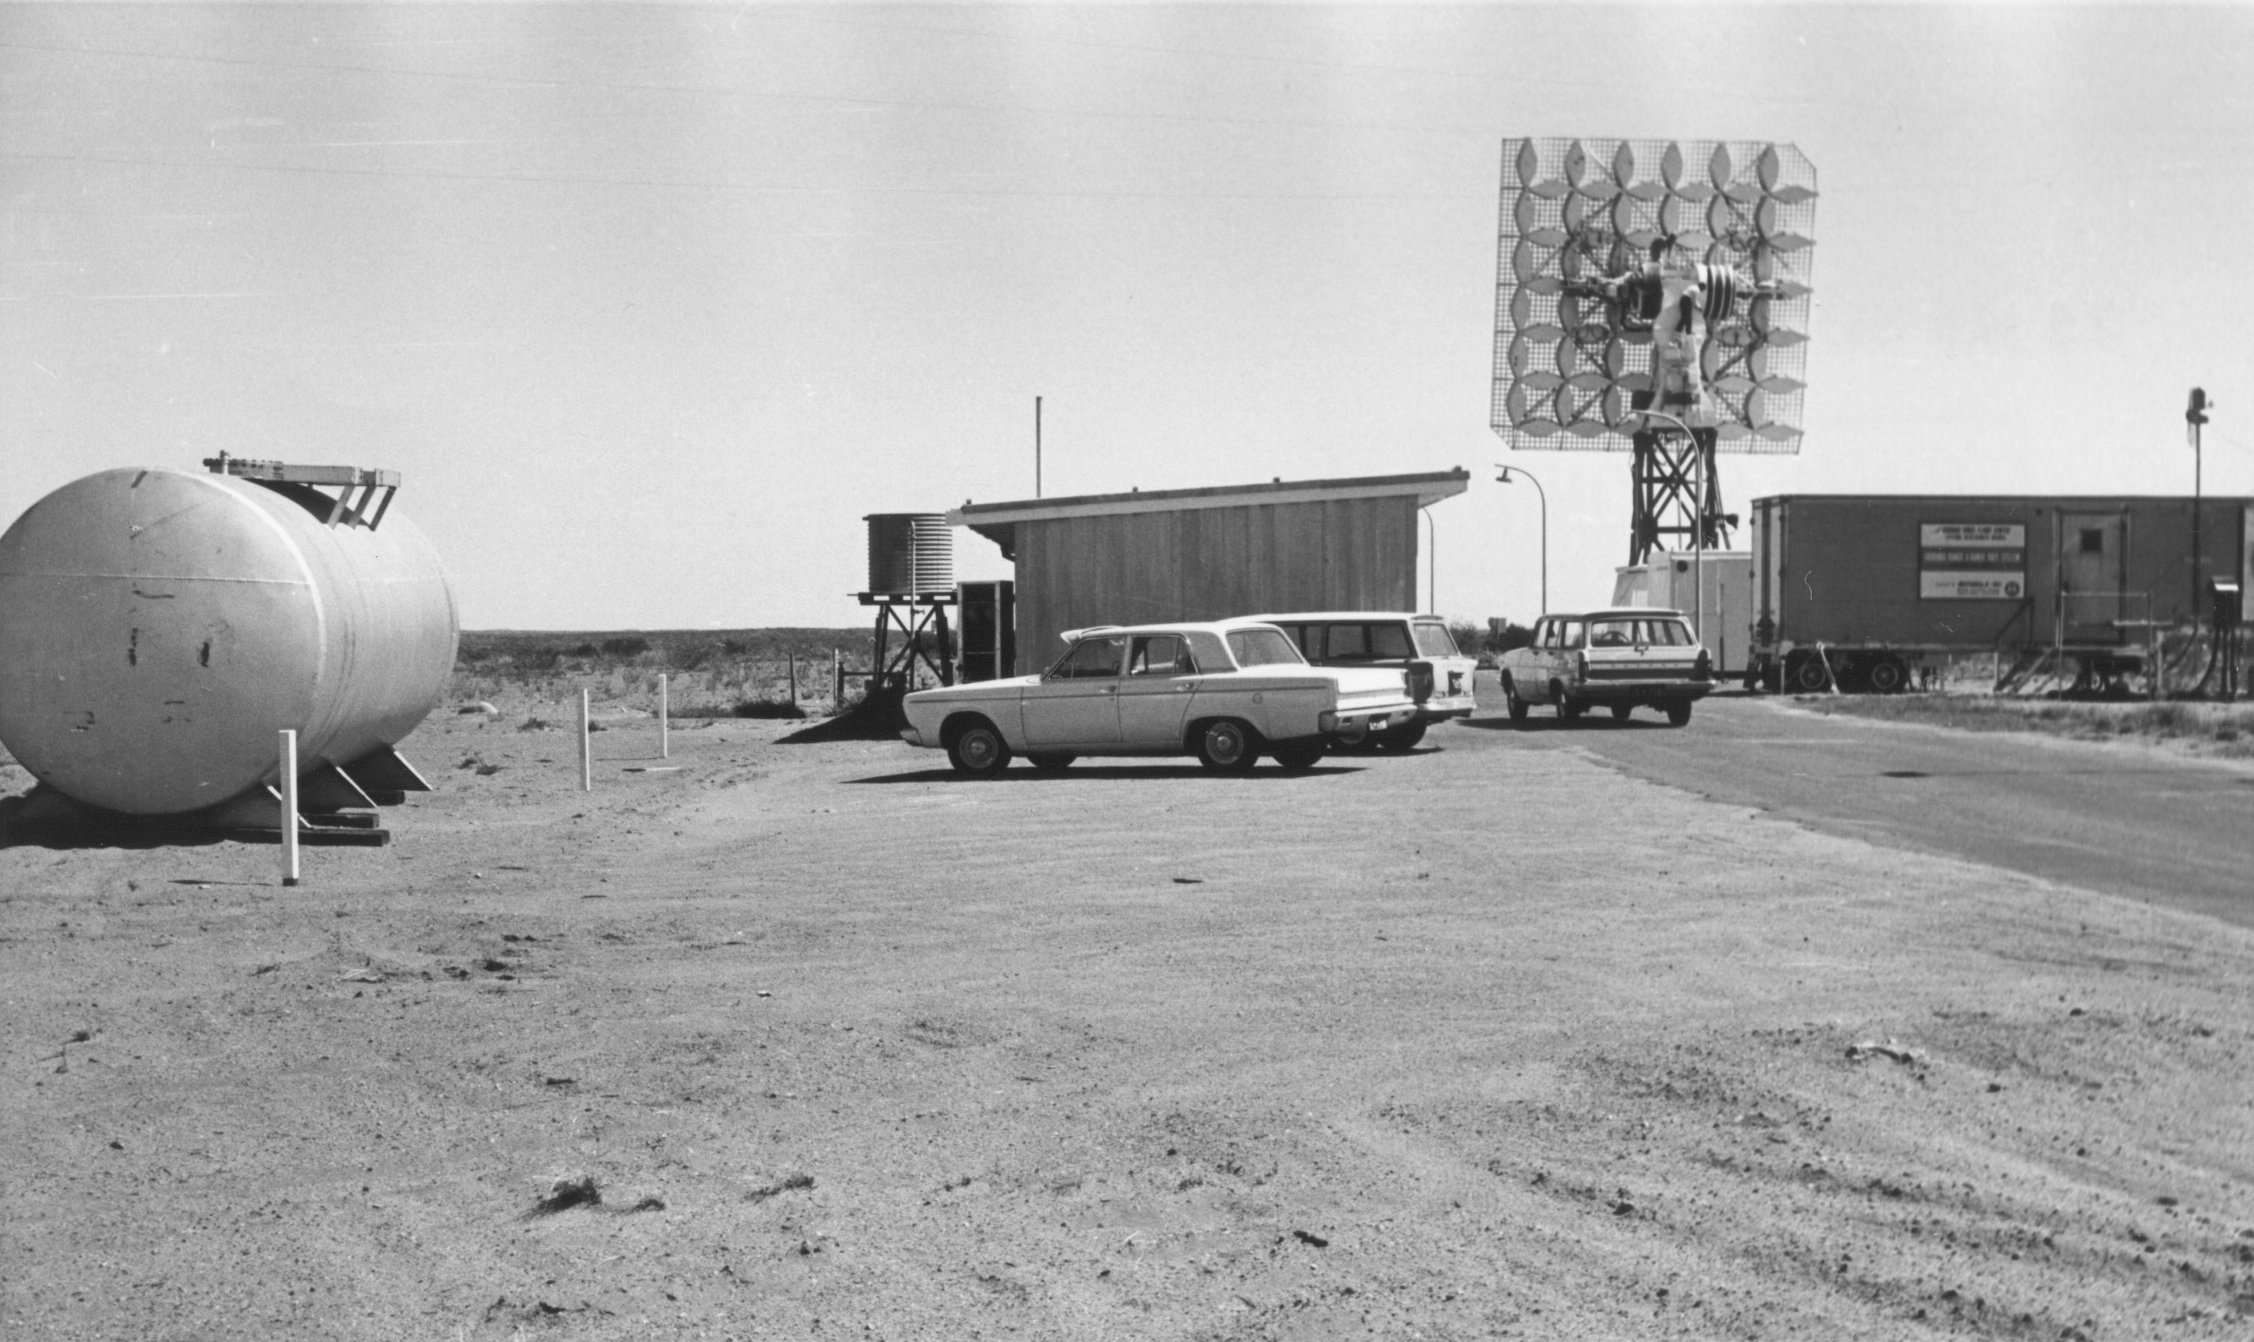 |
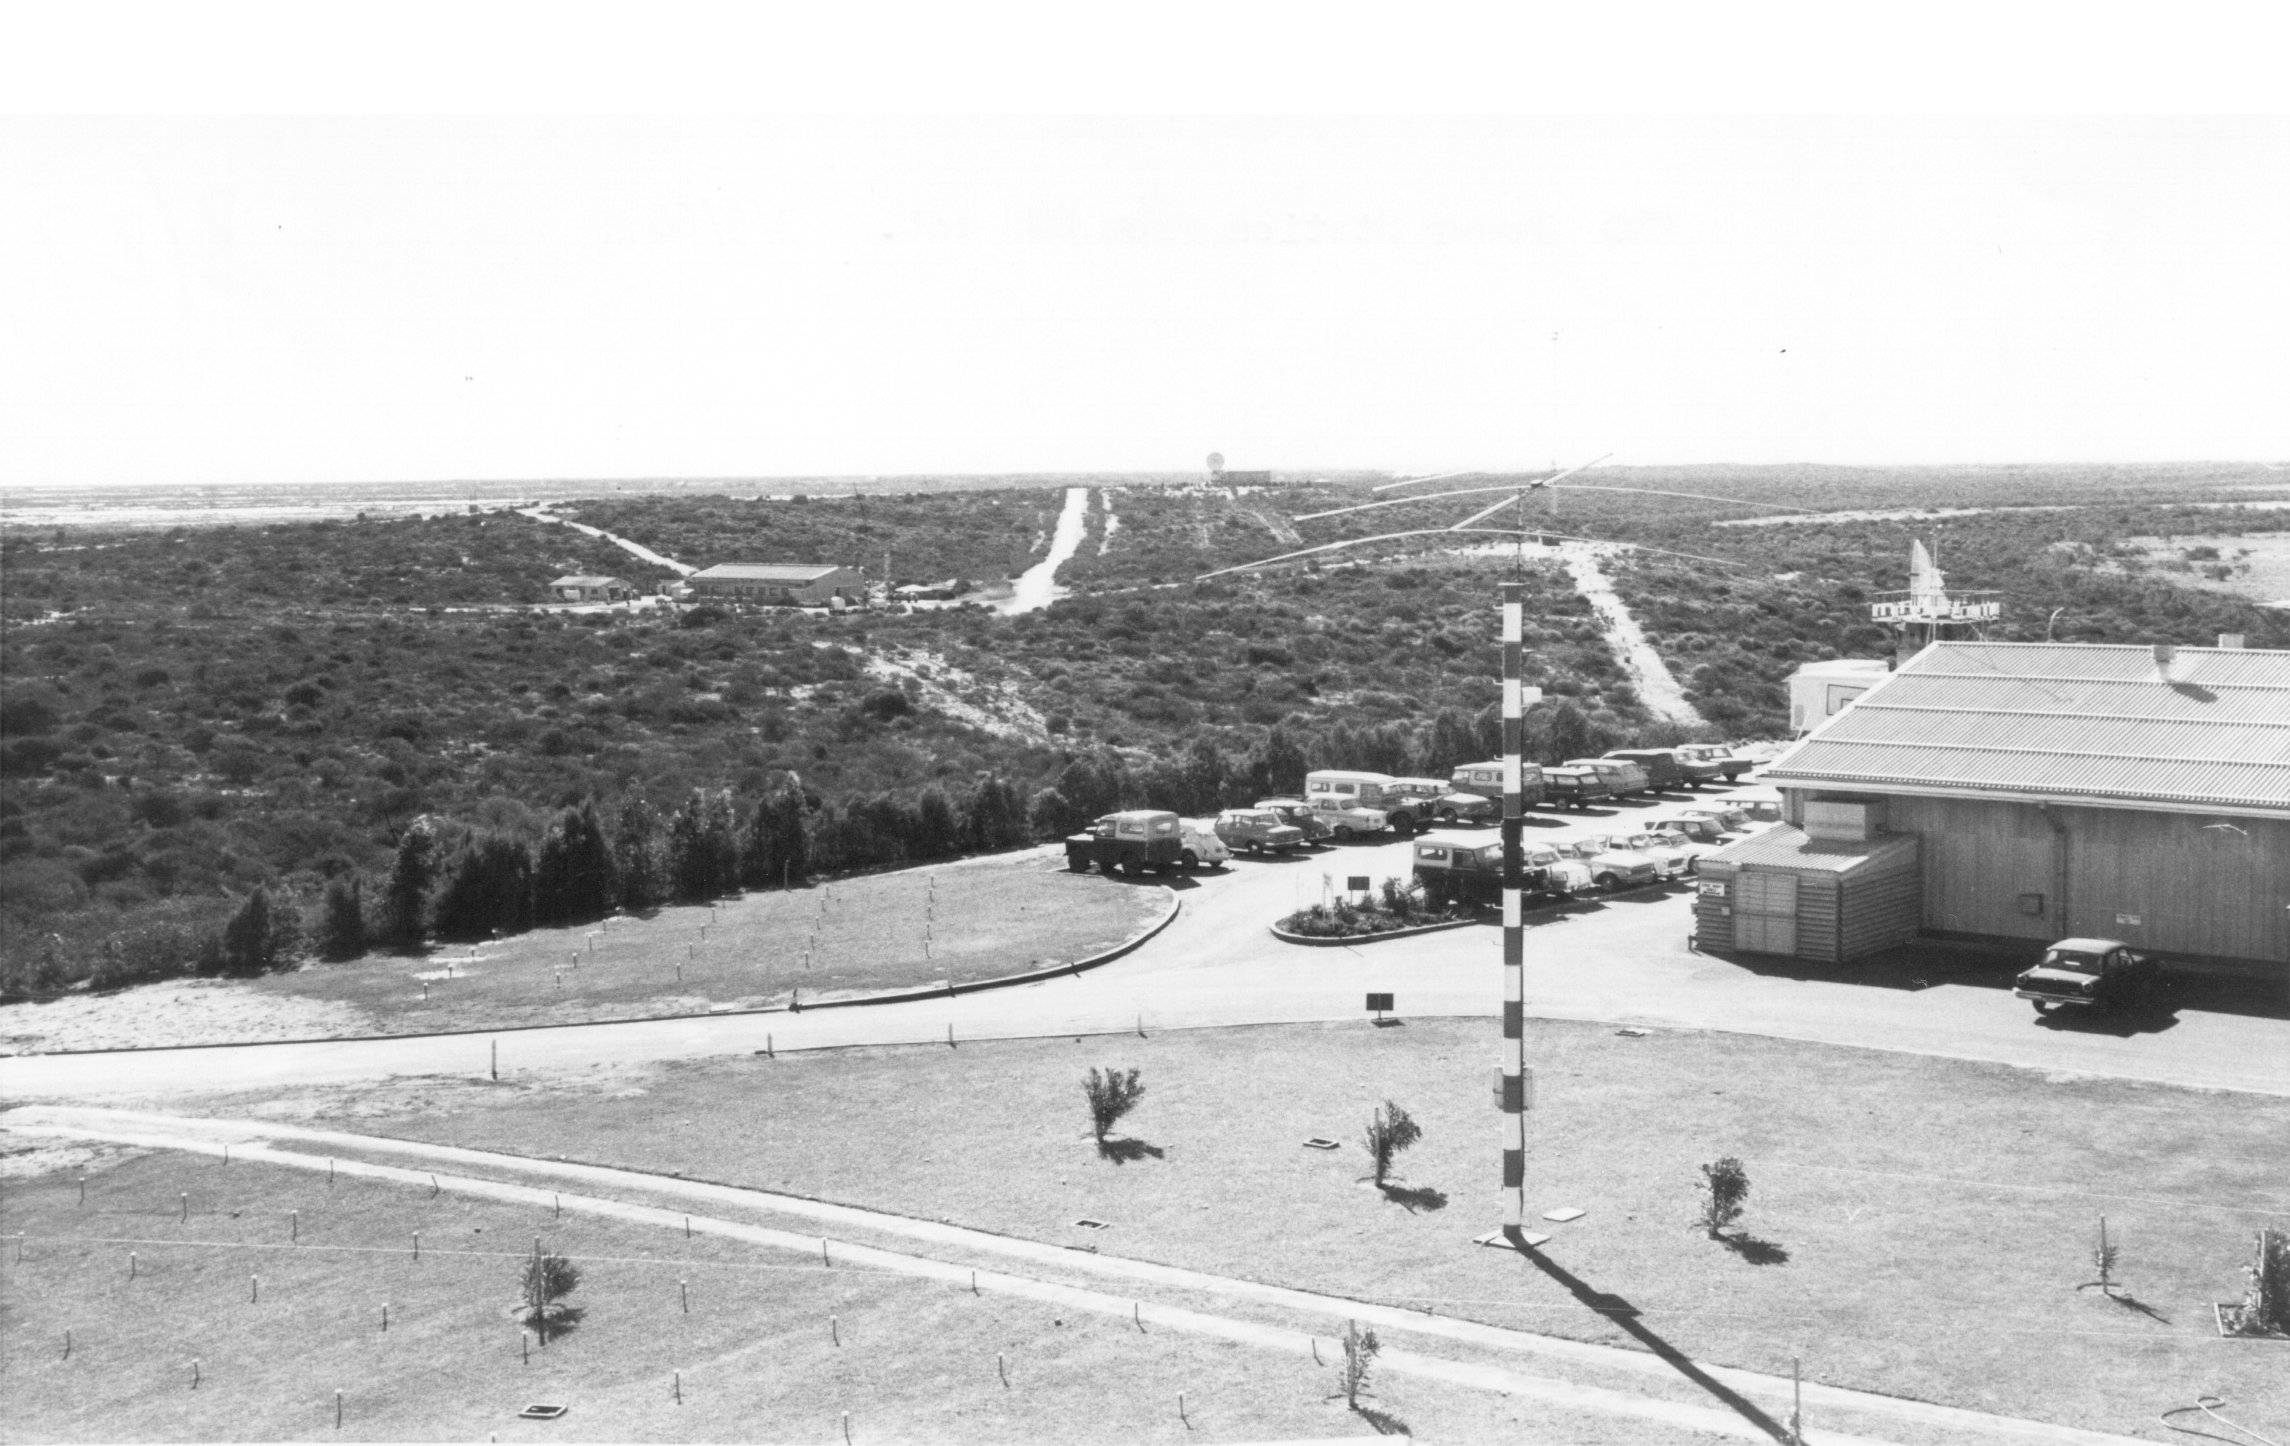
2b. R & RR – Car Park. (Who’s that up on the antenna?) |
 |
3a. R & RR – East of Road |
 |
3b. R & RR – Area GSFC proposes for New Building. |
 |
4a. R & RR – New Location East of Road. |
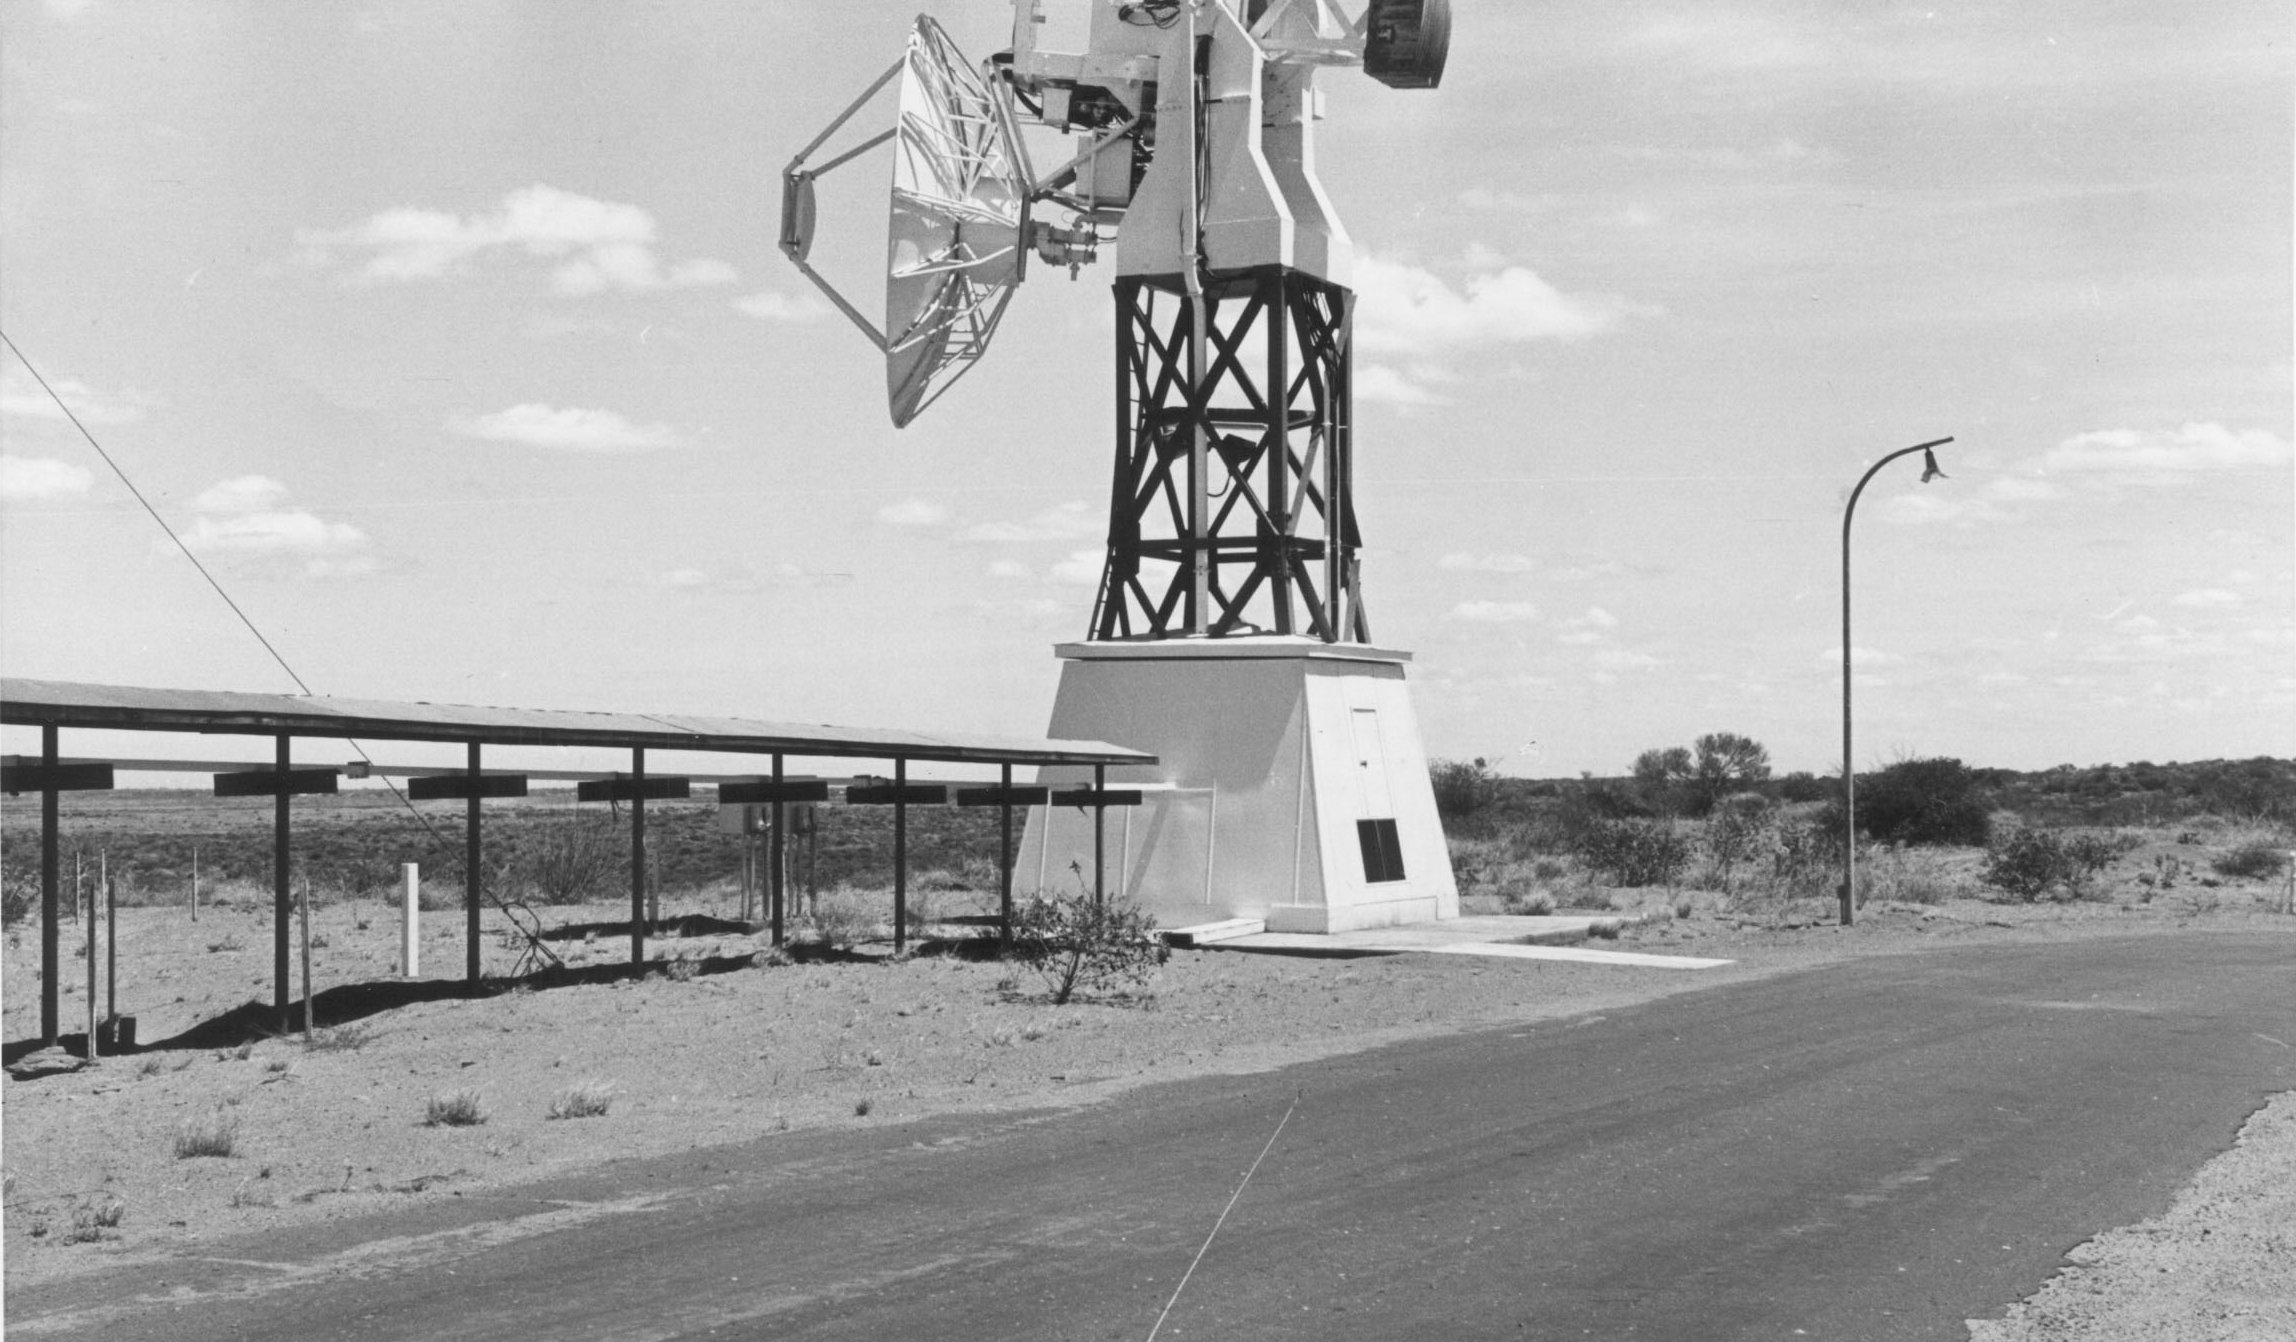 |
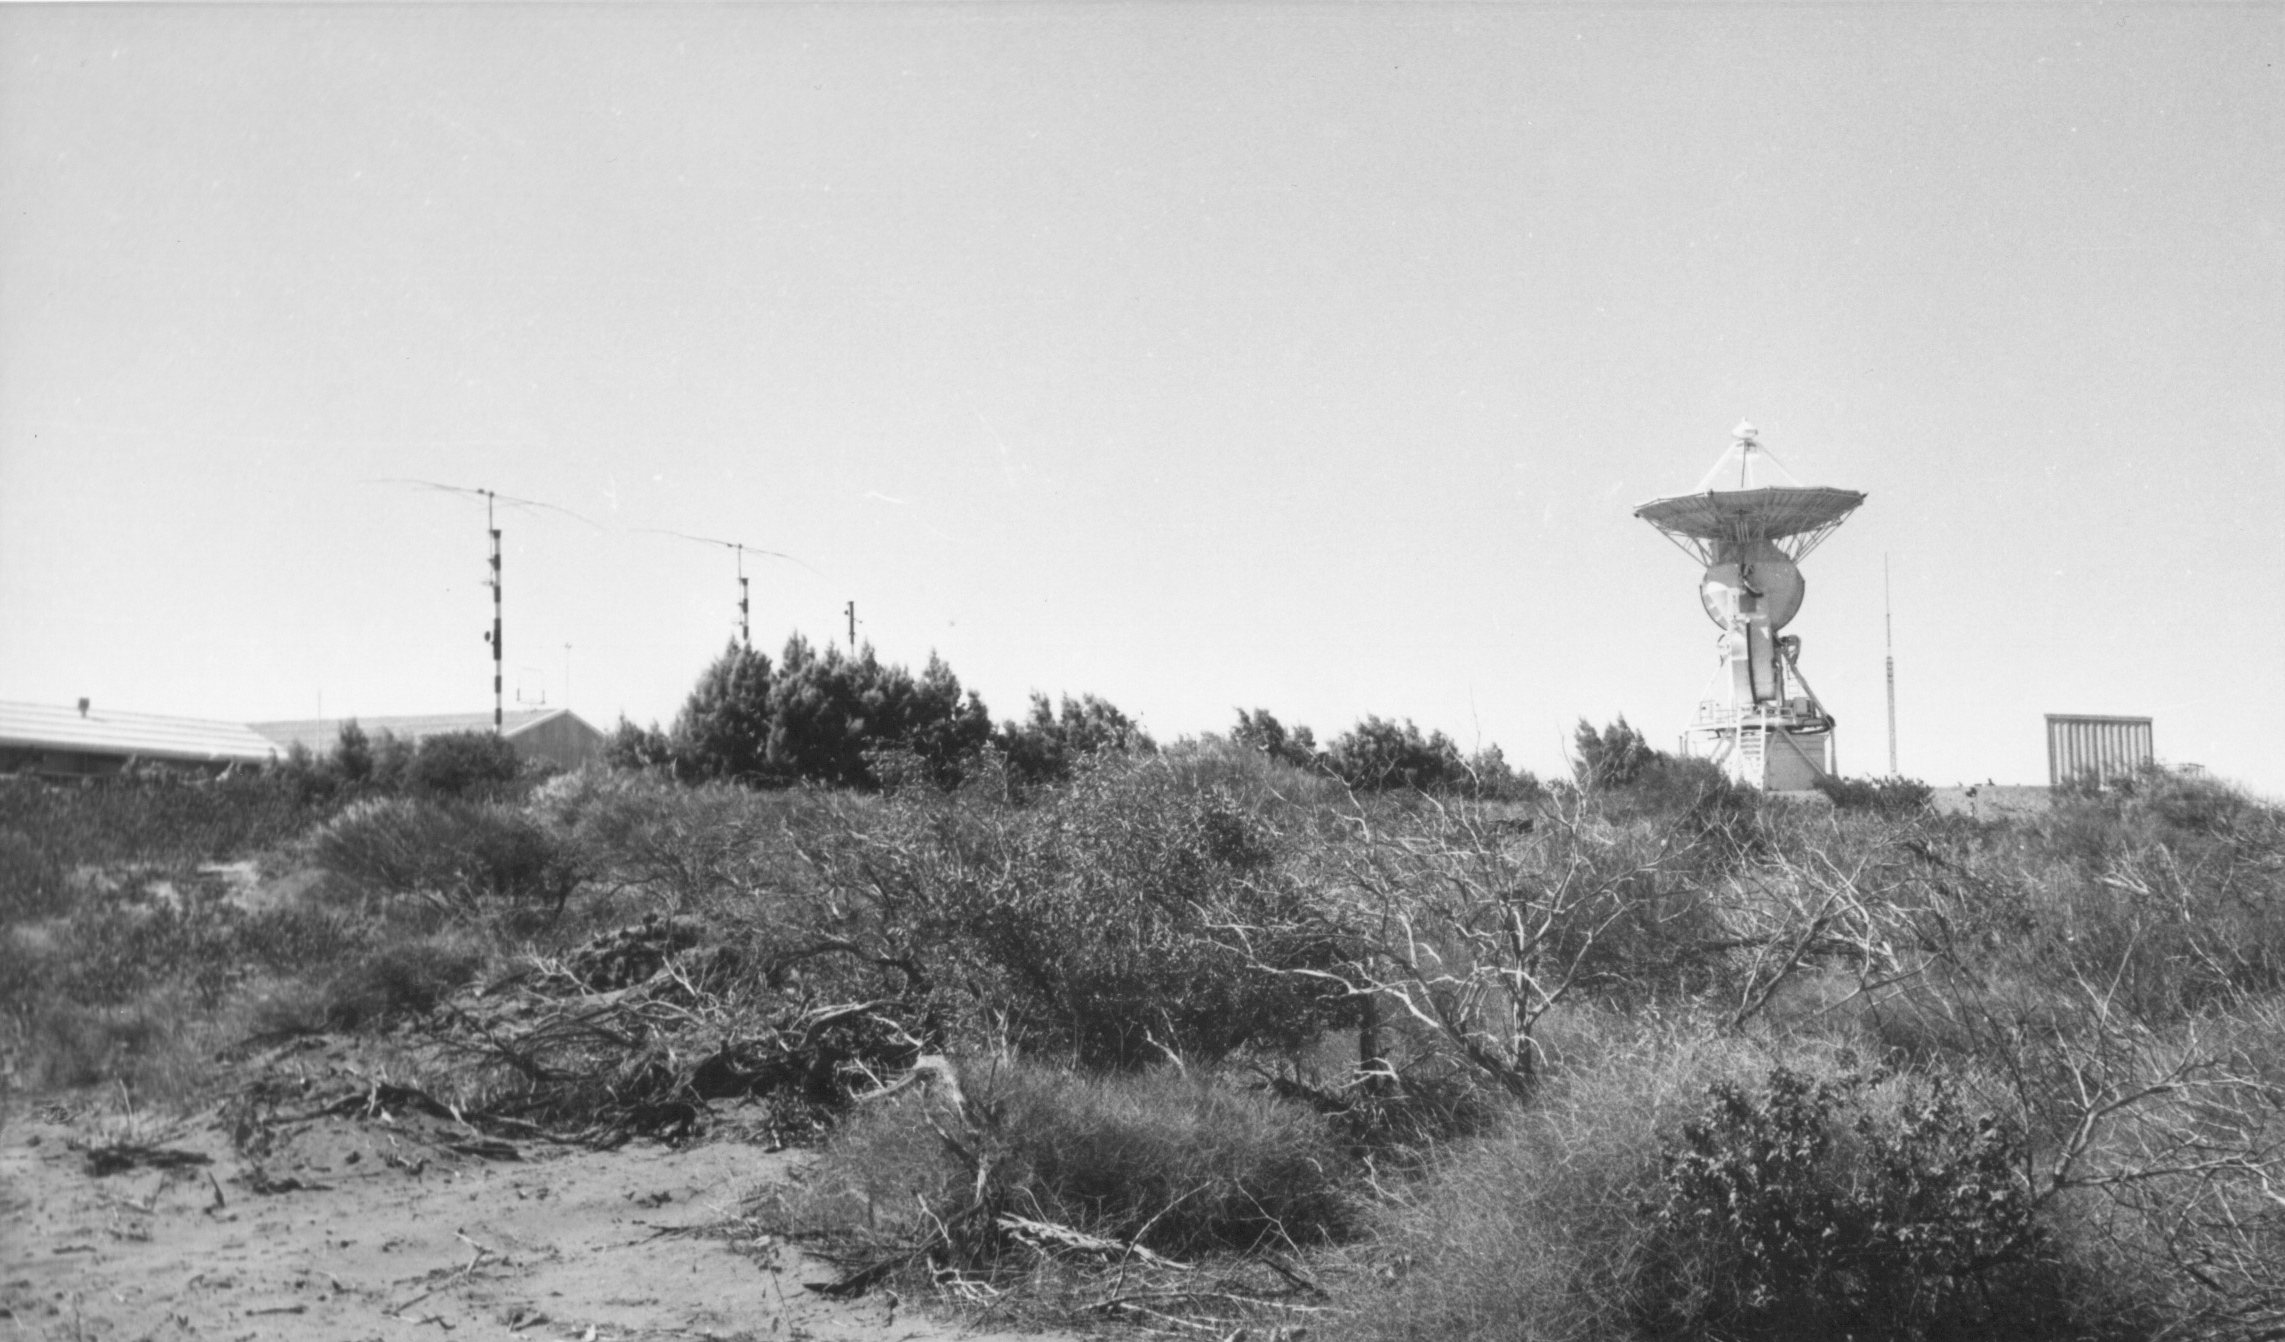
4b. R & RR – S band Antenna from New Position. |
 |
5a. BIOSTAT at R & RR. |
 |
5b. SPAN Area. |
3 May 1966
 |
6a. Video Equipment (Ampex VR-1100?) for AS-203. AS-203 was Carnarvon USB’s first official mission. A TV camera mounted inside the S-IVB liquid hydrogen tank enabled CRO to record what happened to a cloud of liquid hydrogen droplets when the ullage rocket was fired to bring the droplets back together as a single mass of liquid – the first ever live television transmission into Australia. The manned Apollo flights would need to re-start the S-IVB for Trans-Lunar Injection. AS-203 was launched on 5 July 1966. (Thanks to Paul Dench for his help.) |
 |
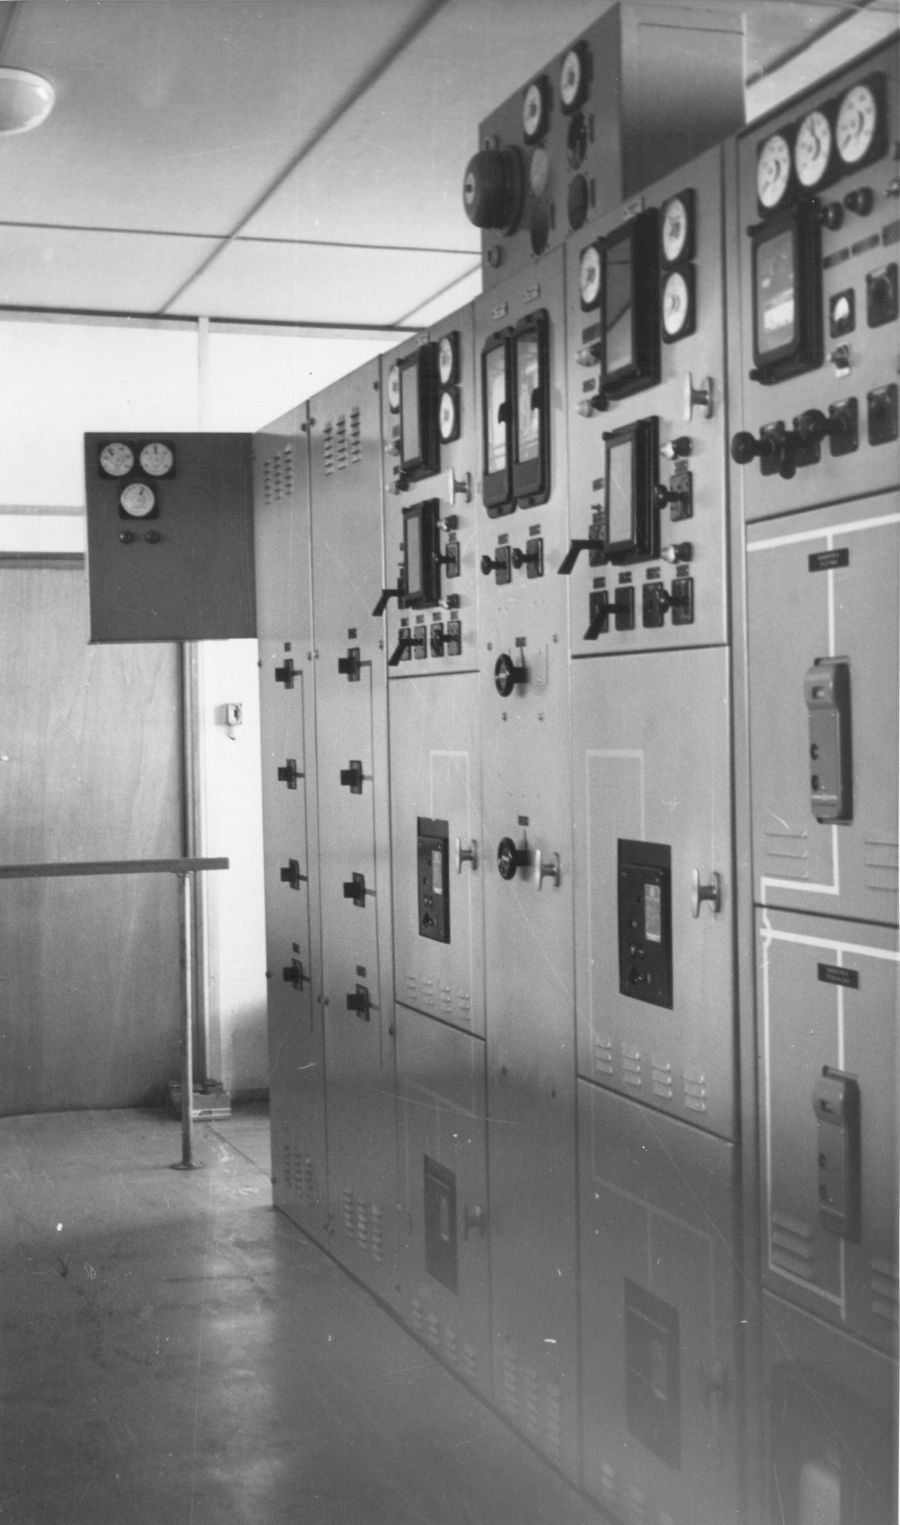
6b. USB Consoles. |
 |
7a. USB Antenna from the Antenna Servo Console. |
 |
7b. SPAN from USB Antenna. |
 |
8a. T & C Road from USB Antenna. |
 |
8b. Power Station from USB Antenna. |
 |
9a. T & C from USB. |
 |
9b. T & C Extension from USB Antenna. |
4 May 1966
 |
10a. T & C Extension. (i.e. USB extension) |
 |
10b. T & C Extension Eastern Side. |
 |
11a. T & C Extension Northern Side. |
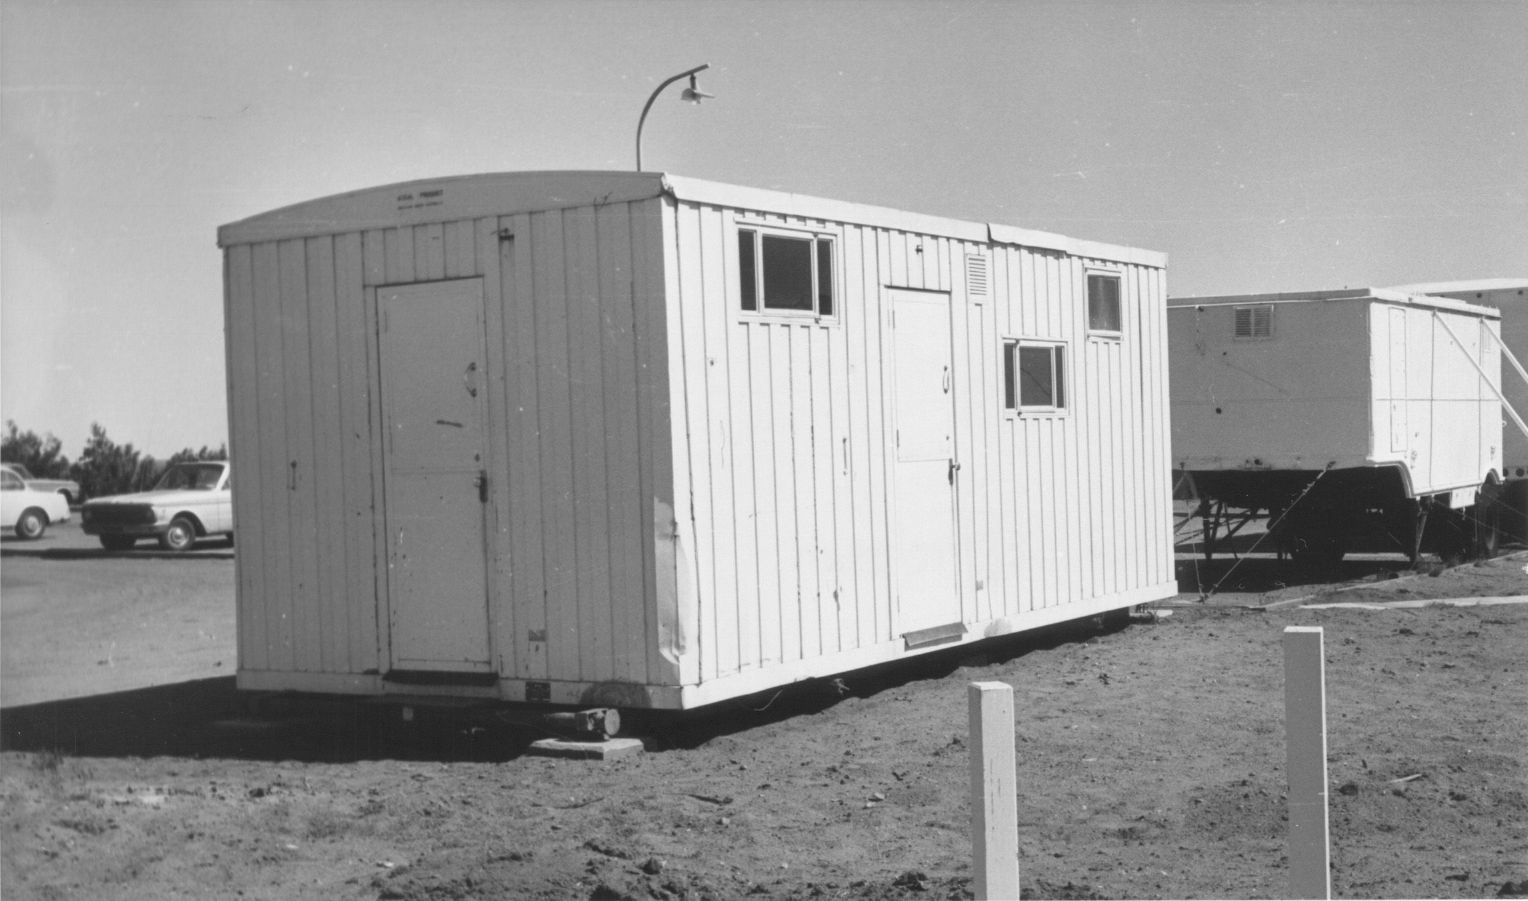 |
11b. PMR Van near Car Park. |
 |
12a. Verlort. |
 |
12b. Proposed Messing Site. |
 |
13a. T & C from Road Junction. |
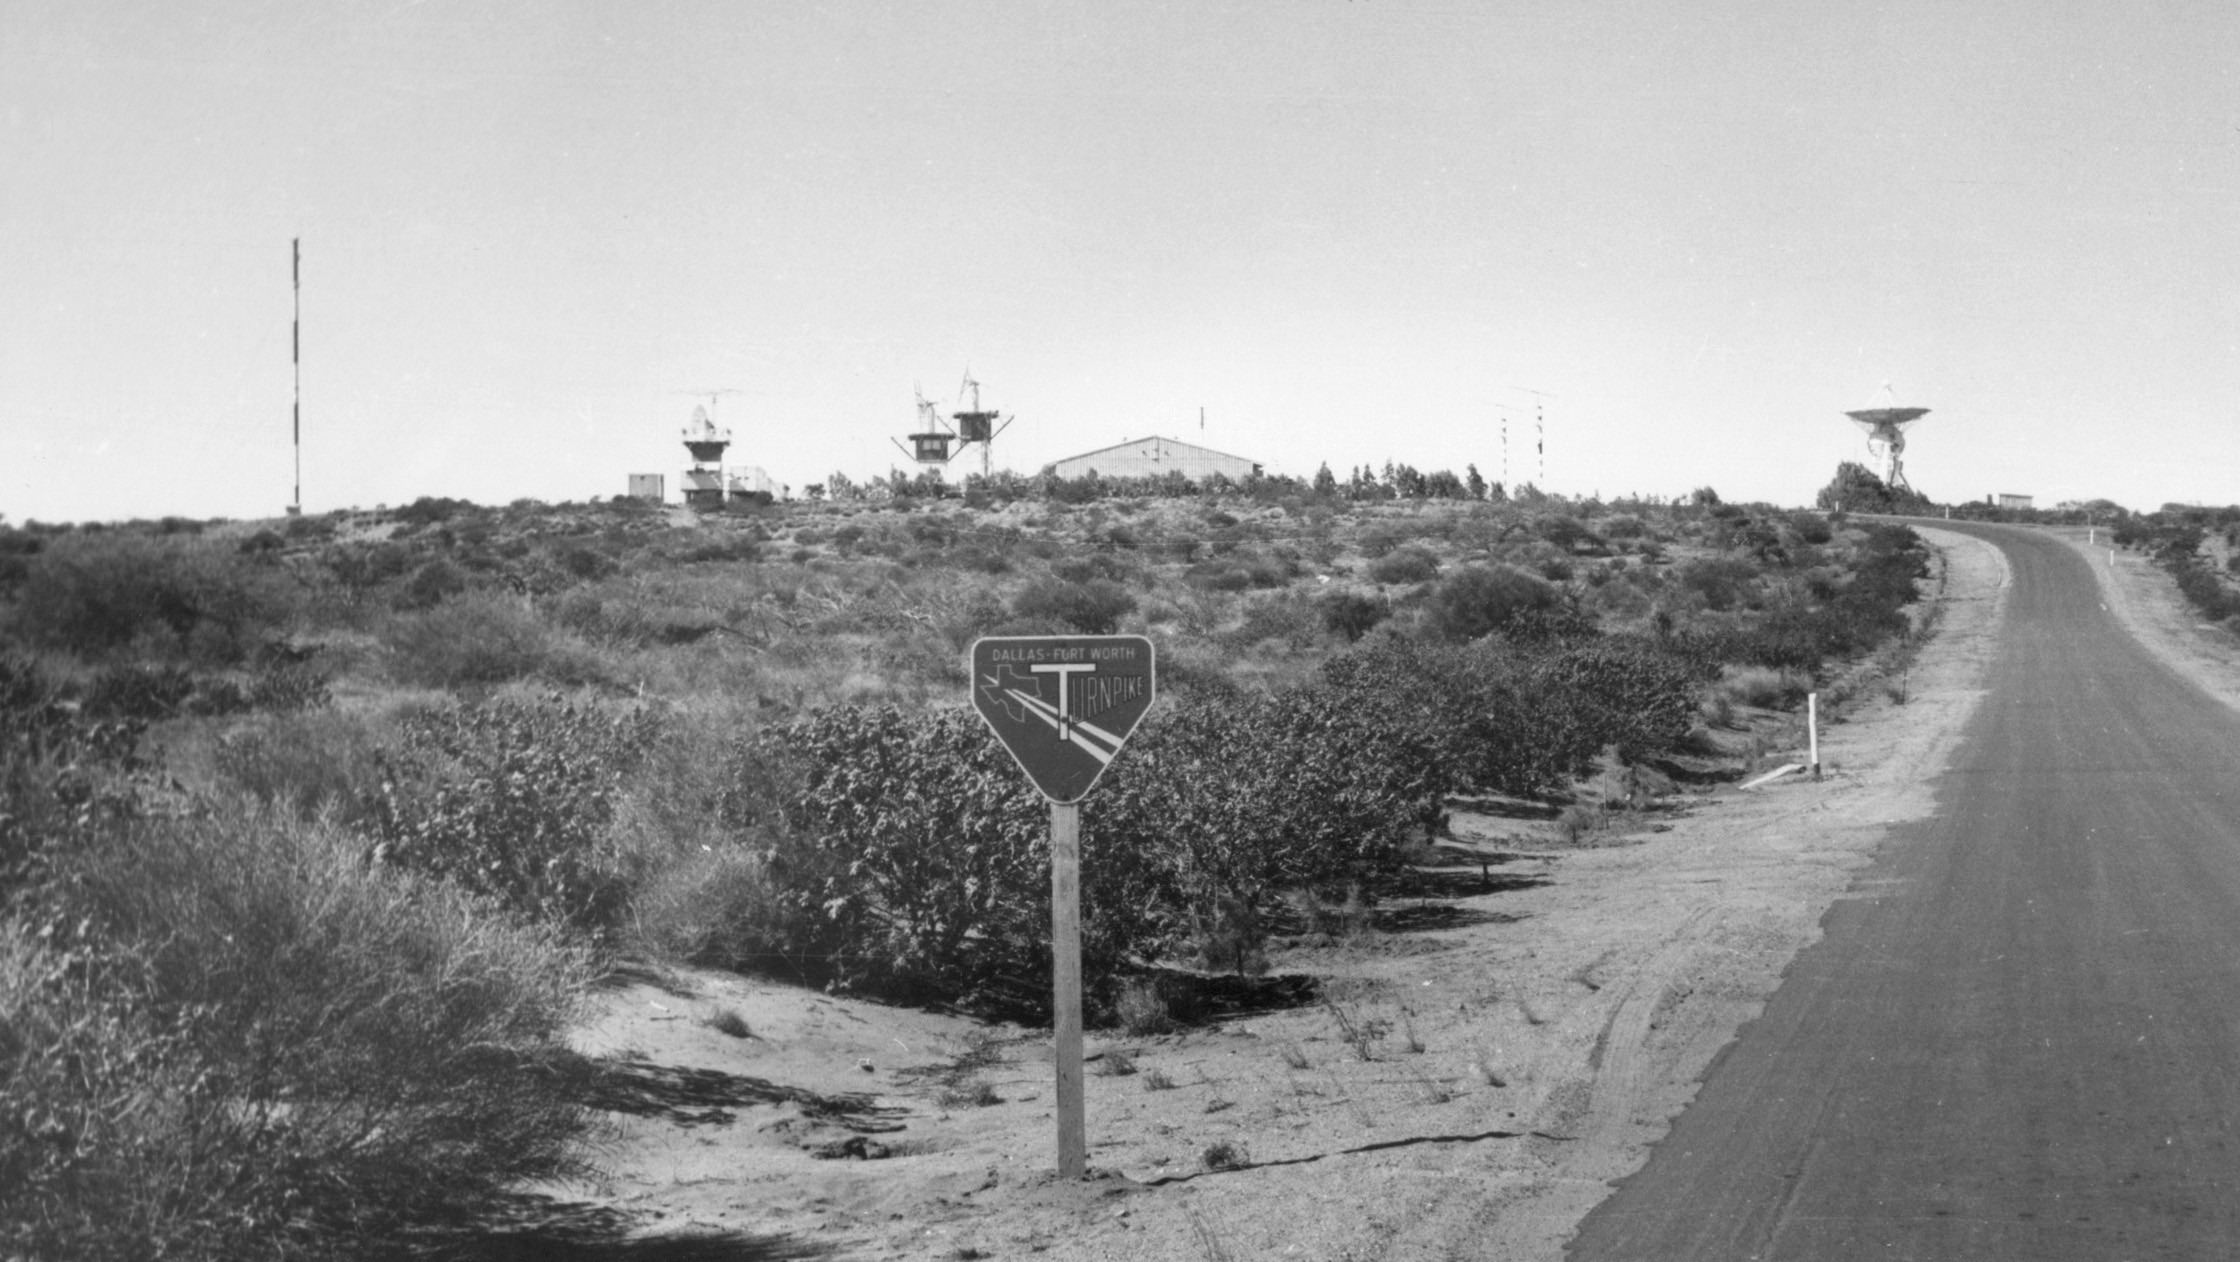 |
13b. T & C from Road Junction. |
 |
14a. T & C and USB from Jupiter Array (eastern) Site. |
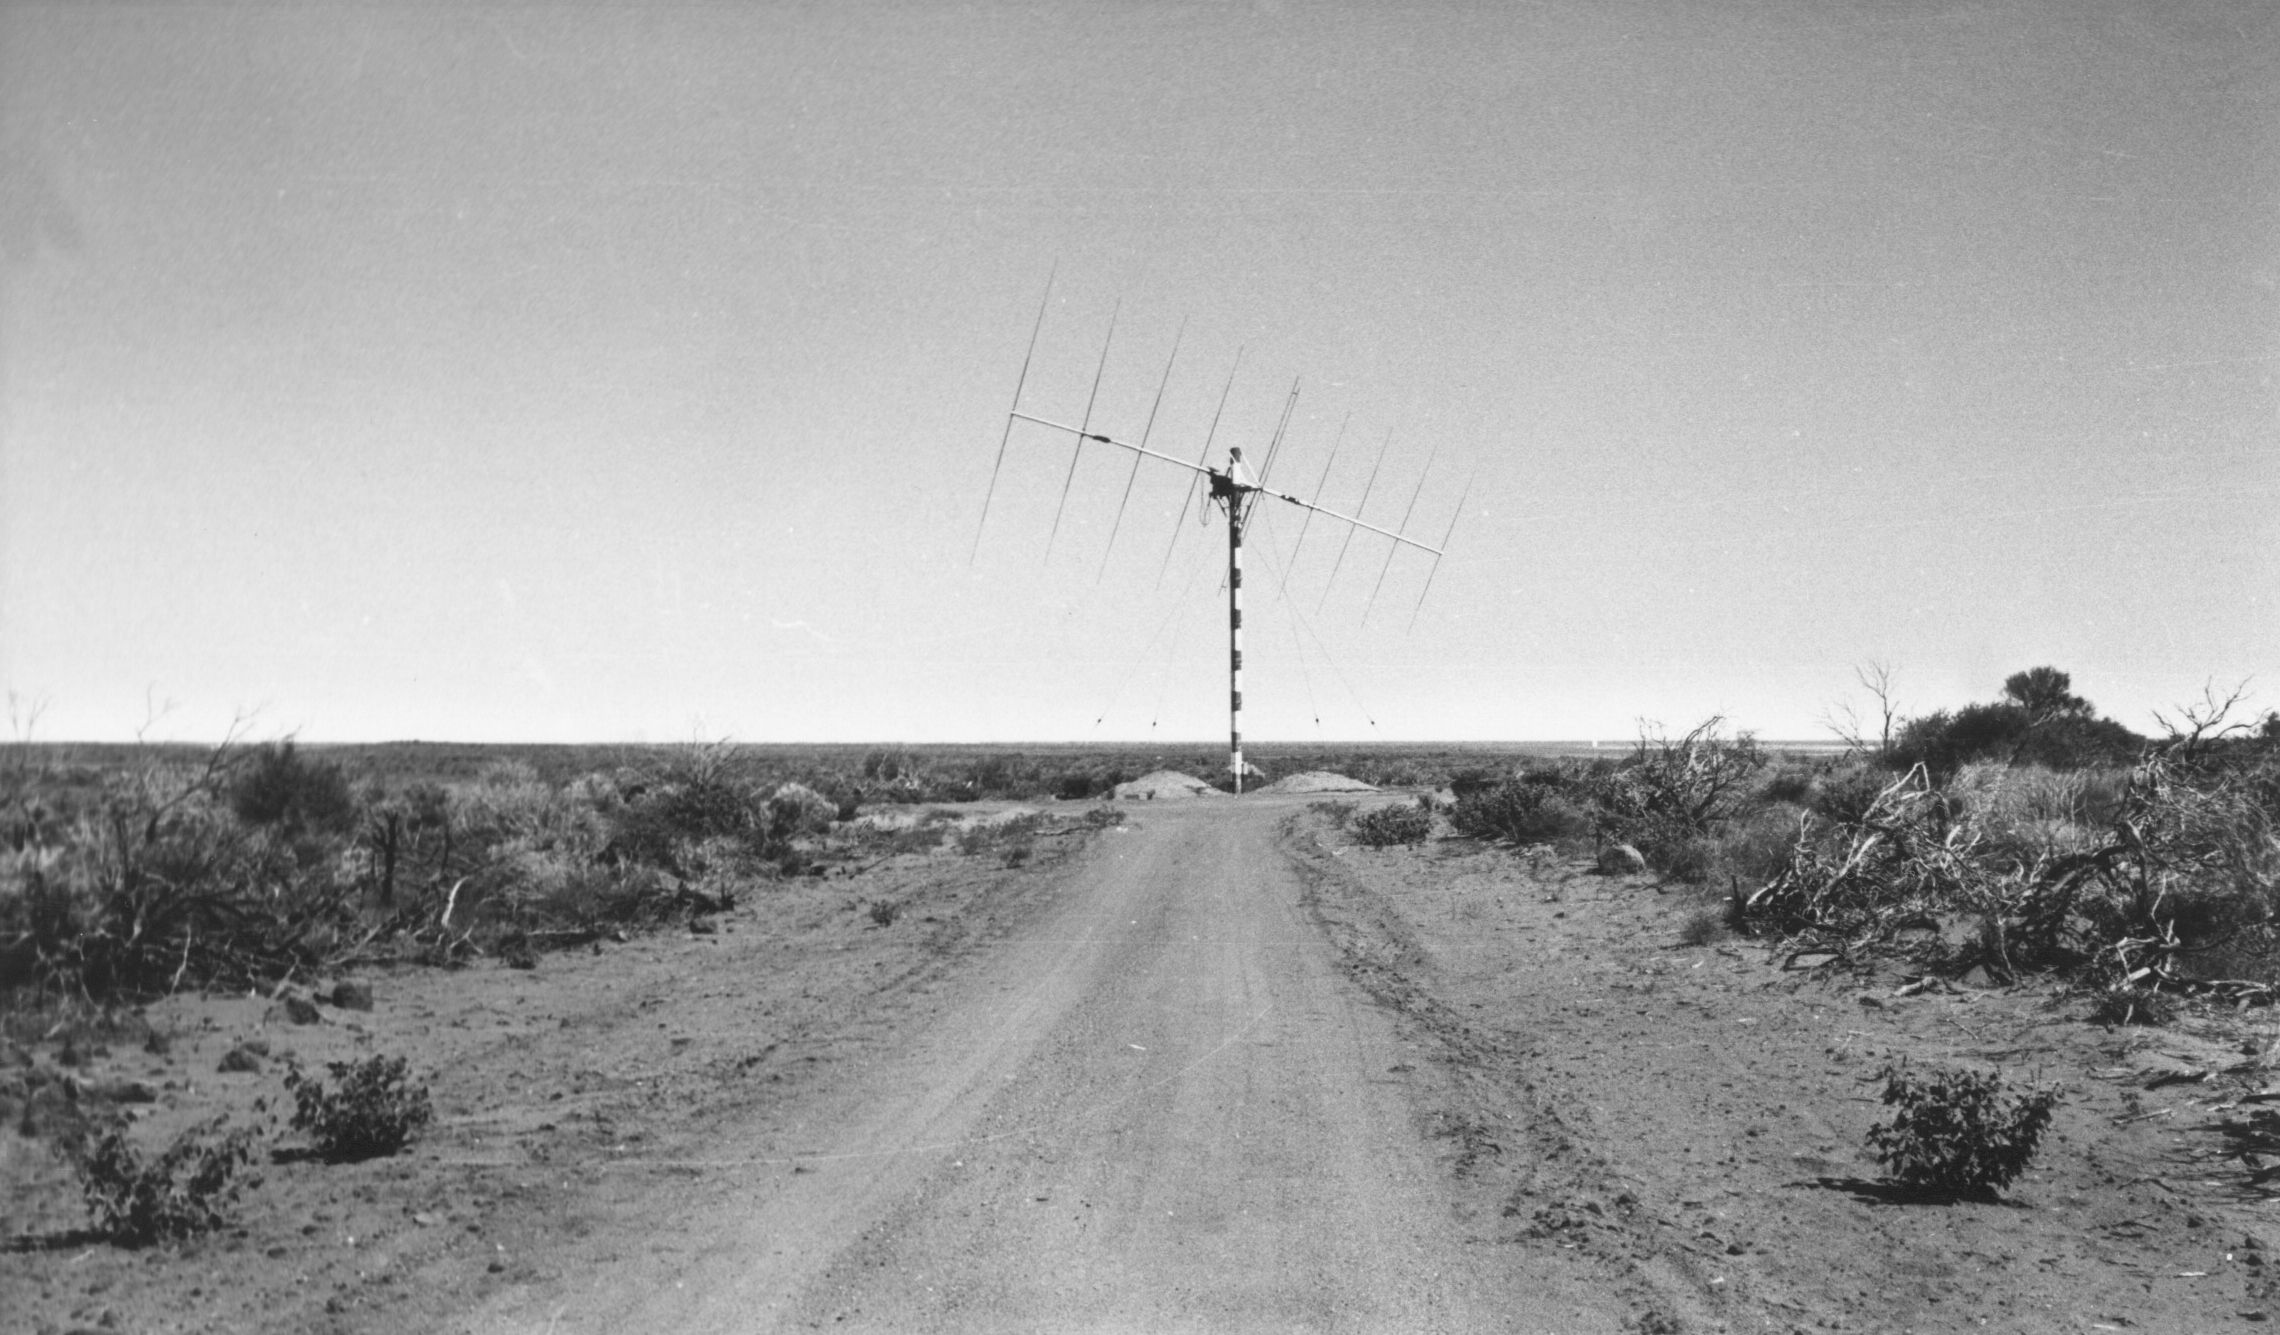 |
14b. Track to Jupiter Monitoring Array (eastern site). |
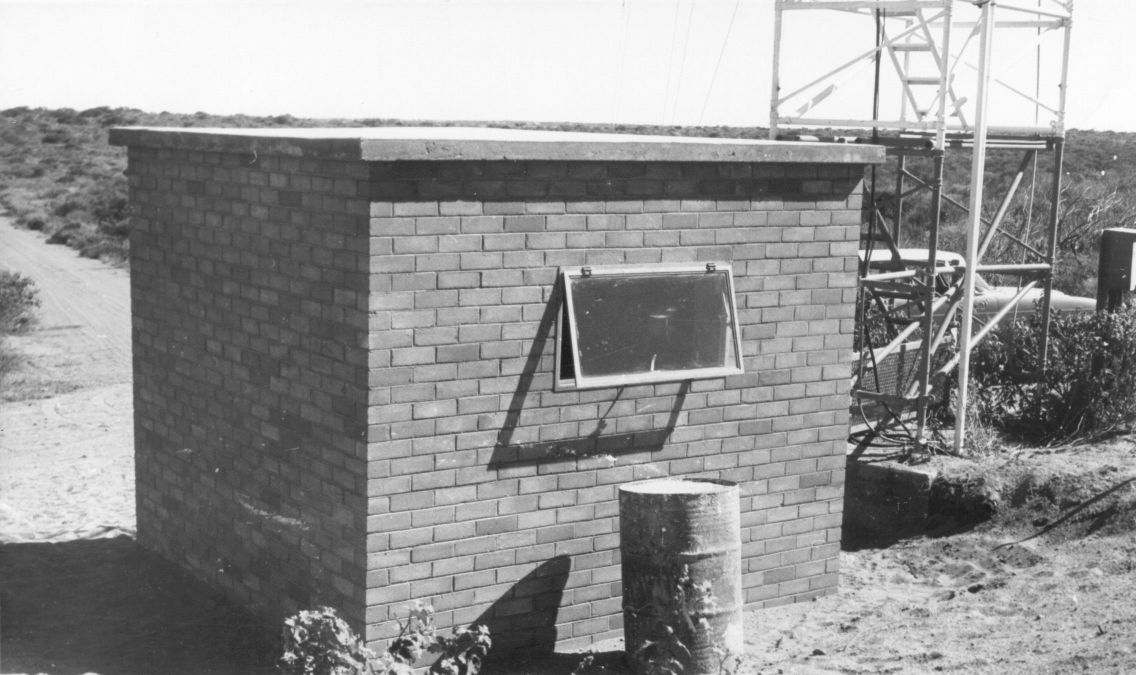 |
15a. R & RR Boresight Hut. |
 |
15b. R & RR Boresight Hut. |
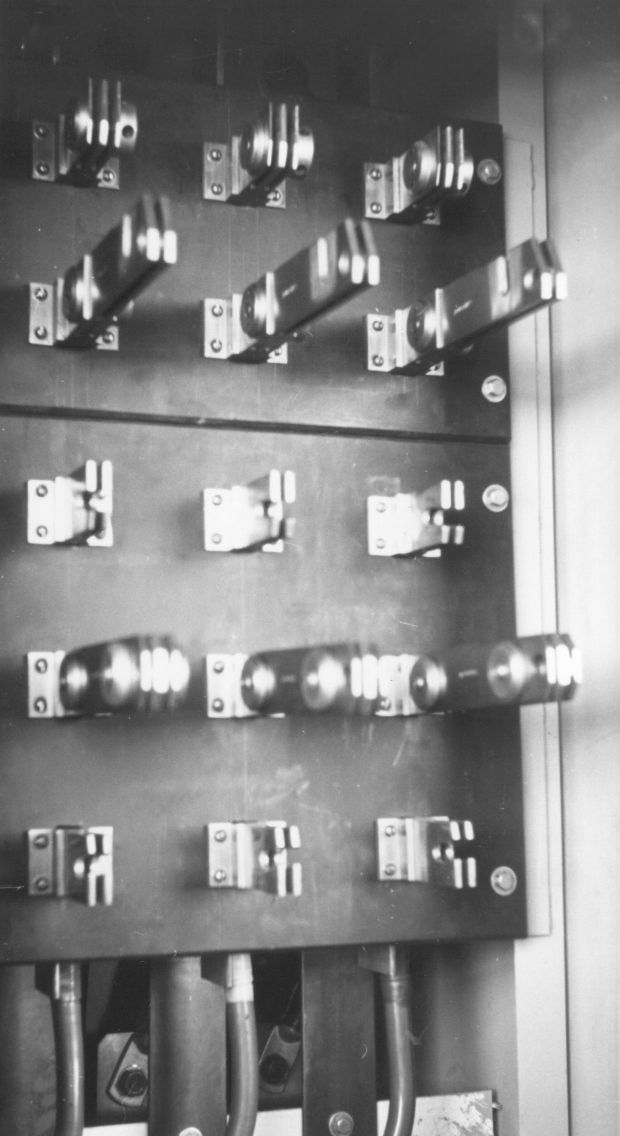 |
16a. Power House Bus Isolating Links. |
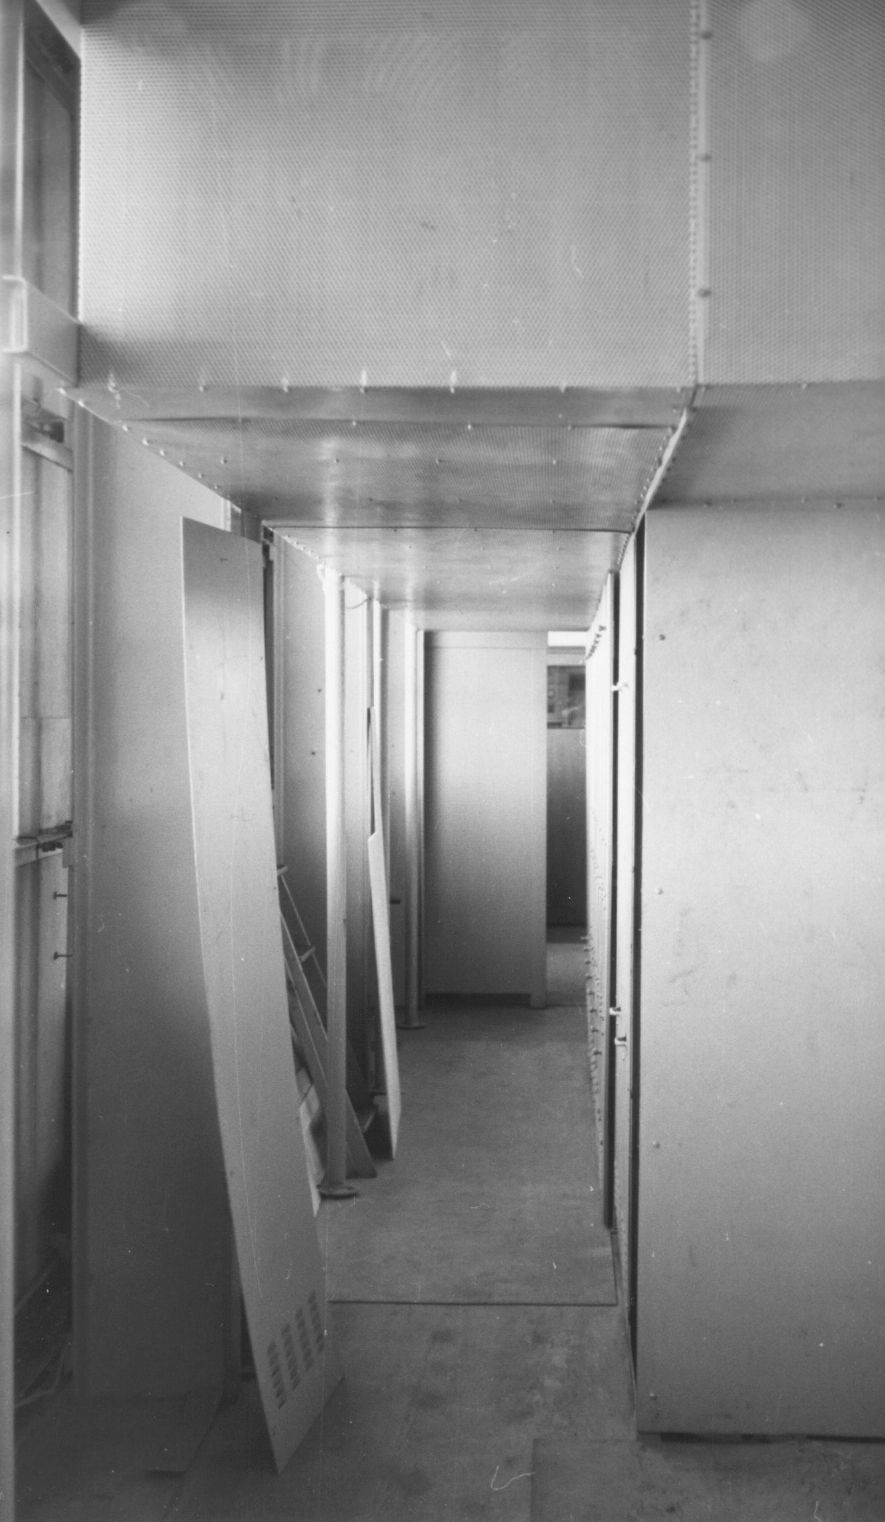 |
16b. Power House Overhead Bus Extensions. |
 |
17a. Extension for Two 500kW Machines. |
 |
17b. Extension for Two 500kW Machines. |
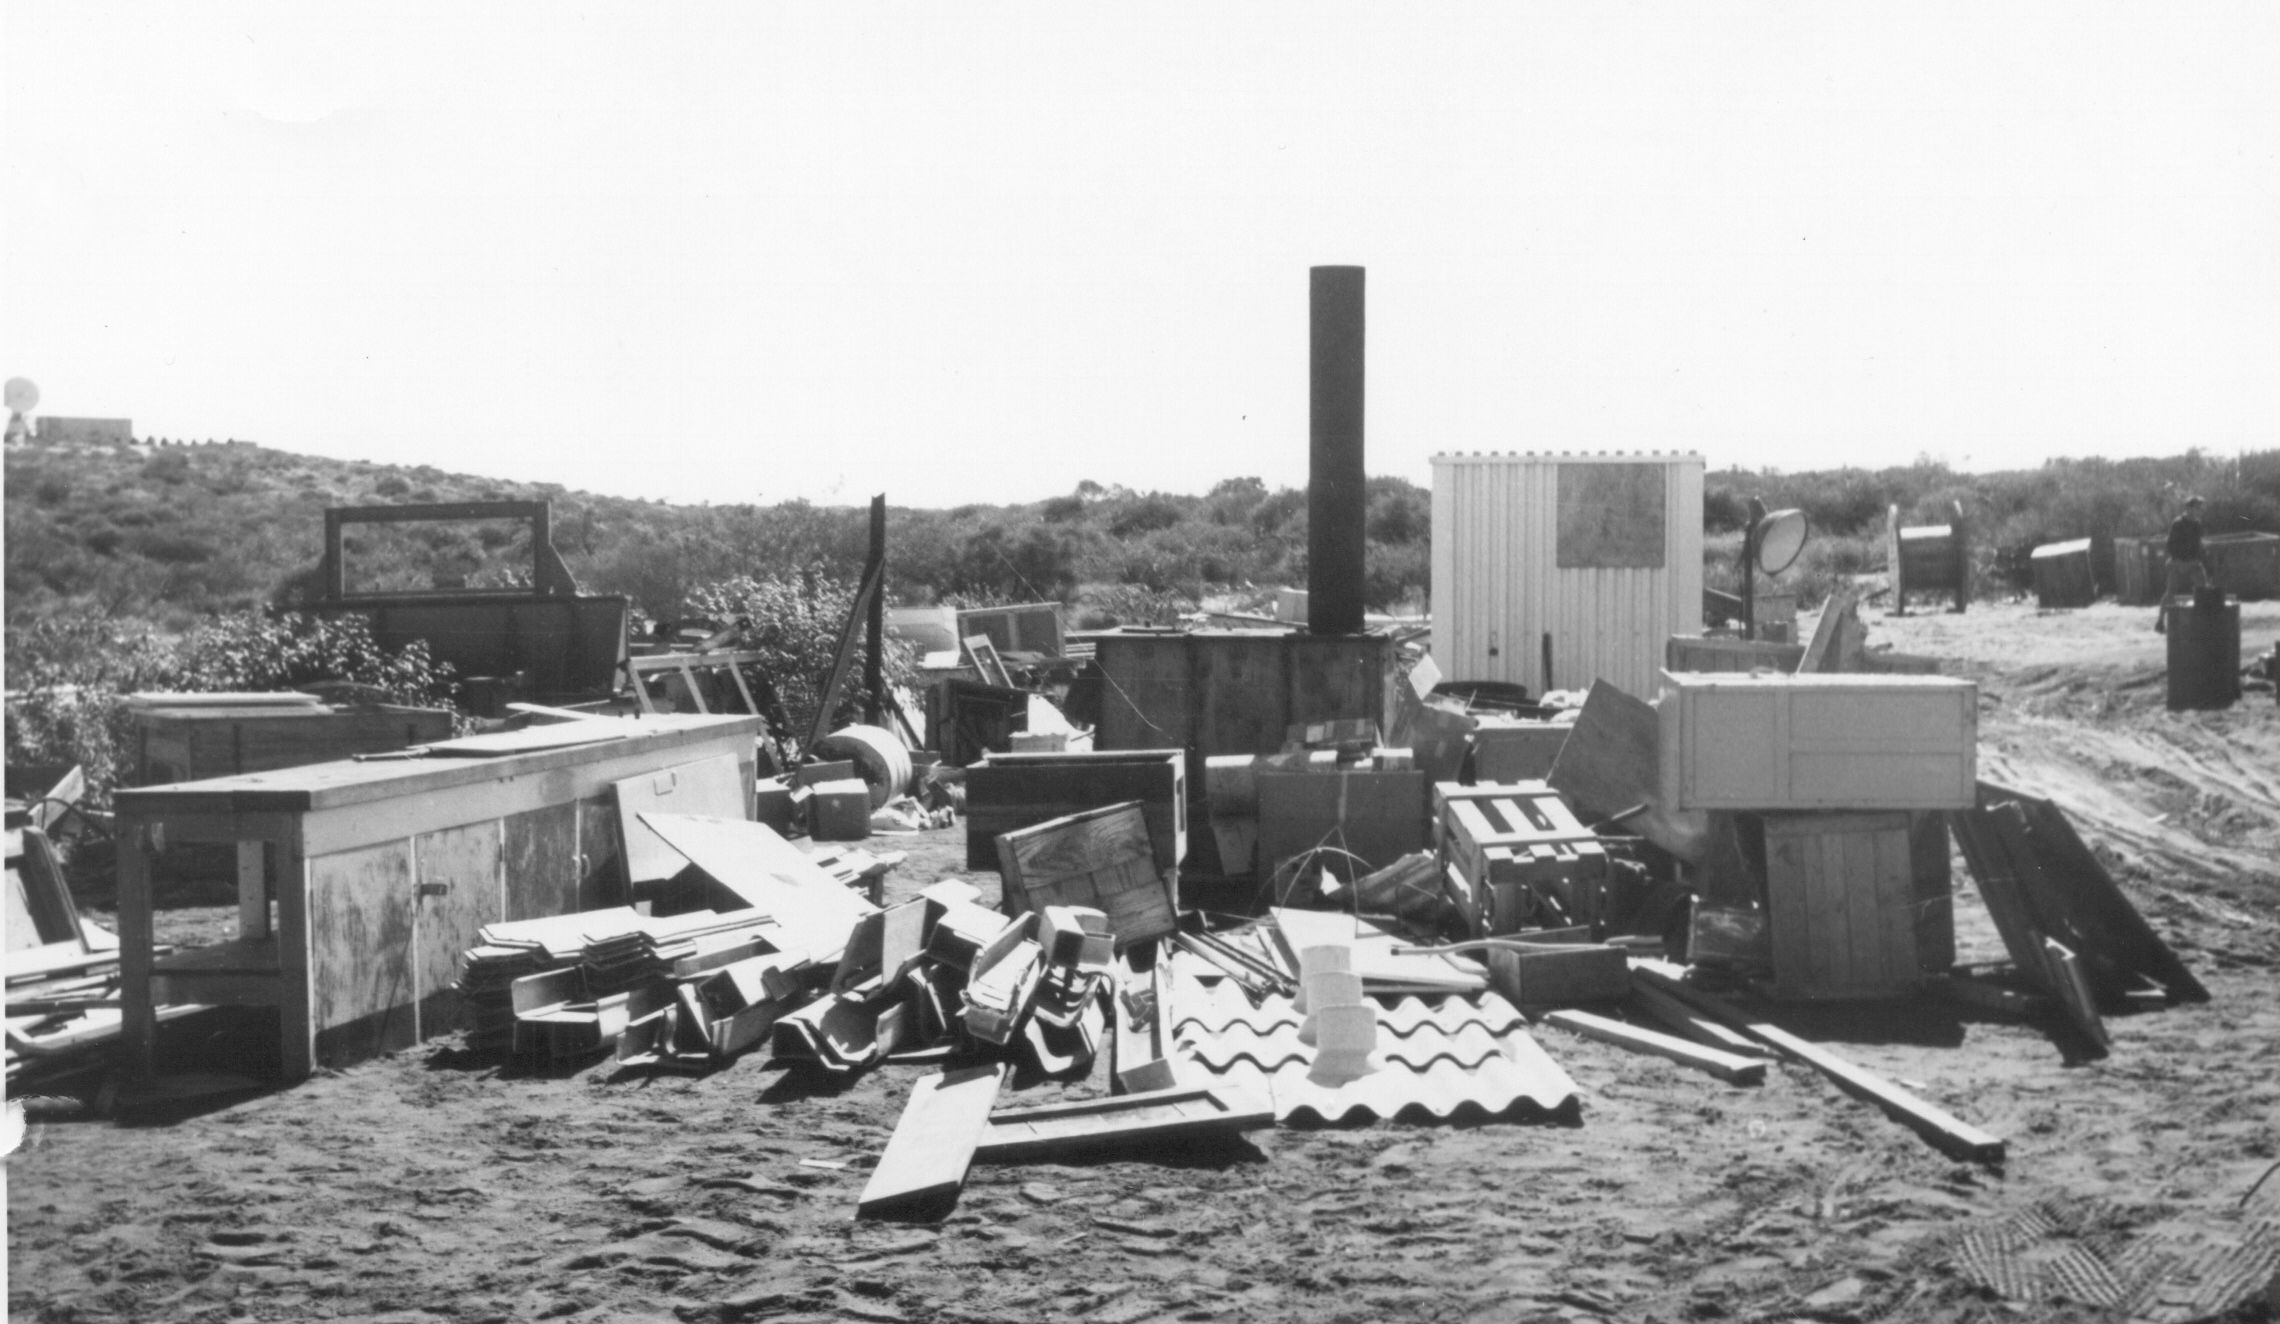 |
18a. Surplus Materials (Part). |
 |
18b. Maintenance Shed. |
 |
19a. Power House. |
 |
19b. Power House Revised Bus Routing. |
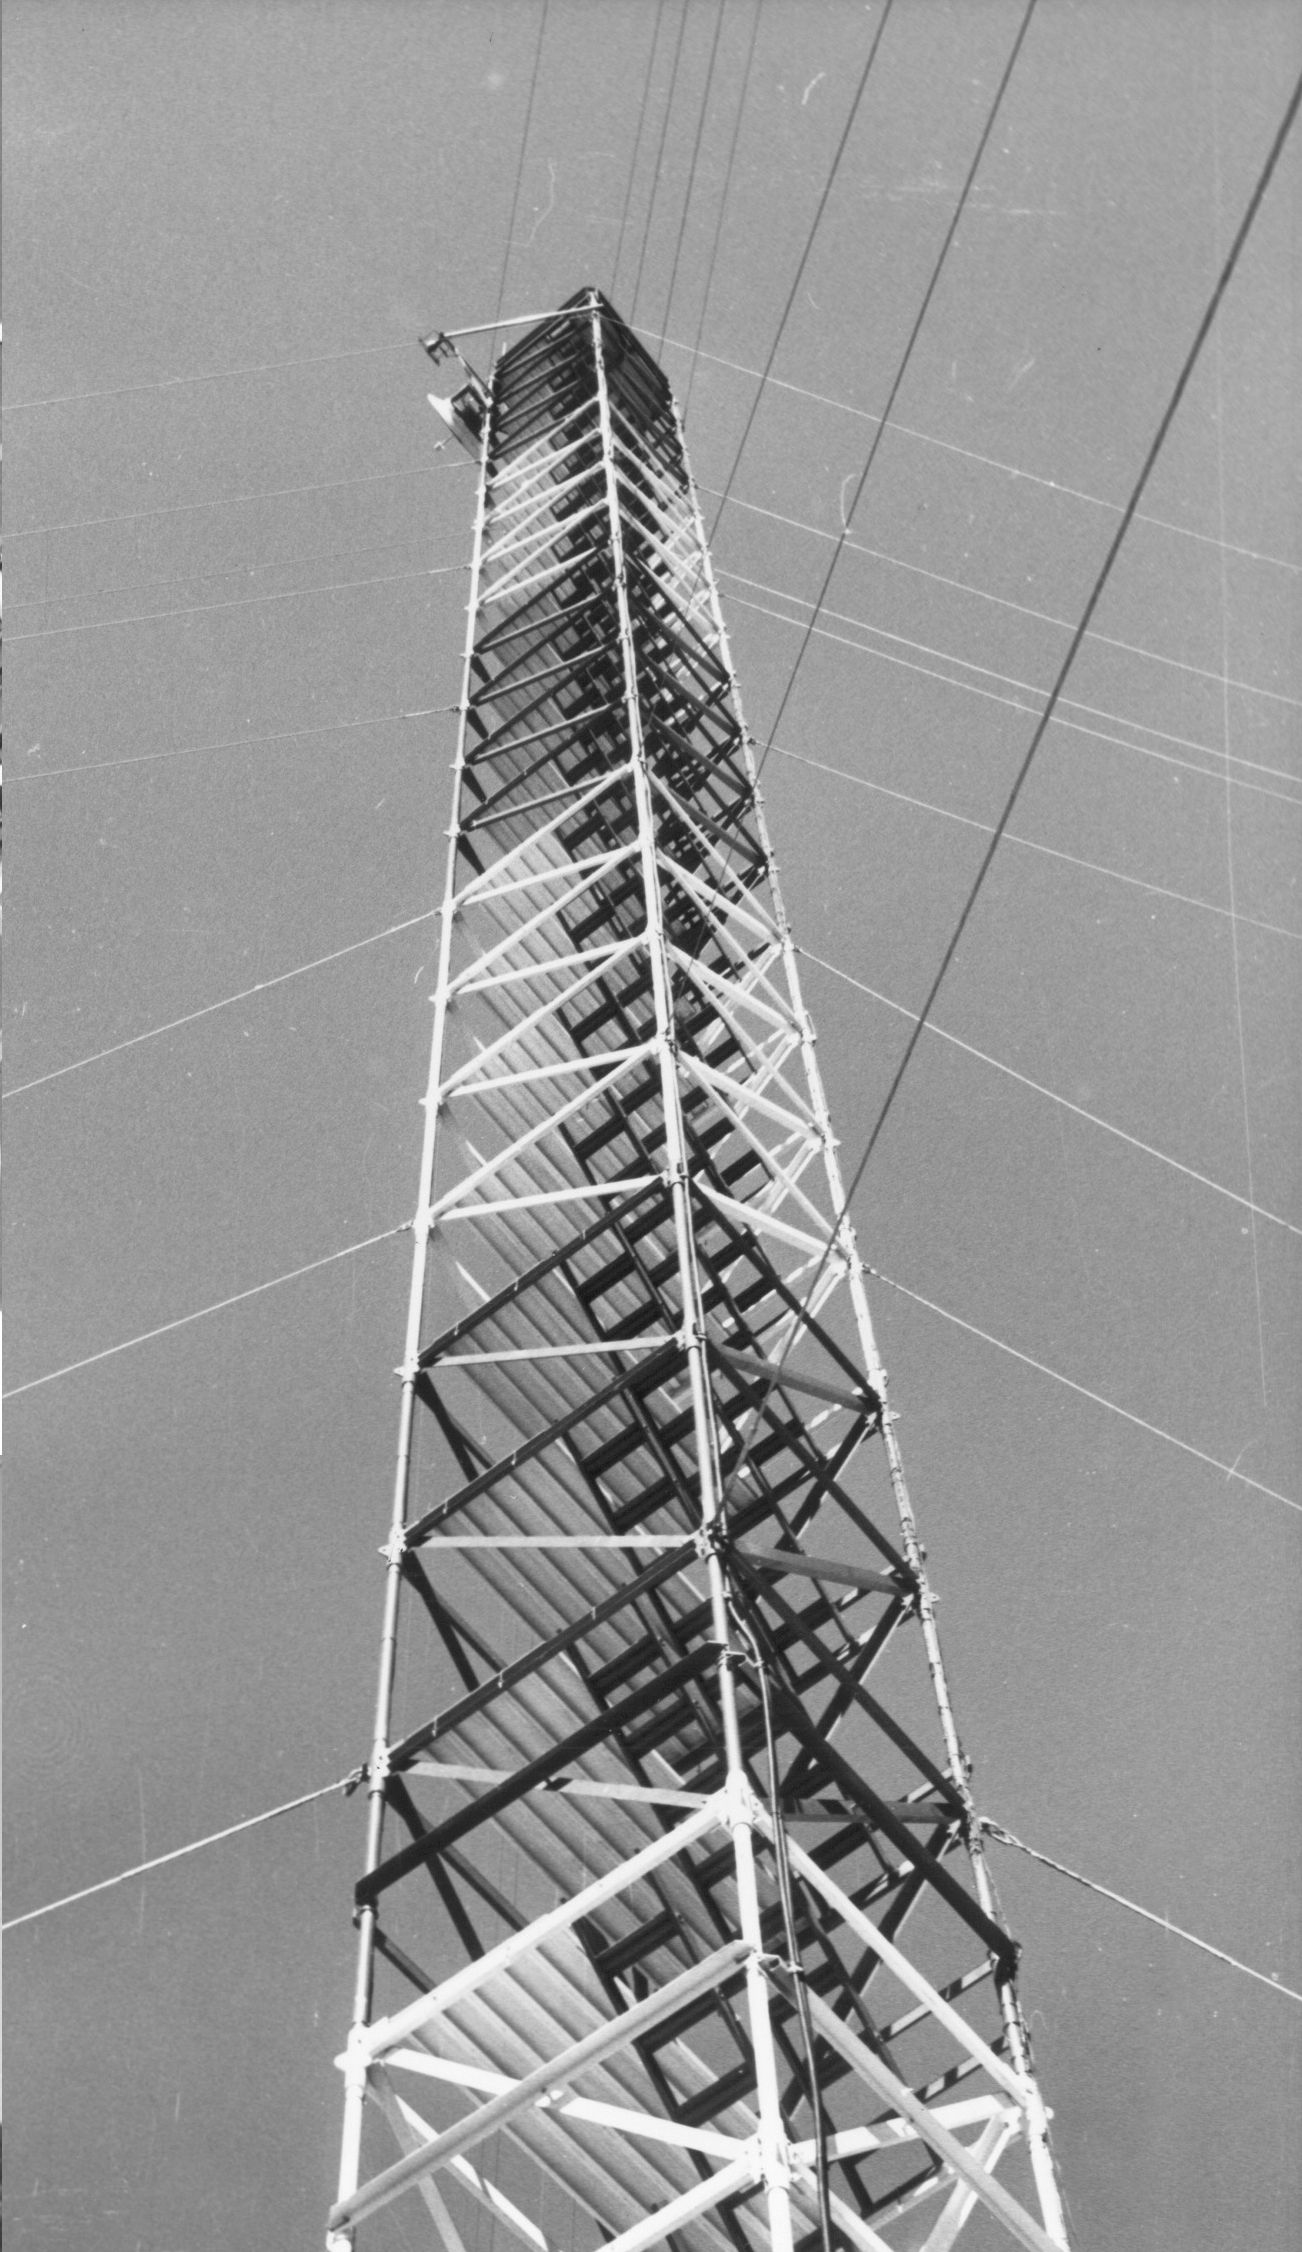 |
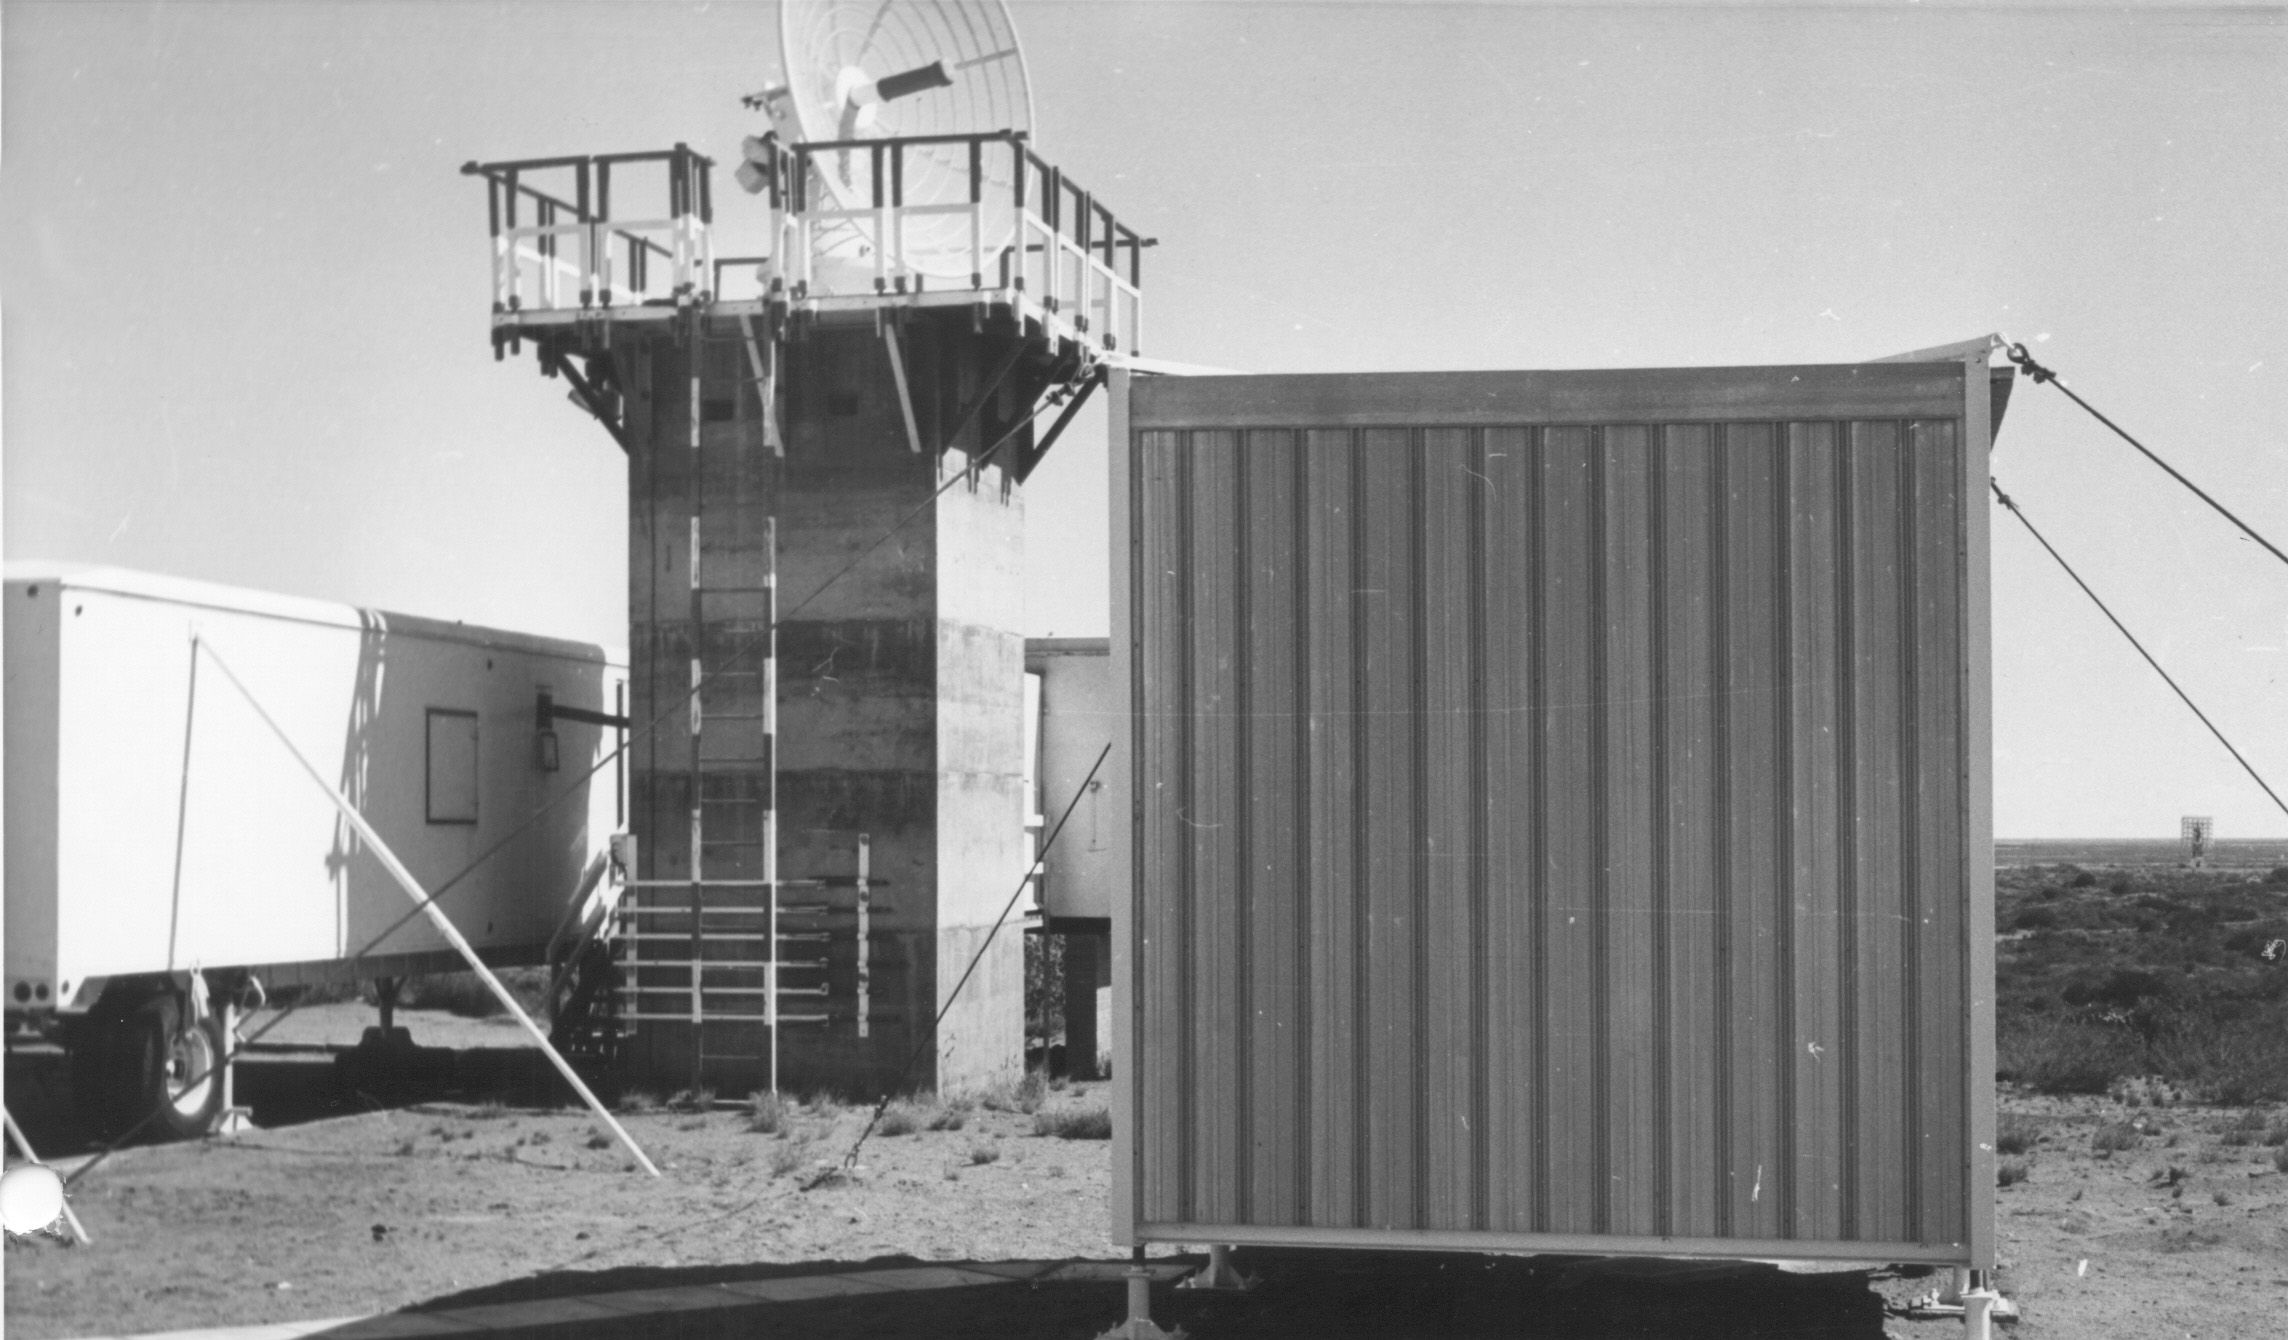
20a. USB Collimation Tower. |
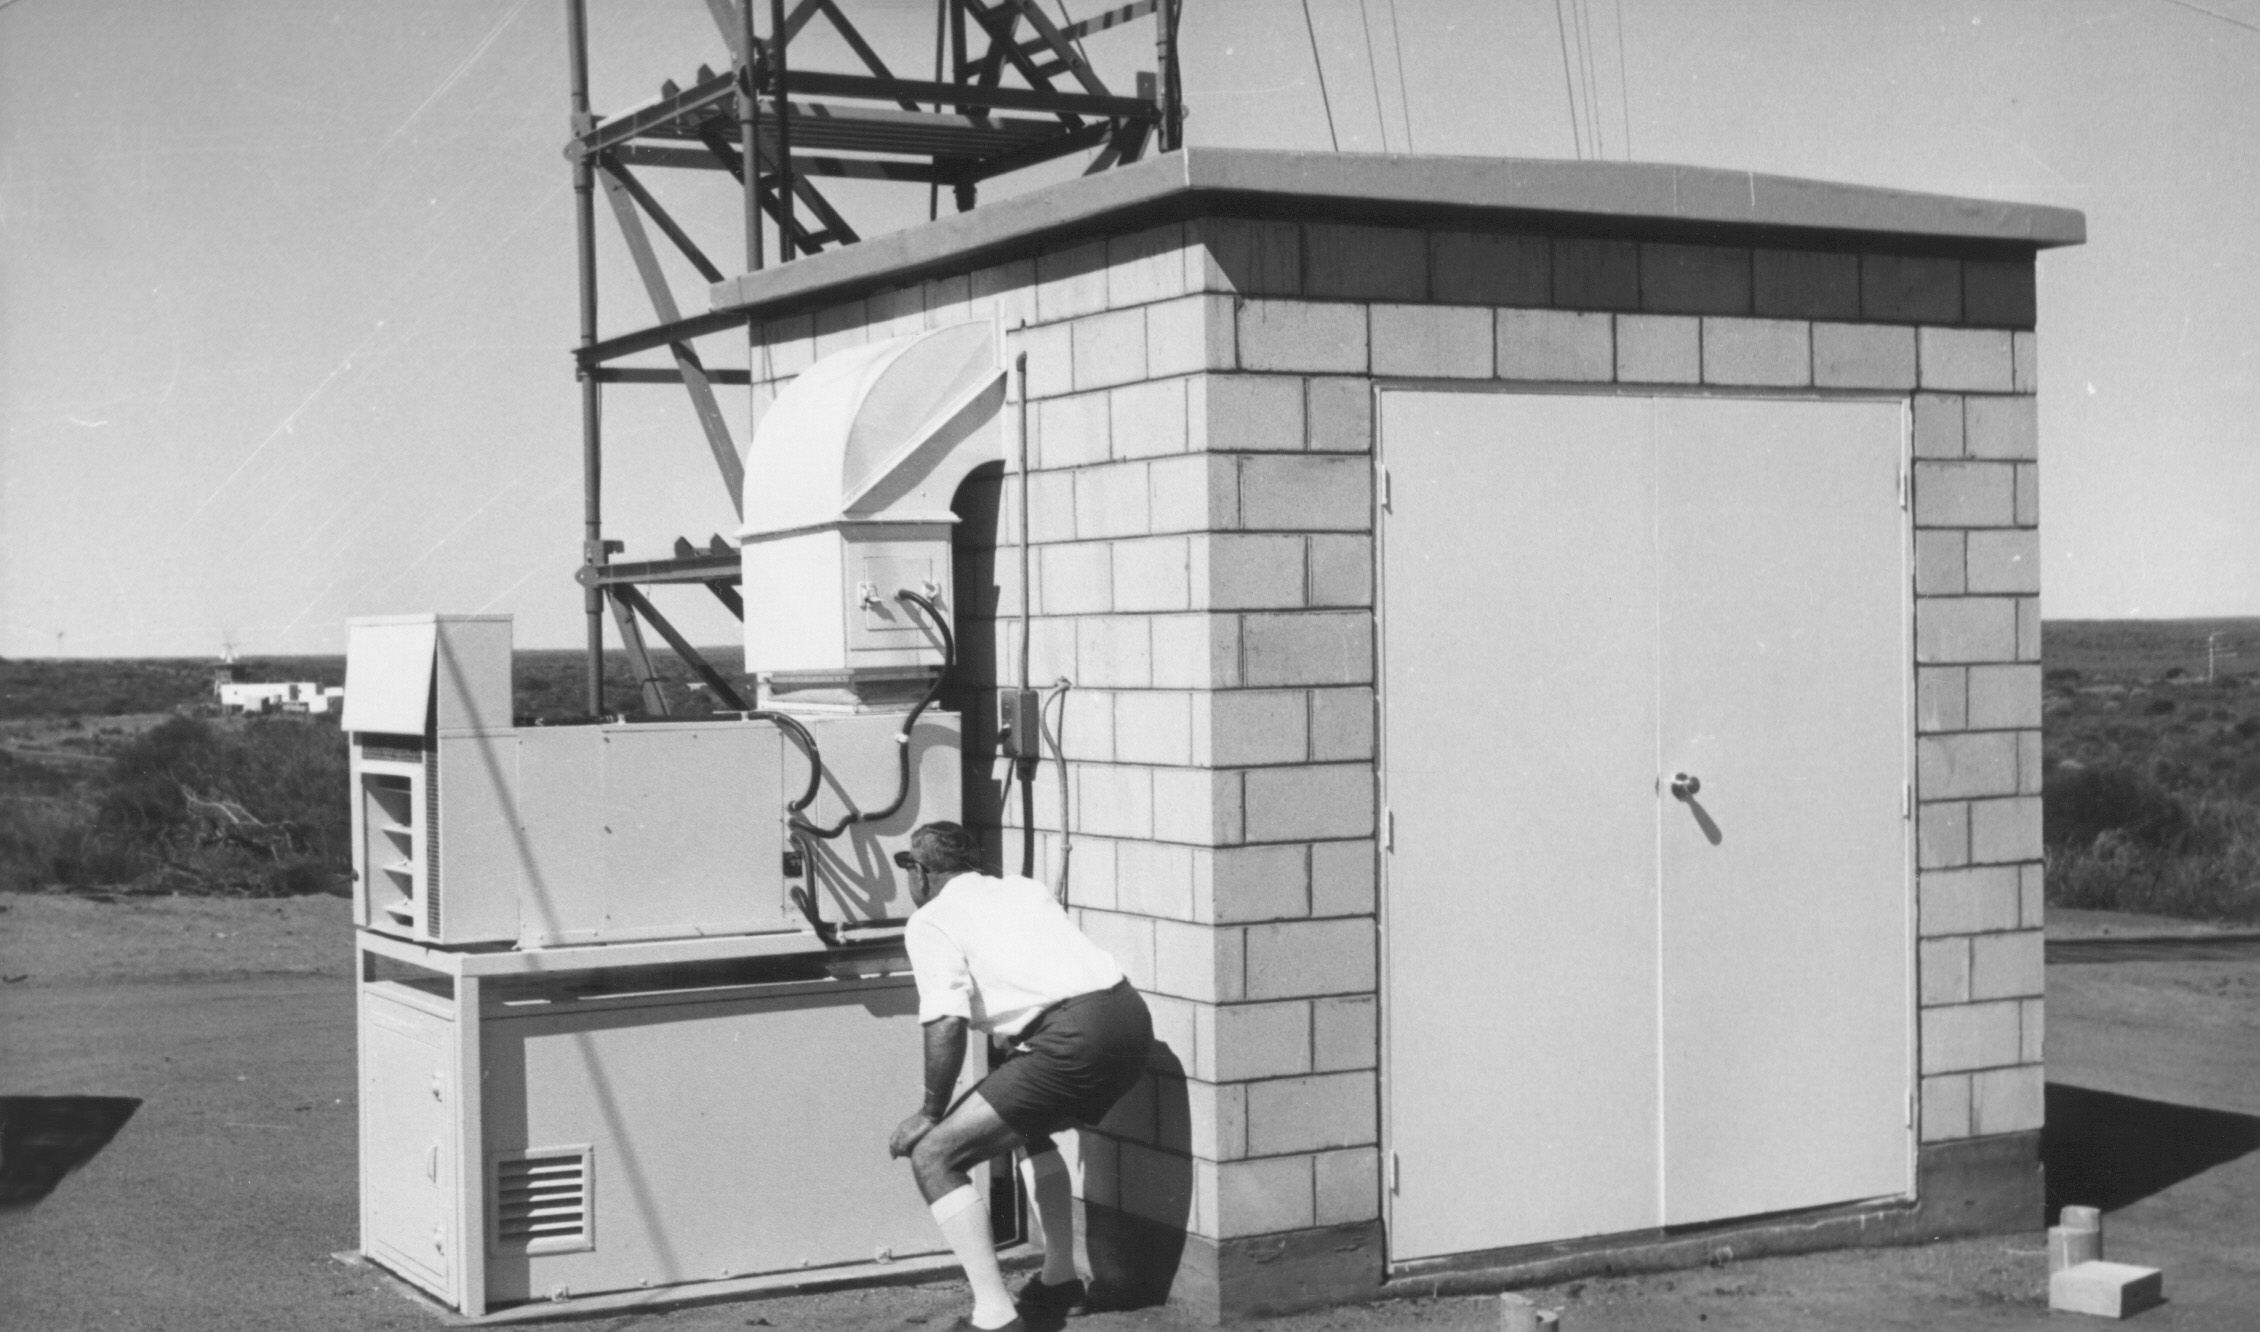 |
20b. USB Collimation Tower Hut. |
 |
21a. T & C Store Annexe Showing Unpacked Overflow. |
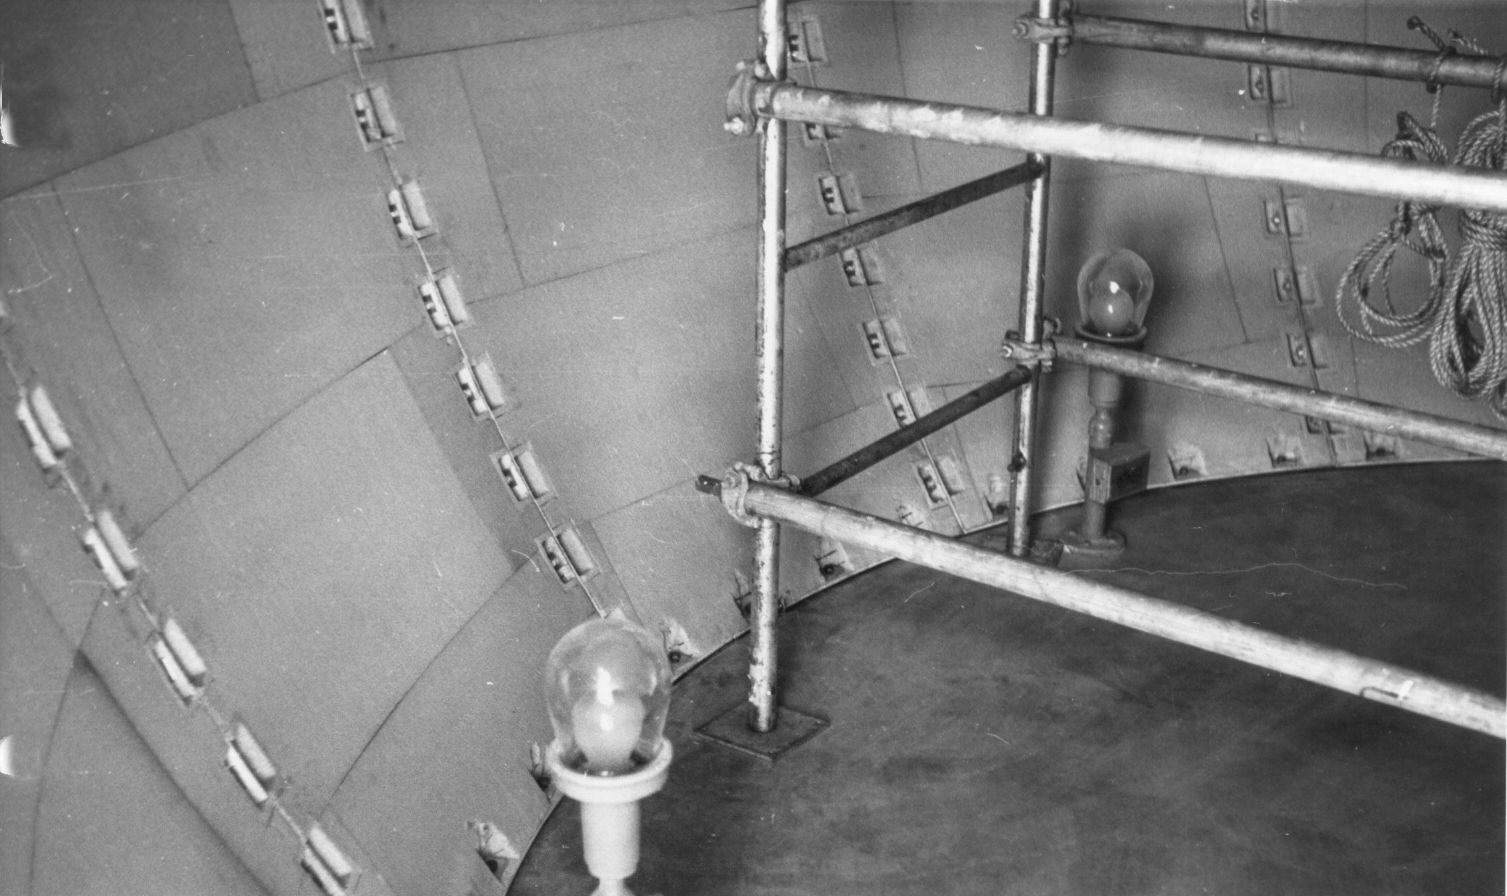 |
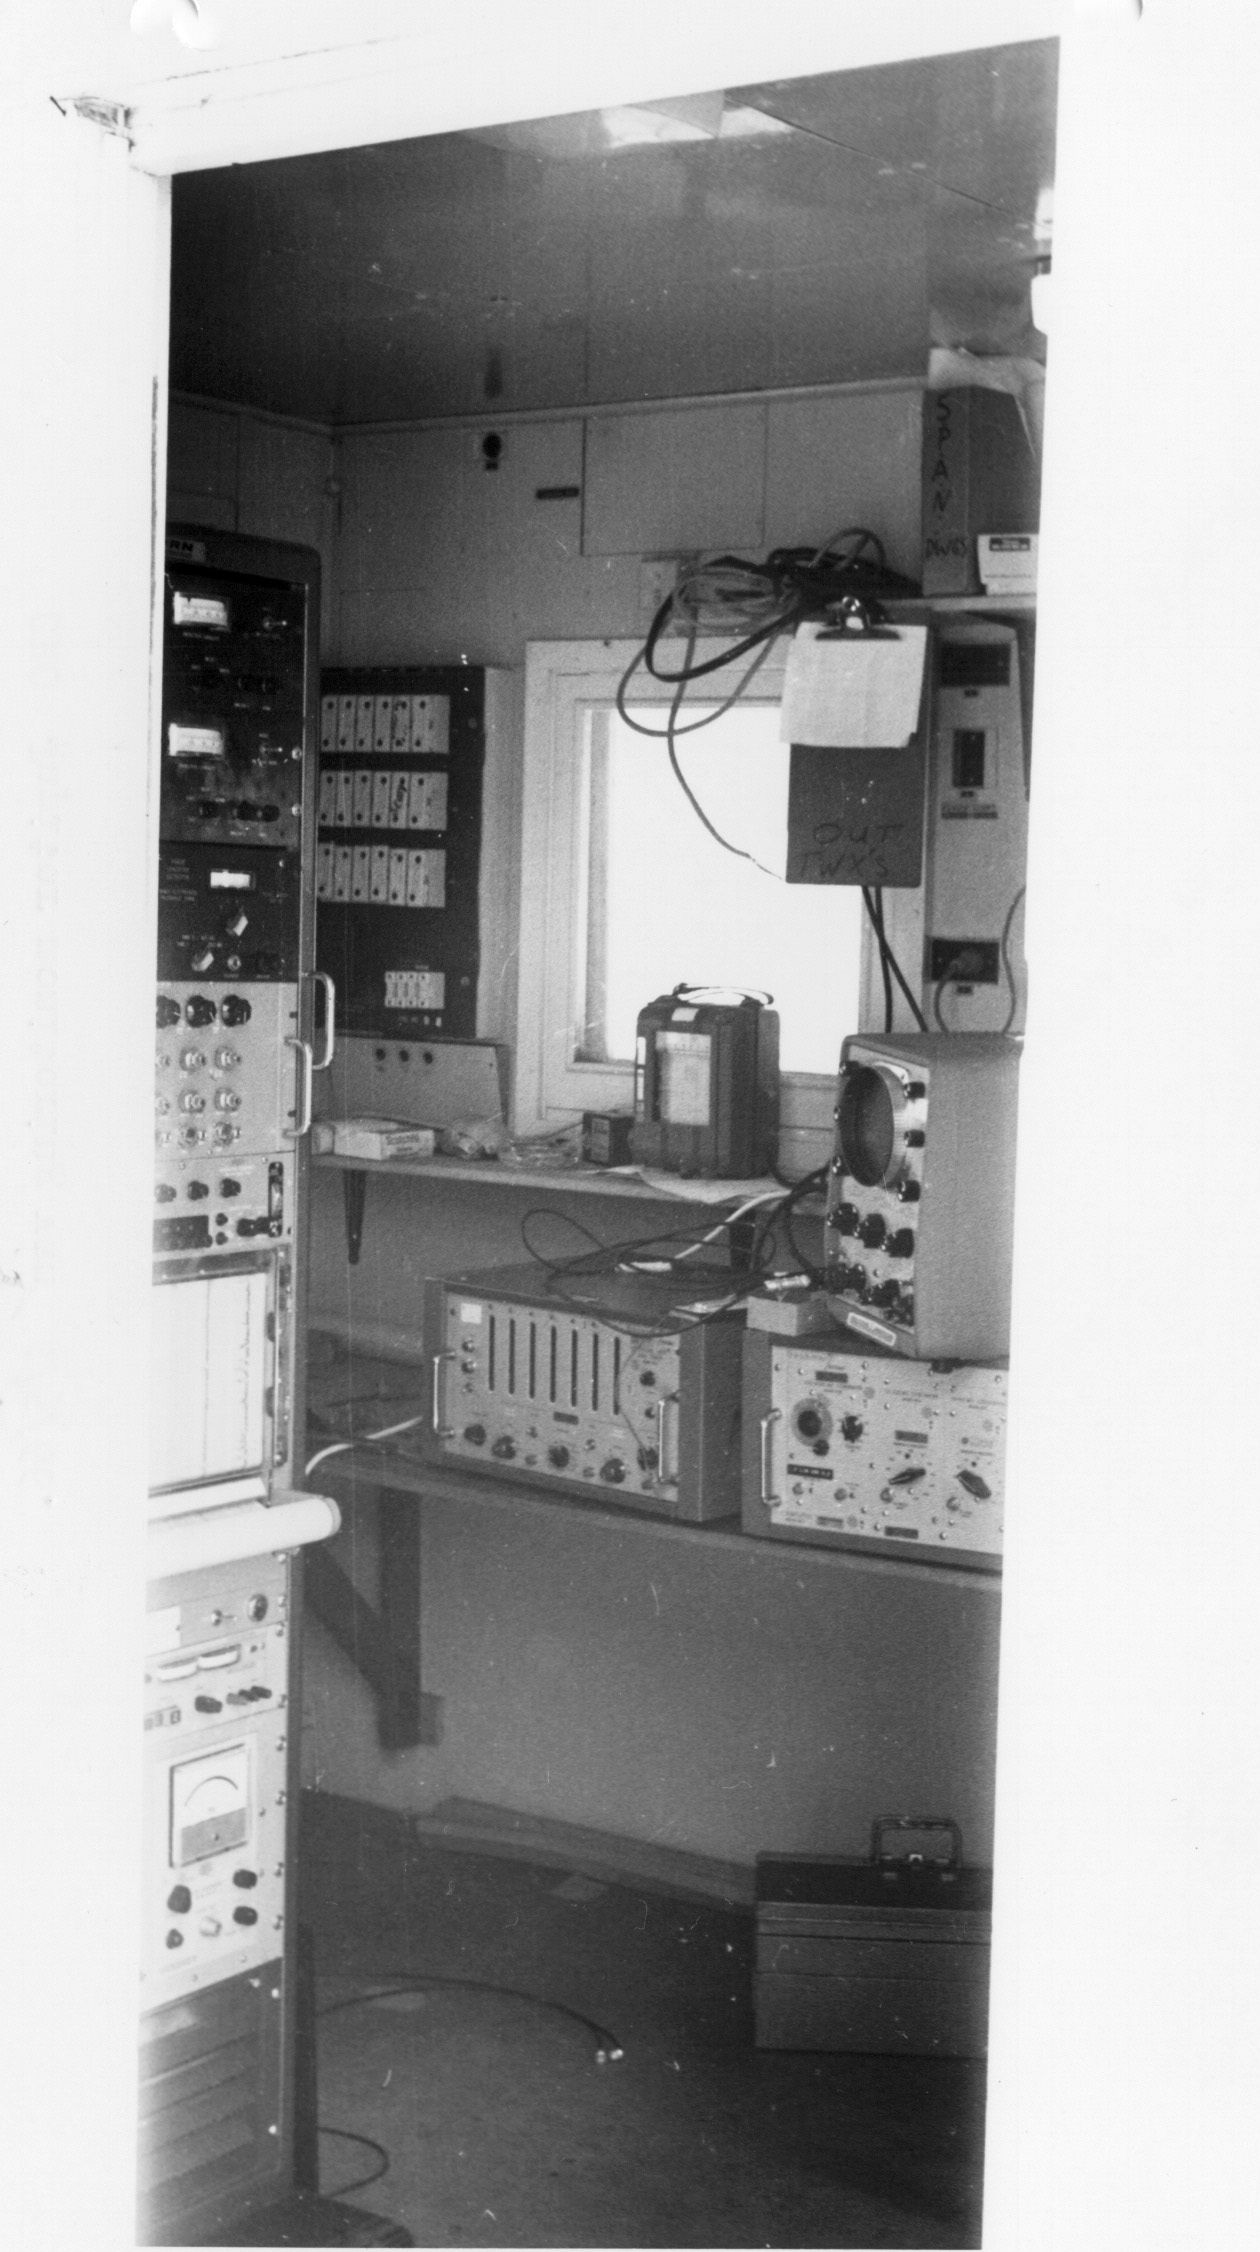
21b. Interior Radome SPAN Radio Telescope. |
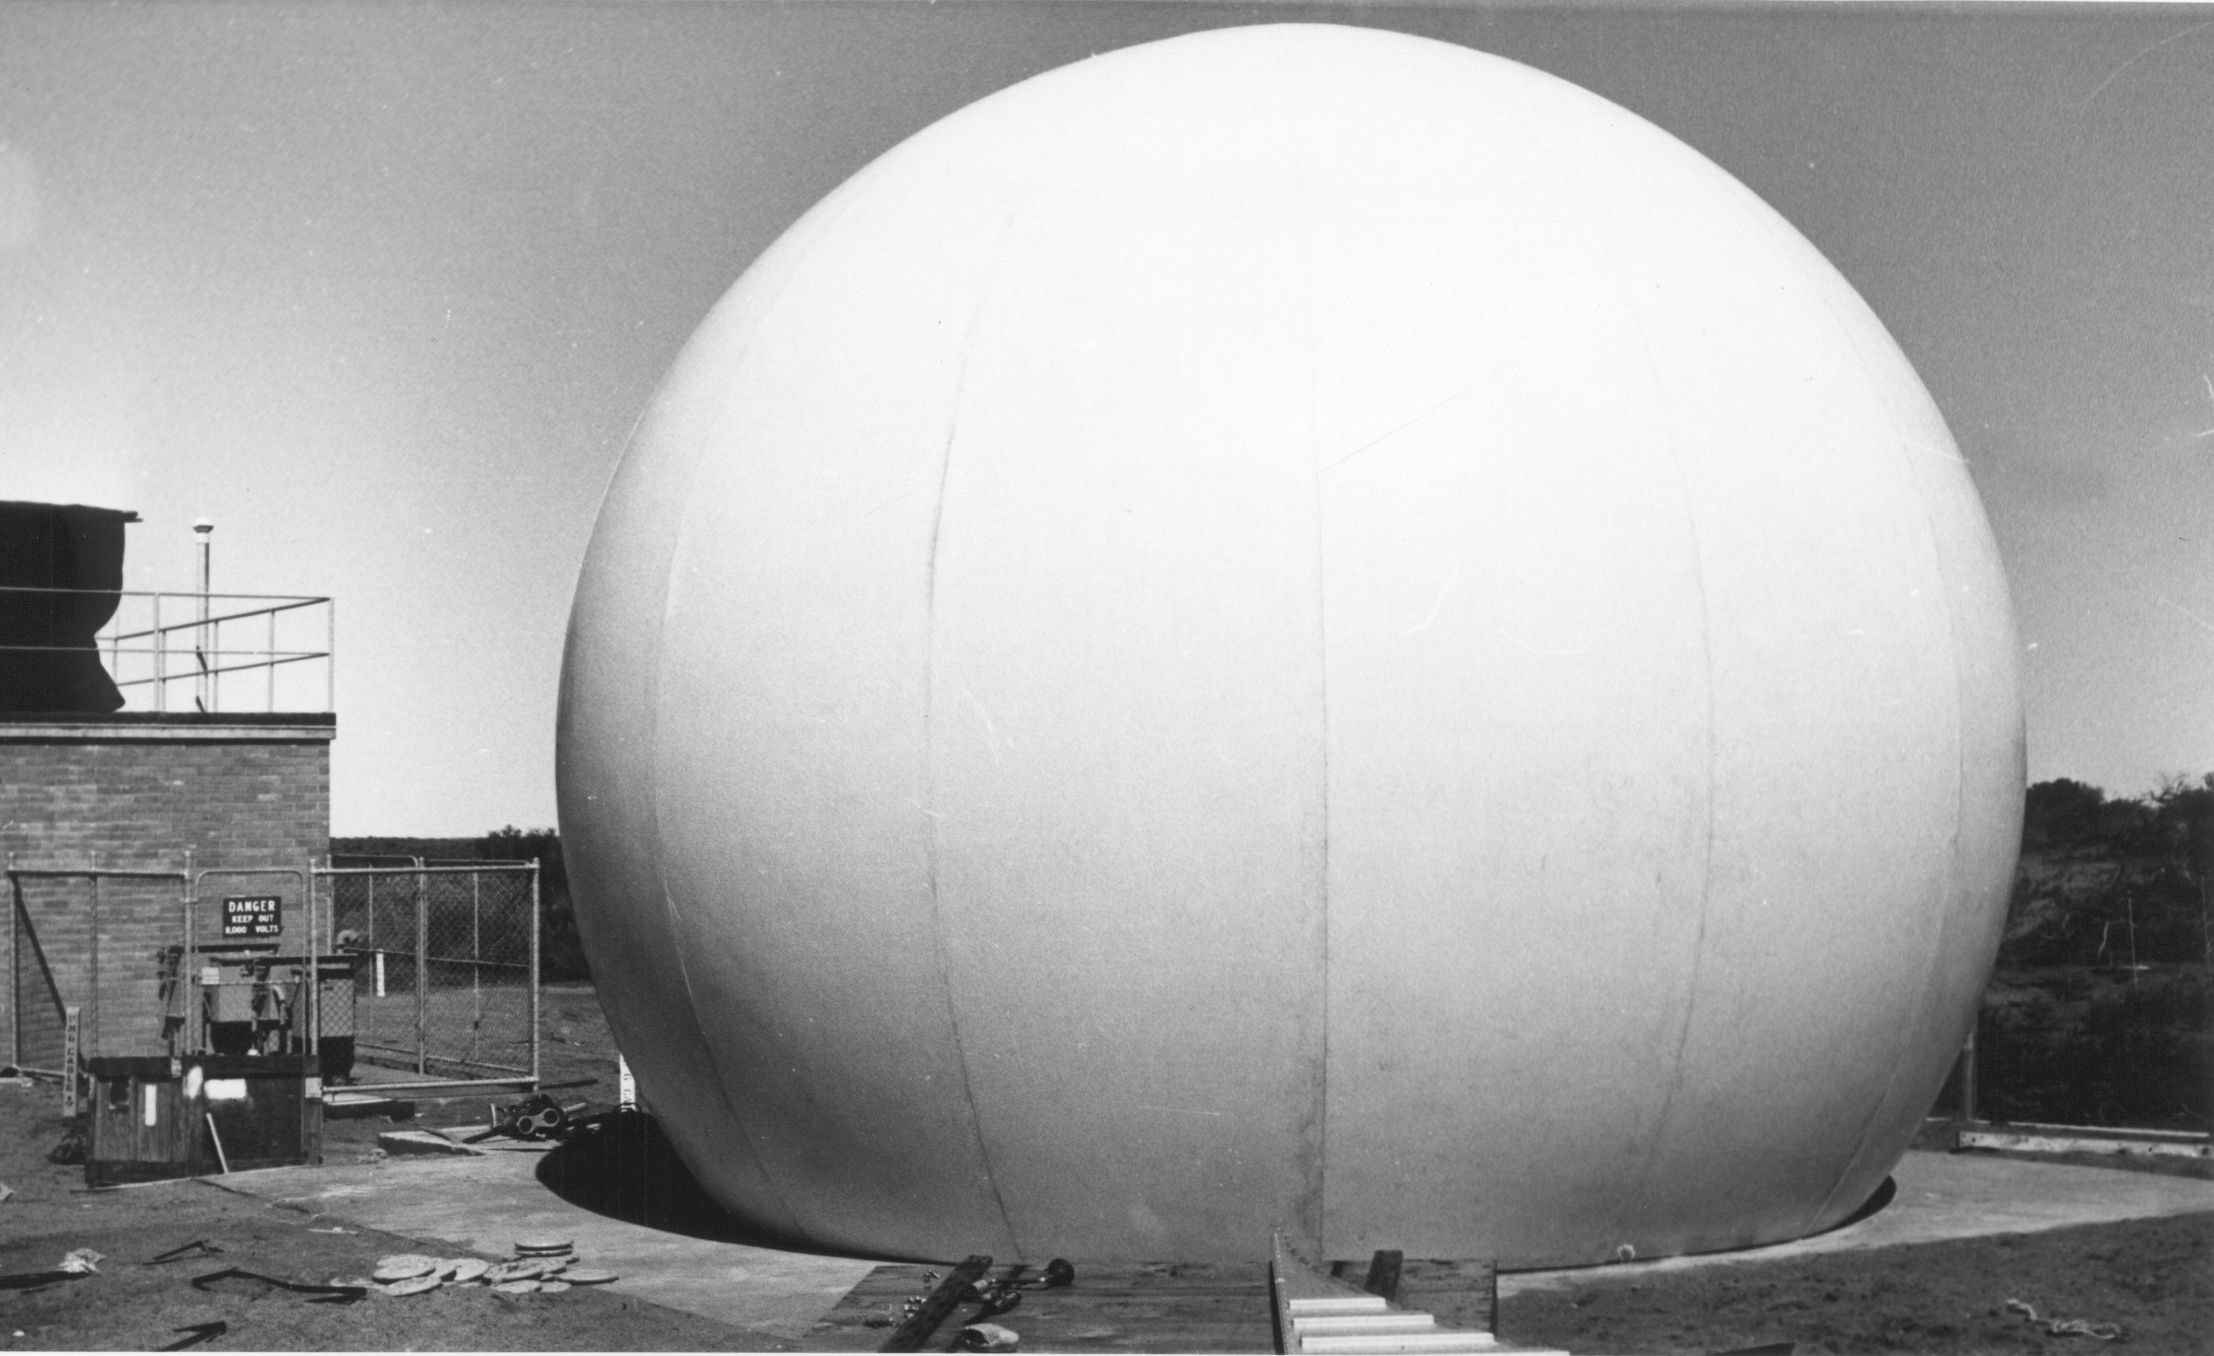 |
22a. Exterior Radome SPAN Radio Telescope. |
 |
22b. Jupiter Monitoring Van. |
 |
23a. SPAN Surround Irrigation. |
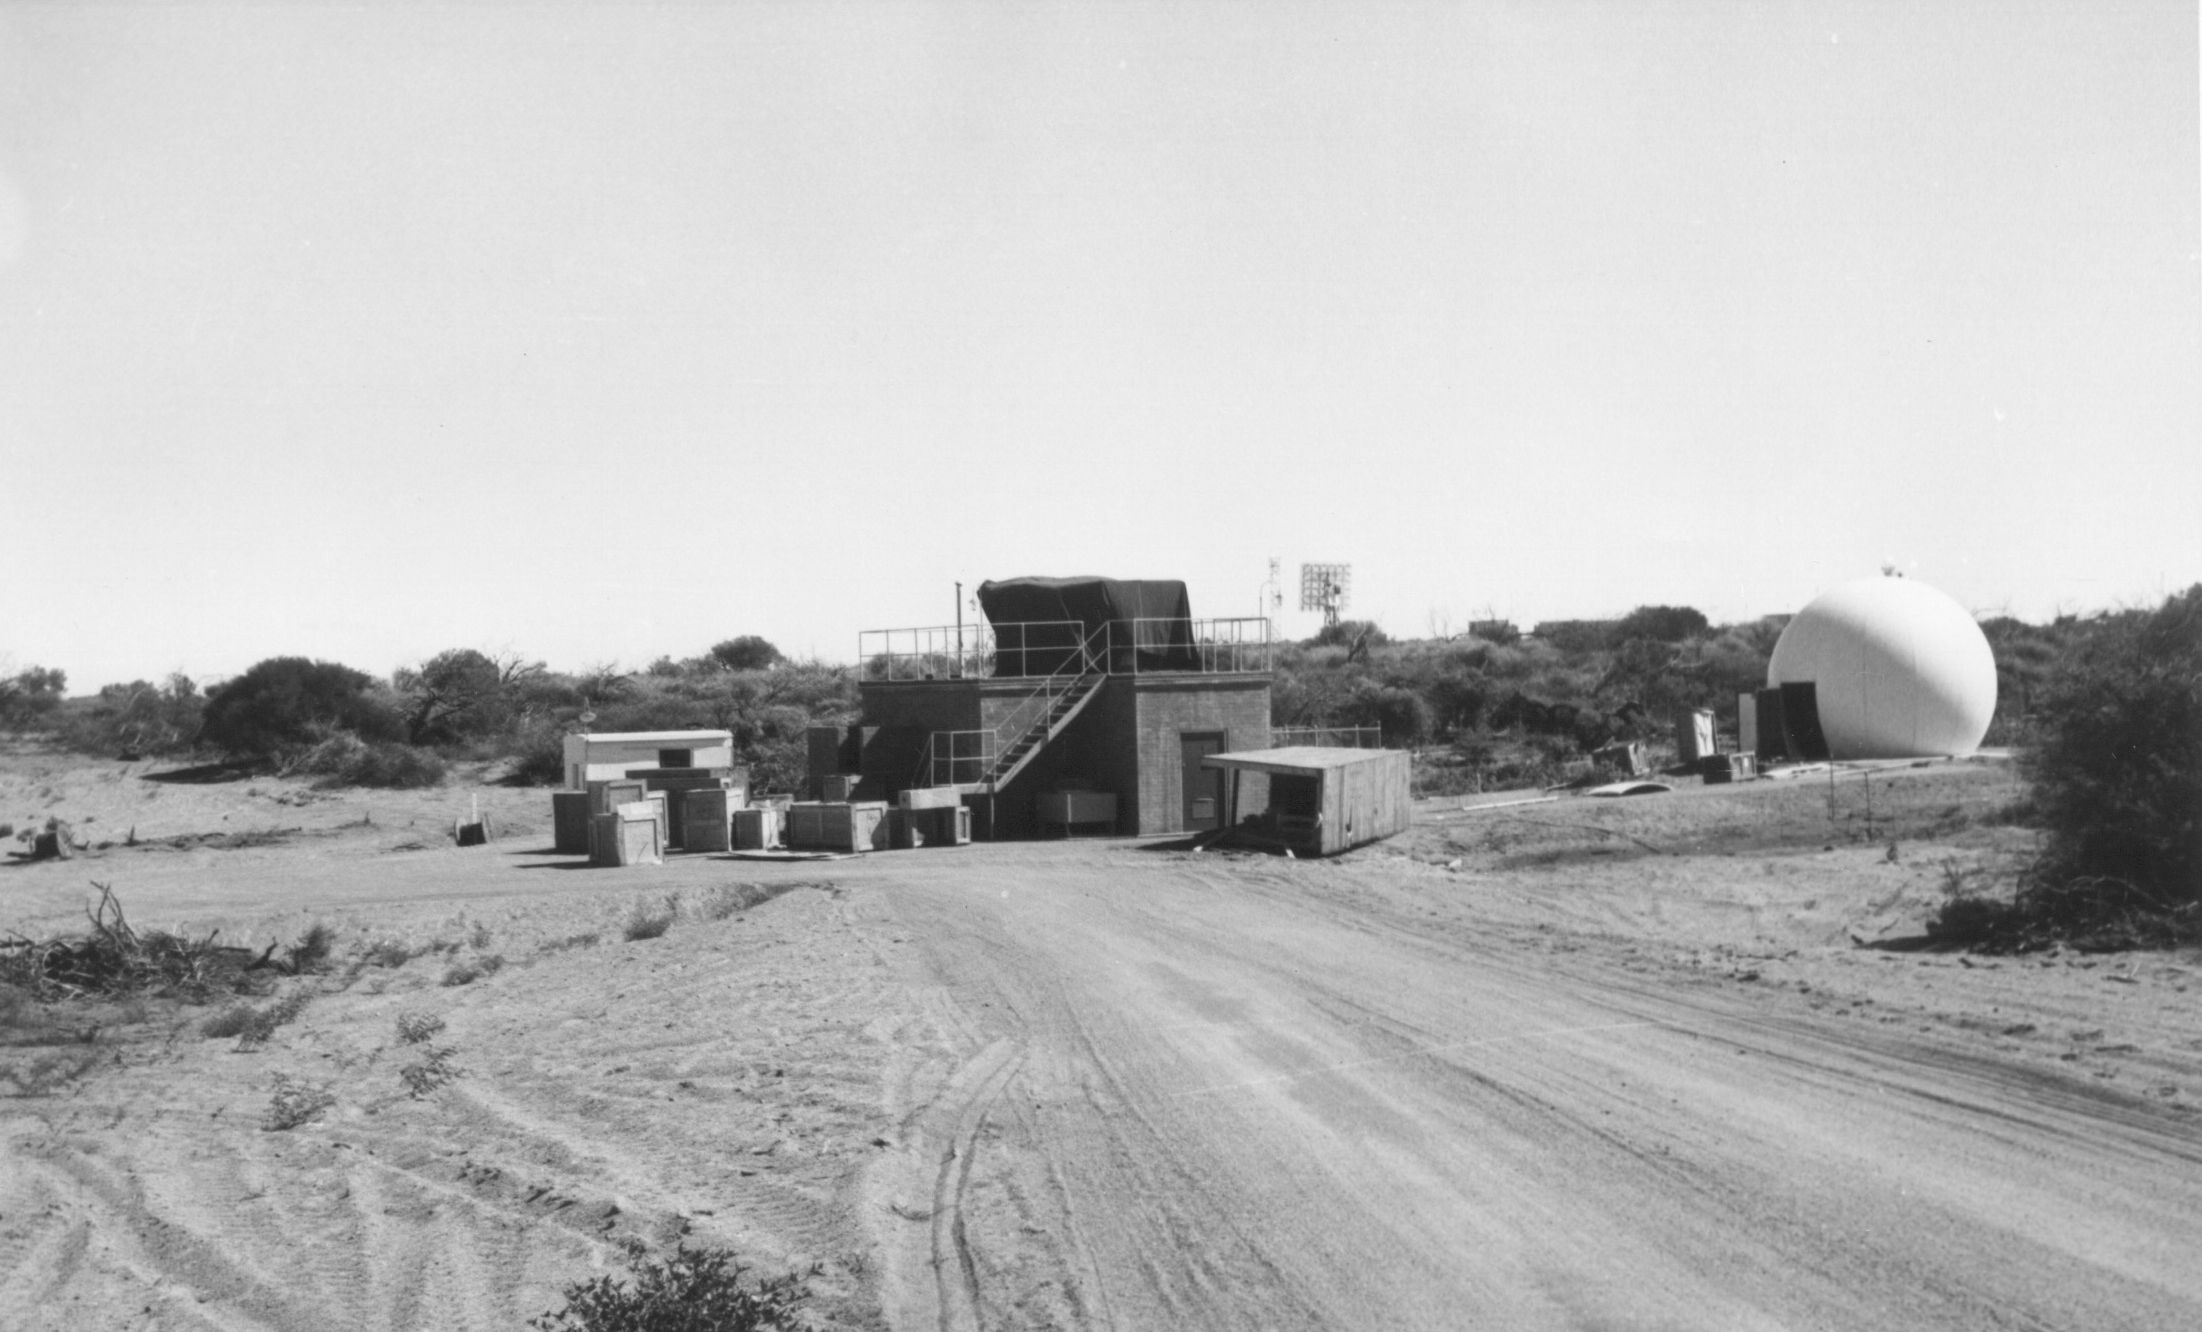 |
23b. SPAN Complex. |
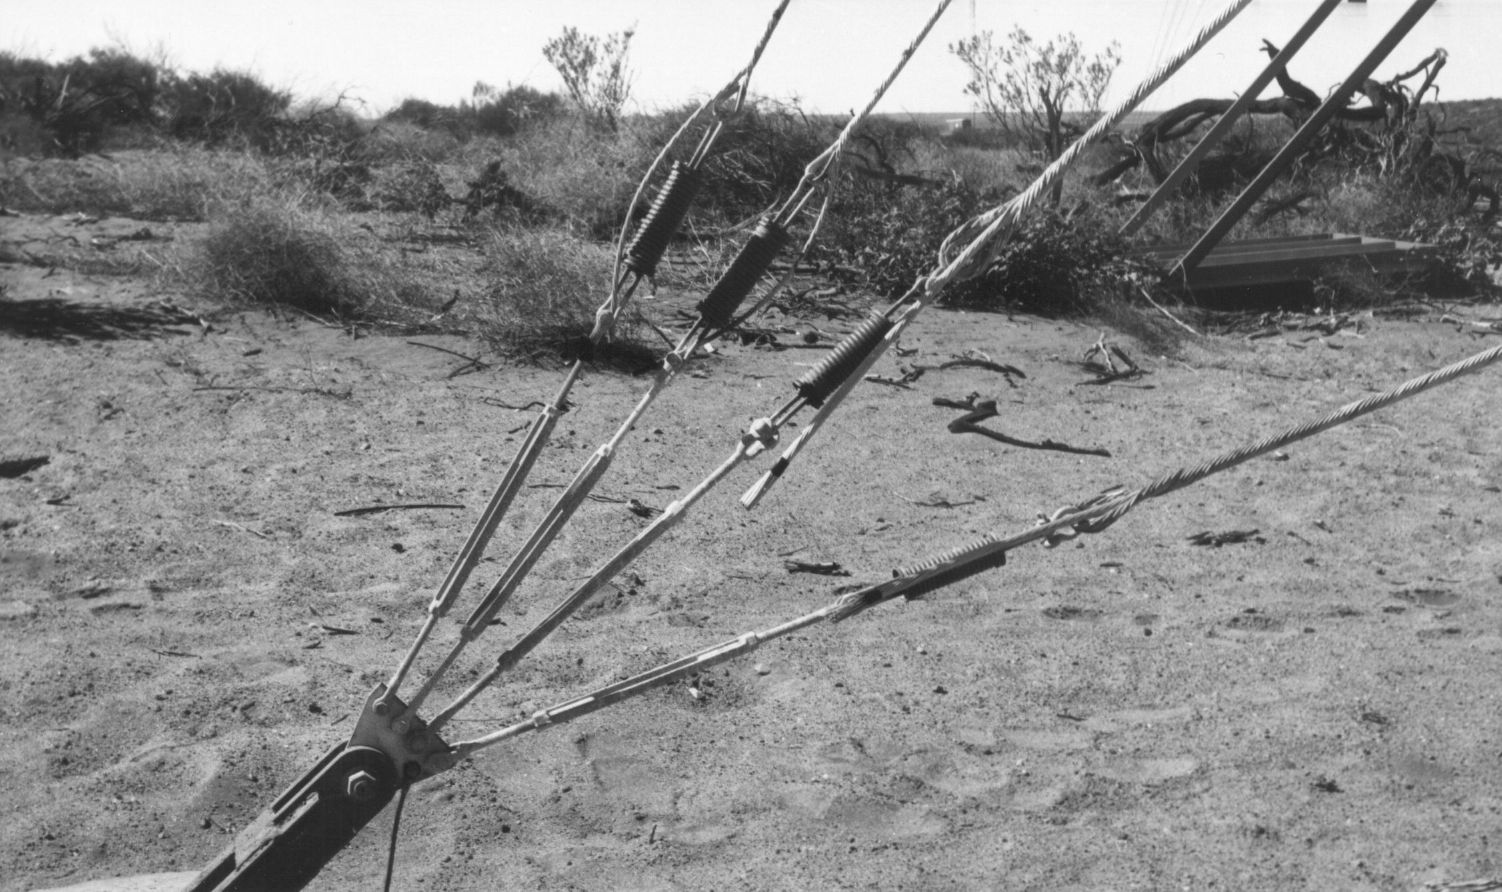 |
24a. USB Collimation Tower Anchors and Guys. |
 |
24b. Tropo Equipment Van Extension. |
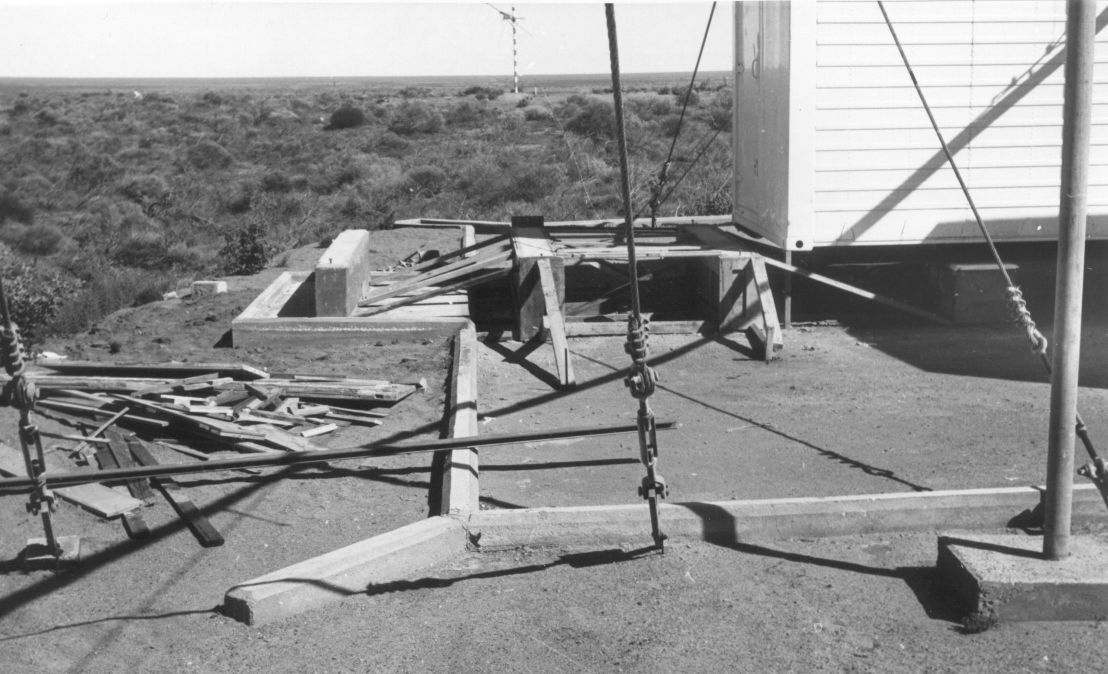 |
25a. Tropo Extension Foundations. |
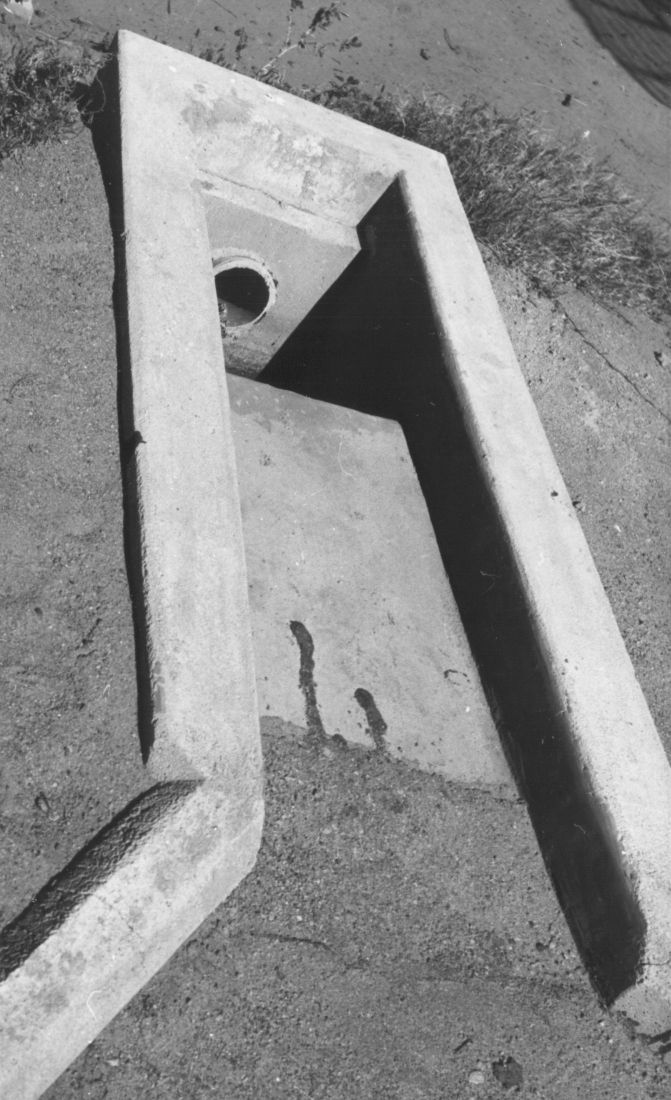 |
25b. Tropo Drain Sump. |
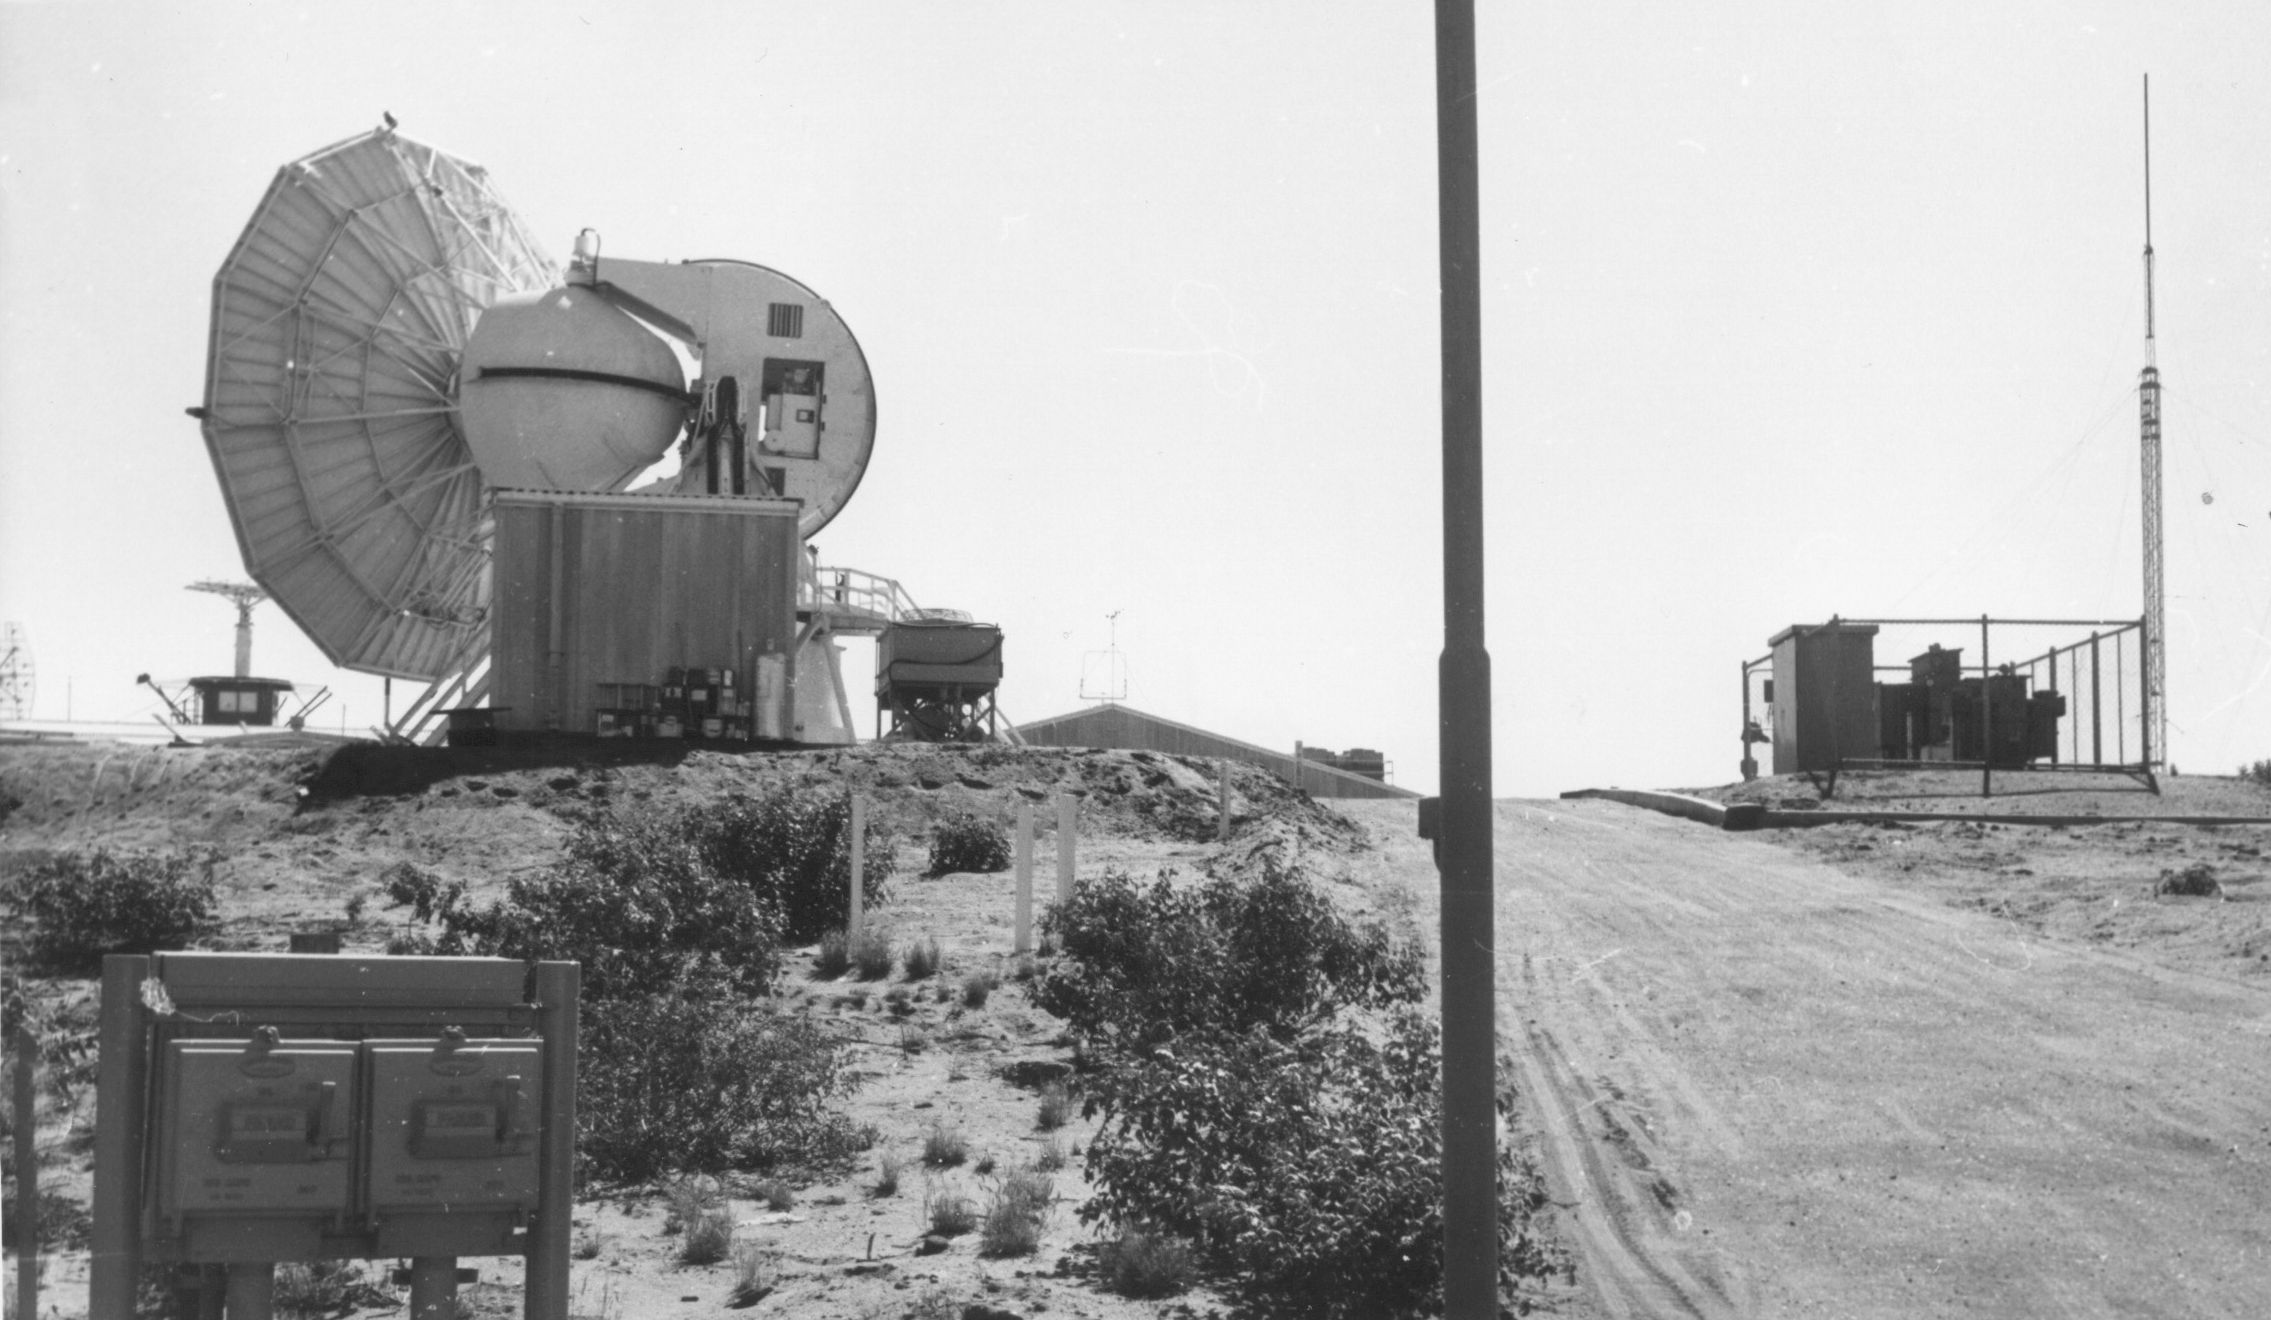 |
26a. USB Antenna from Tropo. |
 |
26b. Tropo Antenna Guys. |