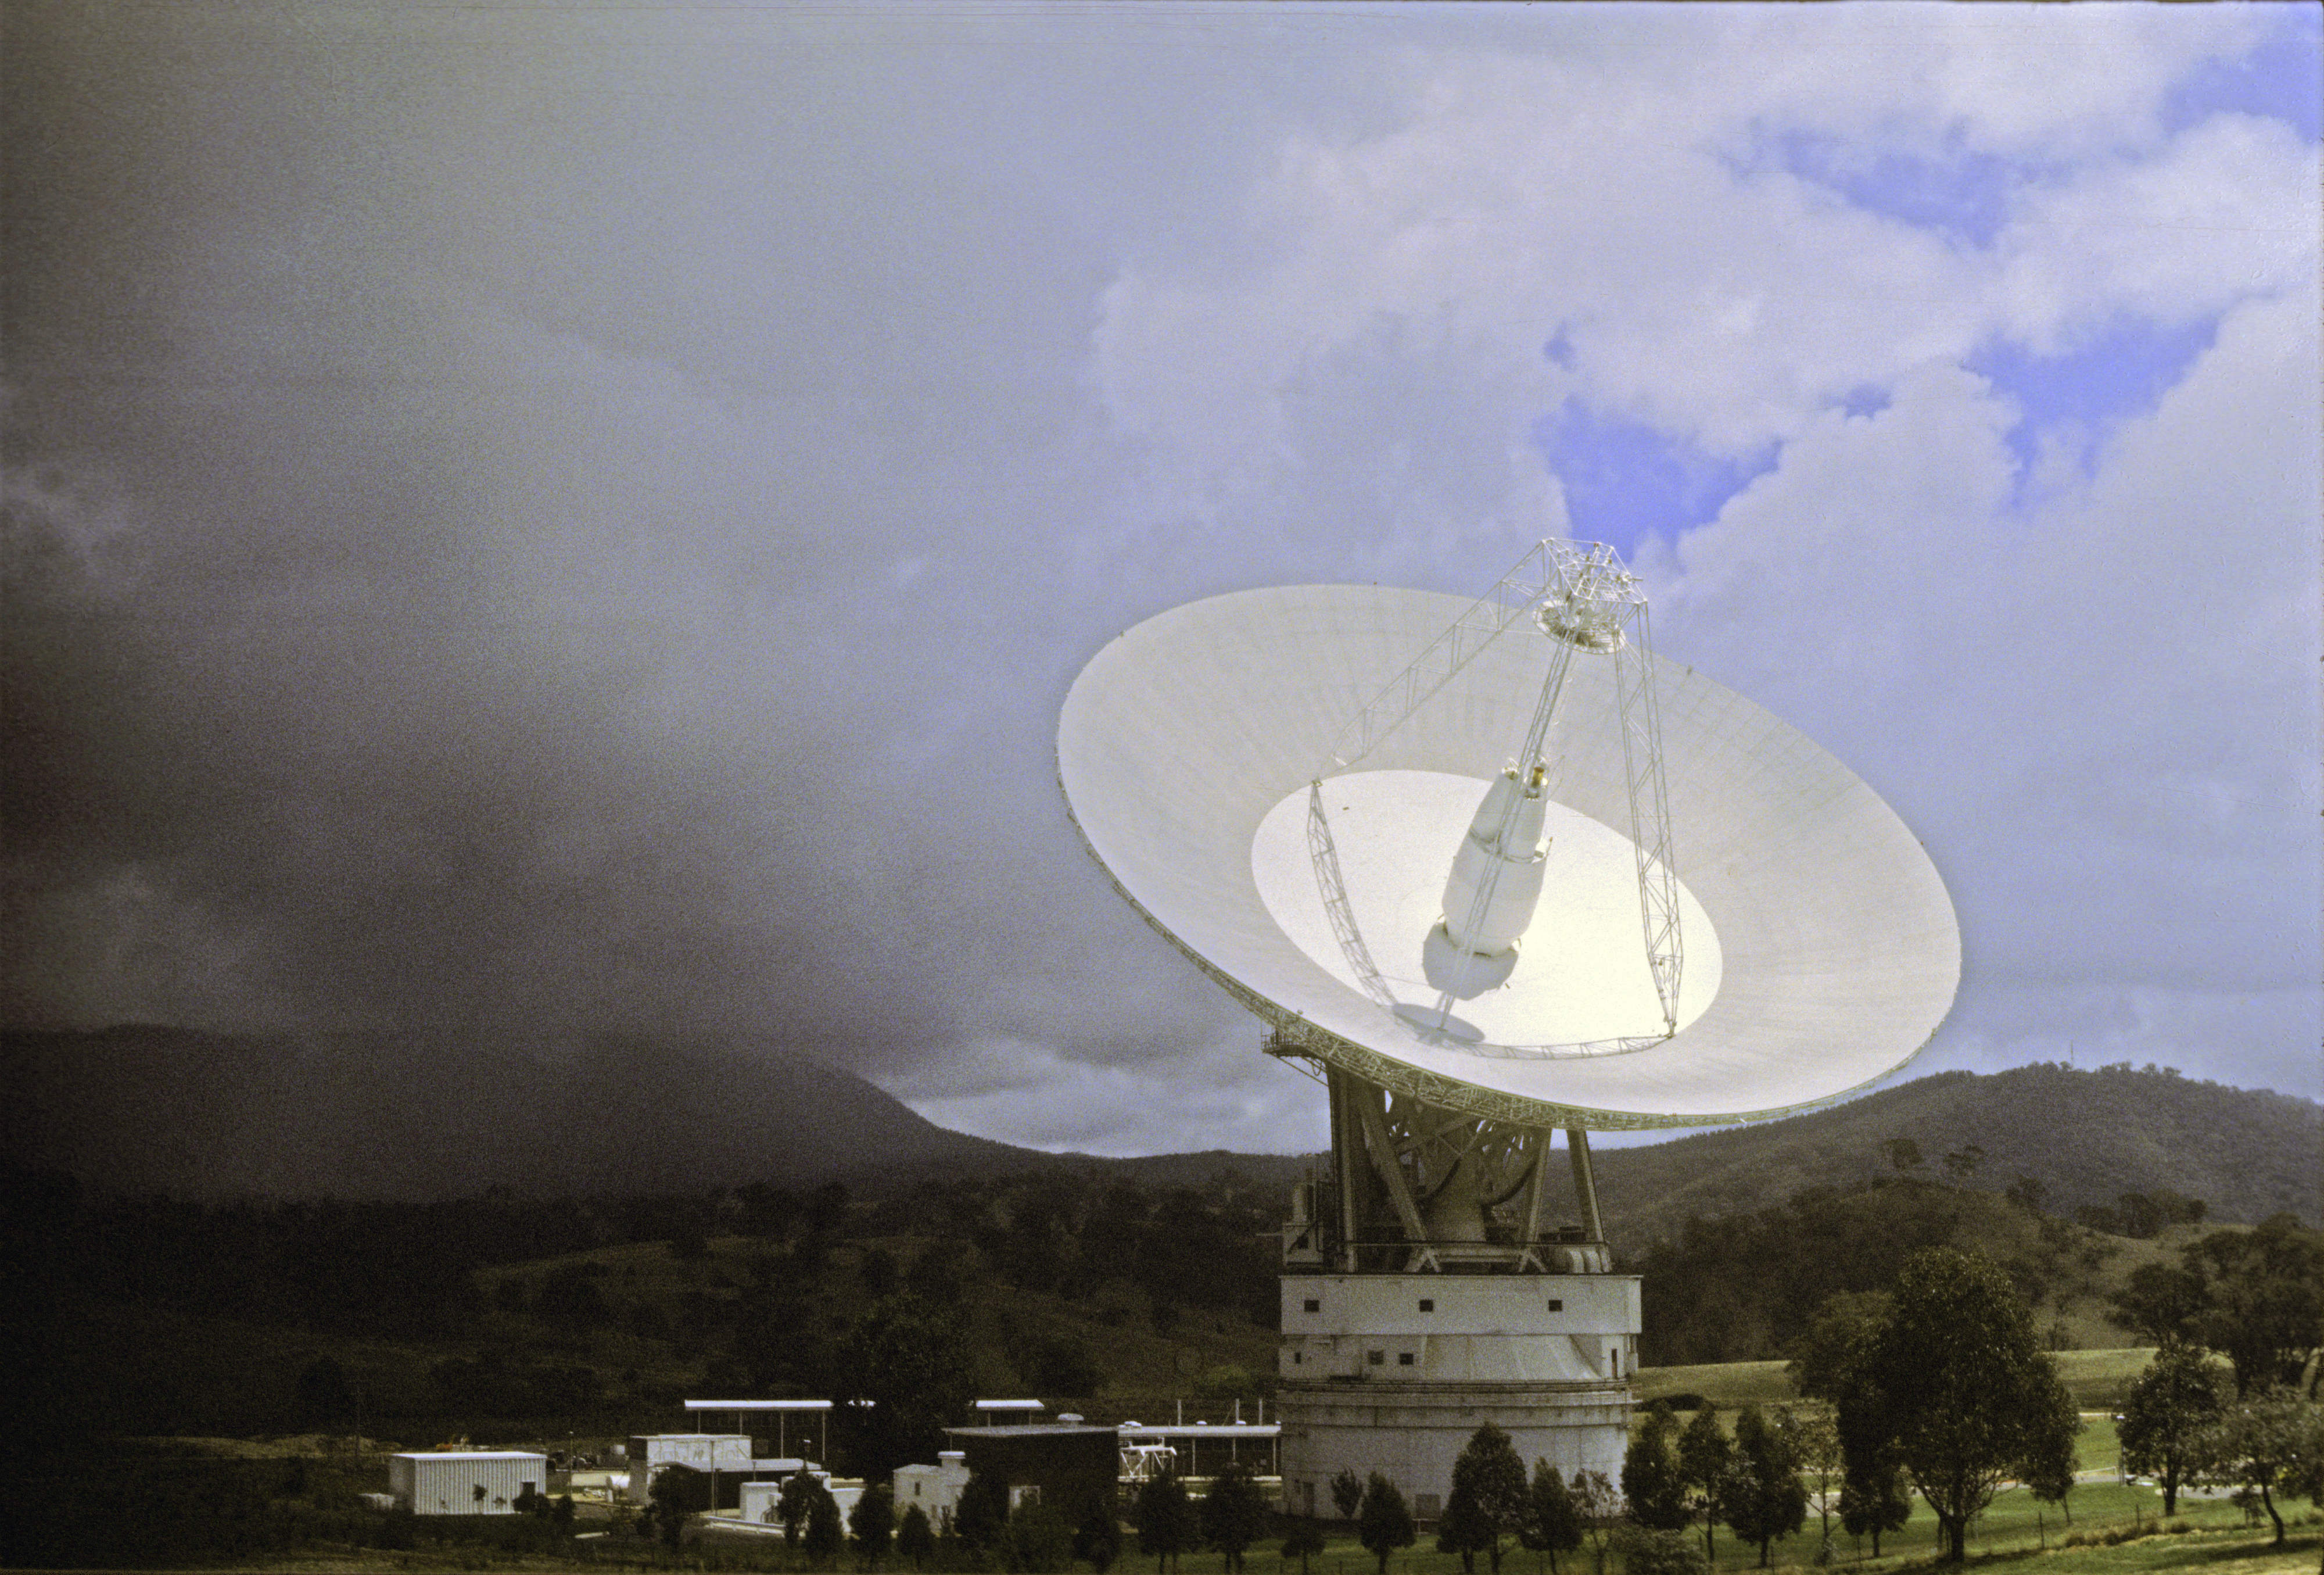
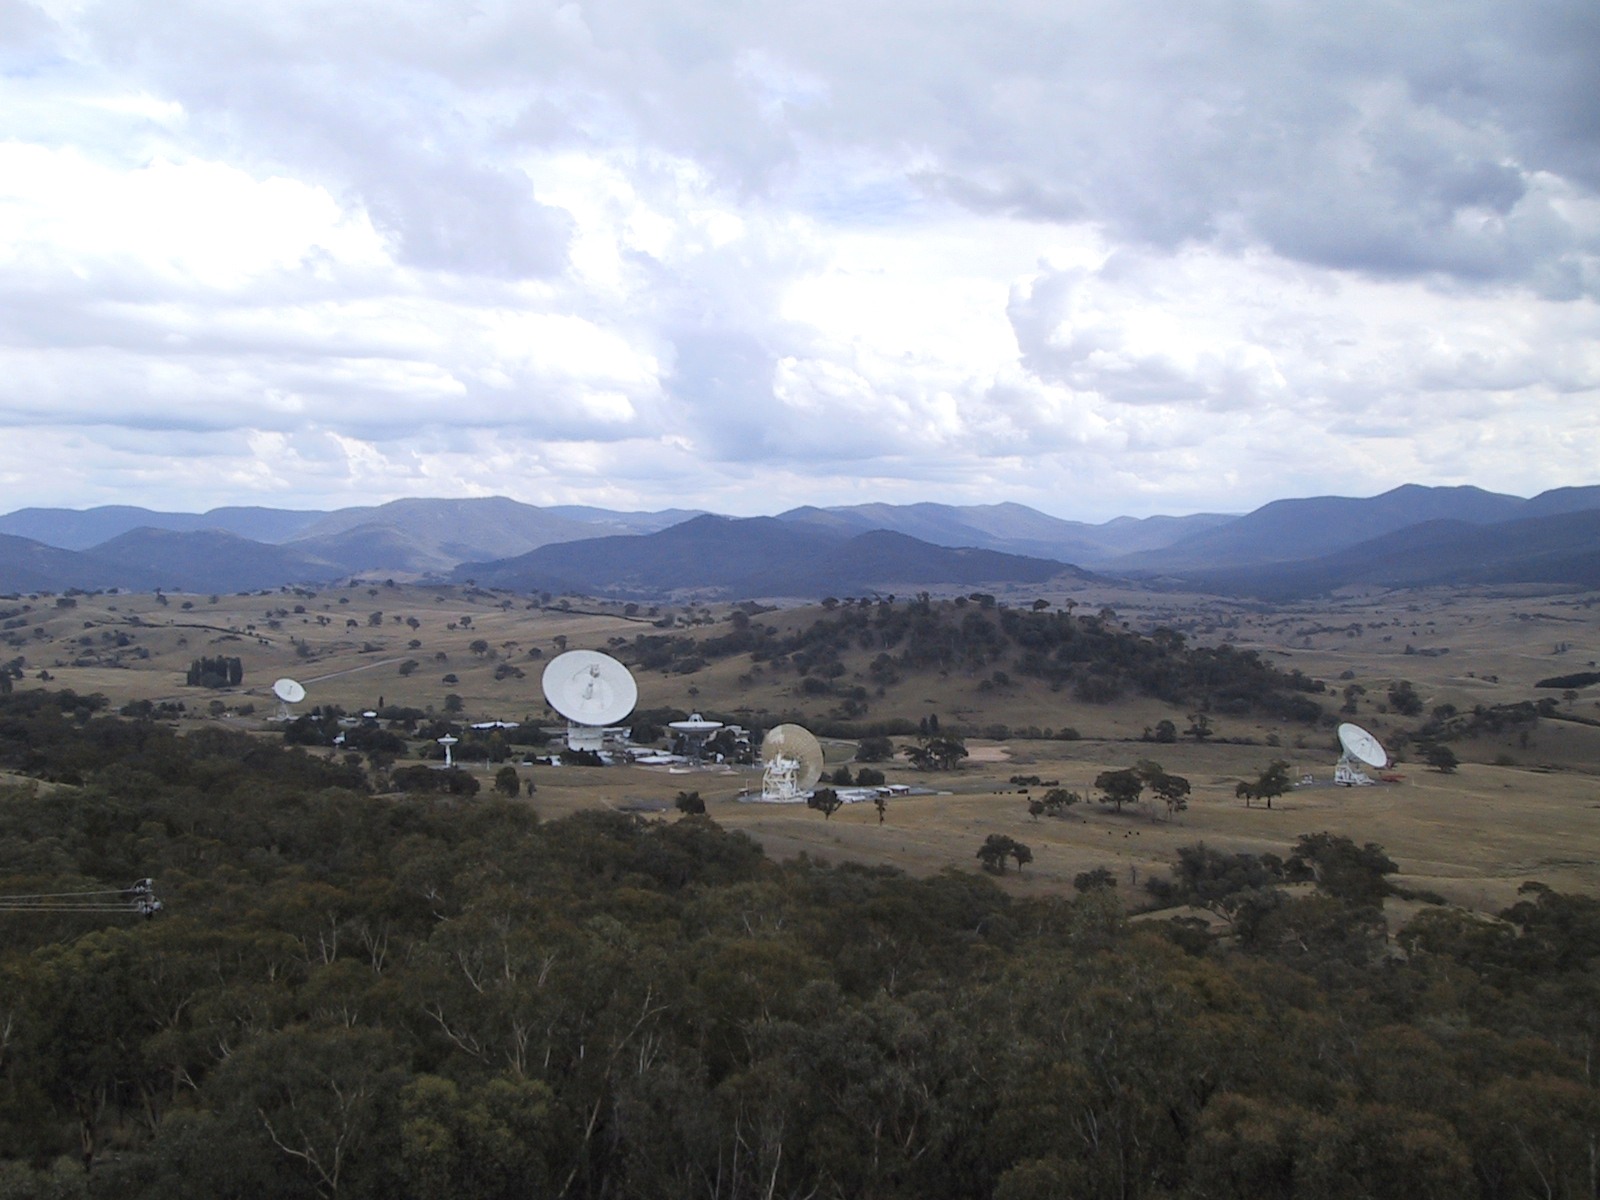
DSS-43 with a rain storm in the hills at left.
Transparency by Hamish Lindsay, scan by Colin Mackellar.
DSS-43 Gallery
Here’s a selection of photos of DSS-43.
|
DSS-43 with a rain storm in the hills at left. Transparency by Hamish Lindsay, scan by Colin Mackellar. |
 |
DSS-43 and DSS-42 (on the right) with ominous clouds. Undated transparency by Hamish Lindsay, scan by Colin Mackellar. |
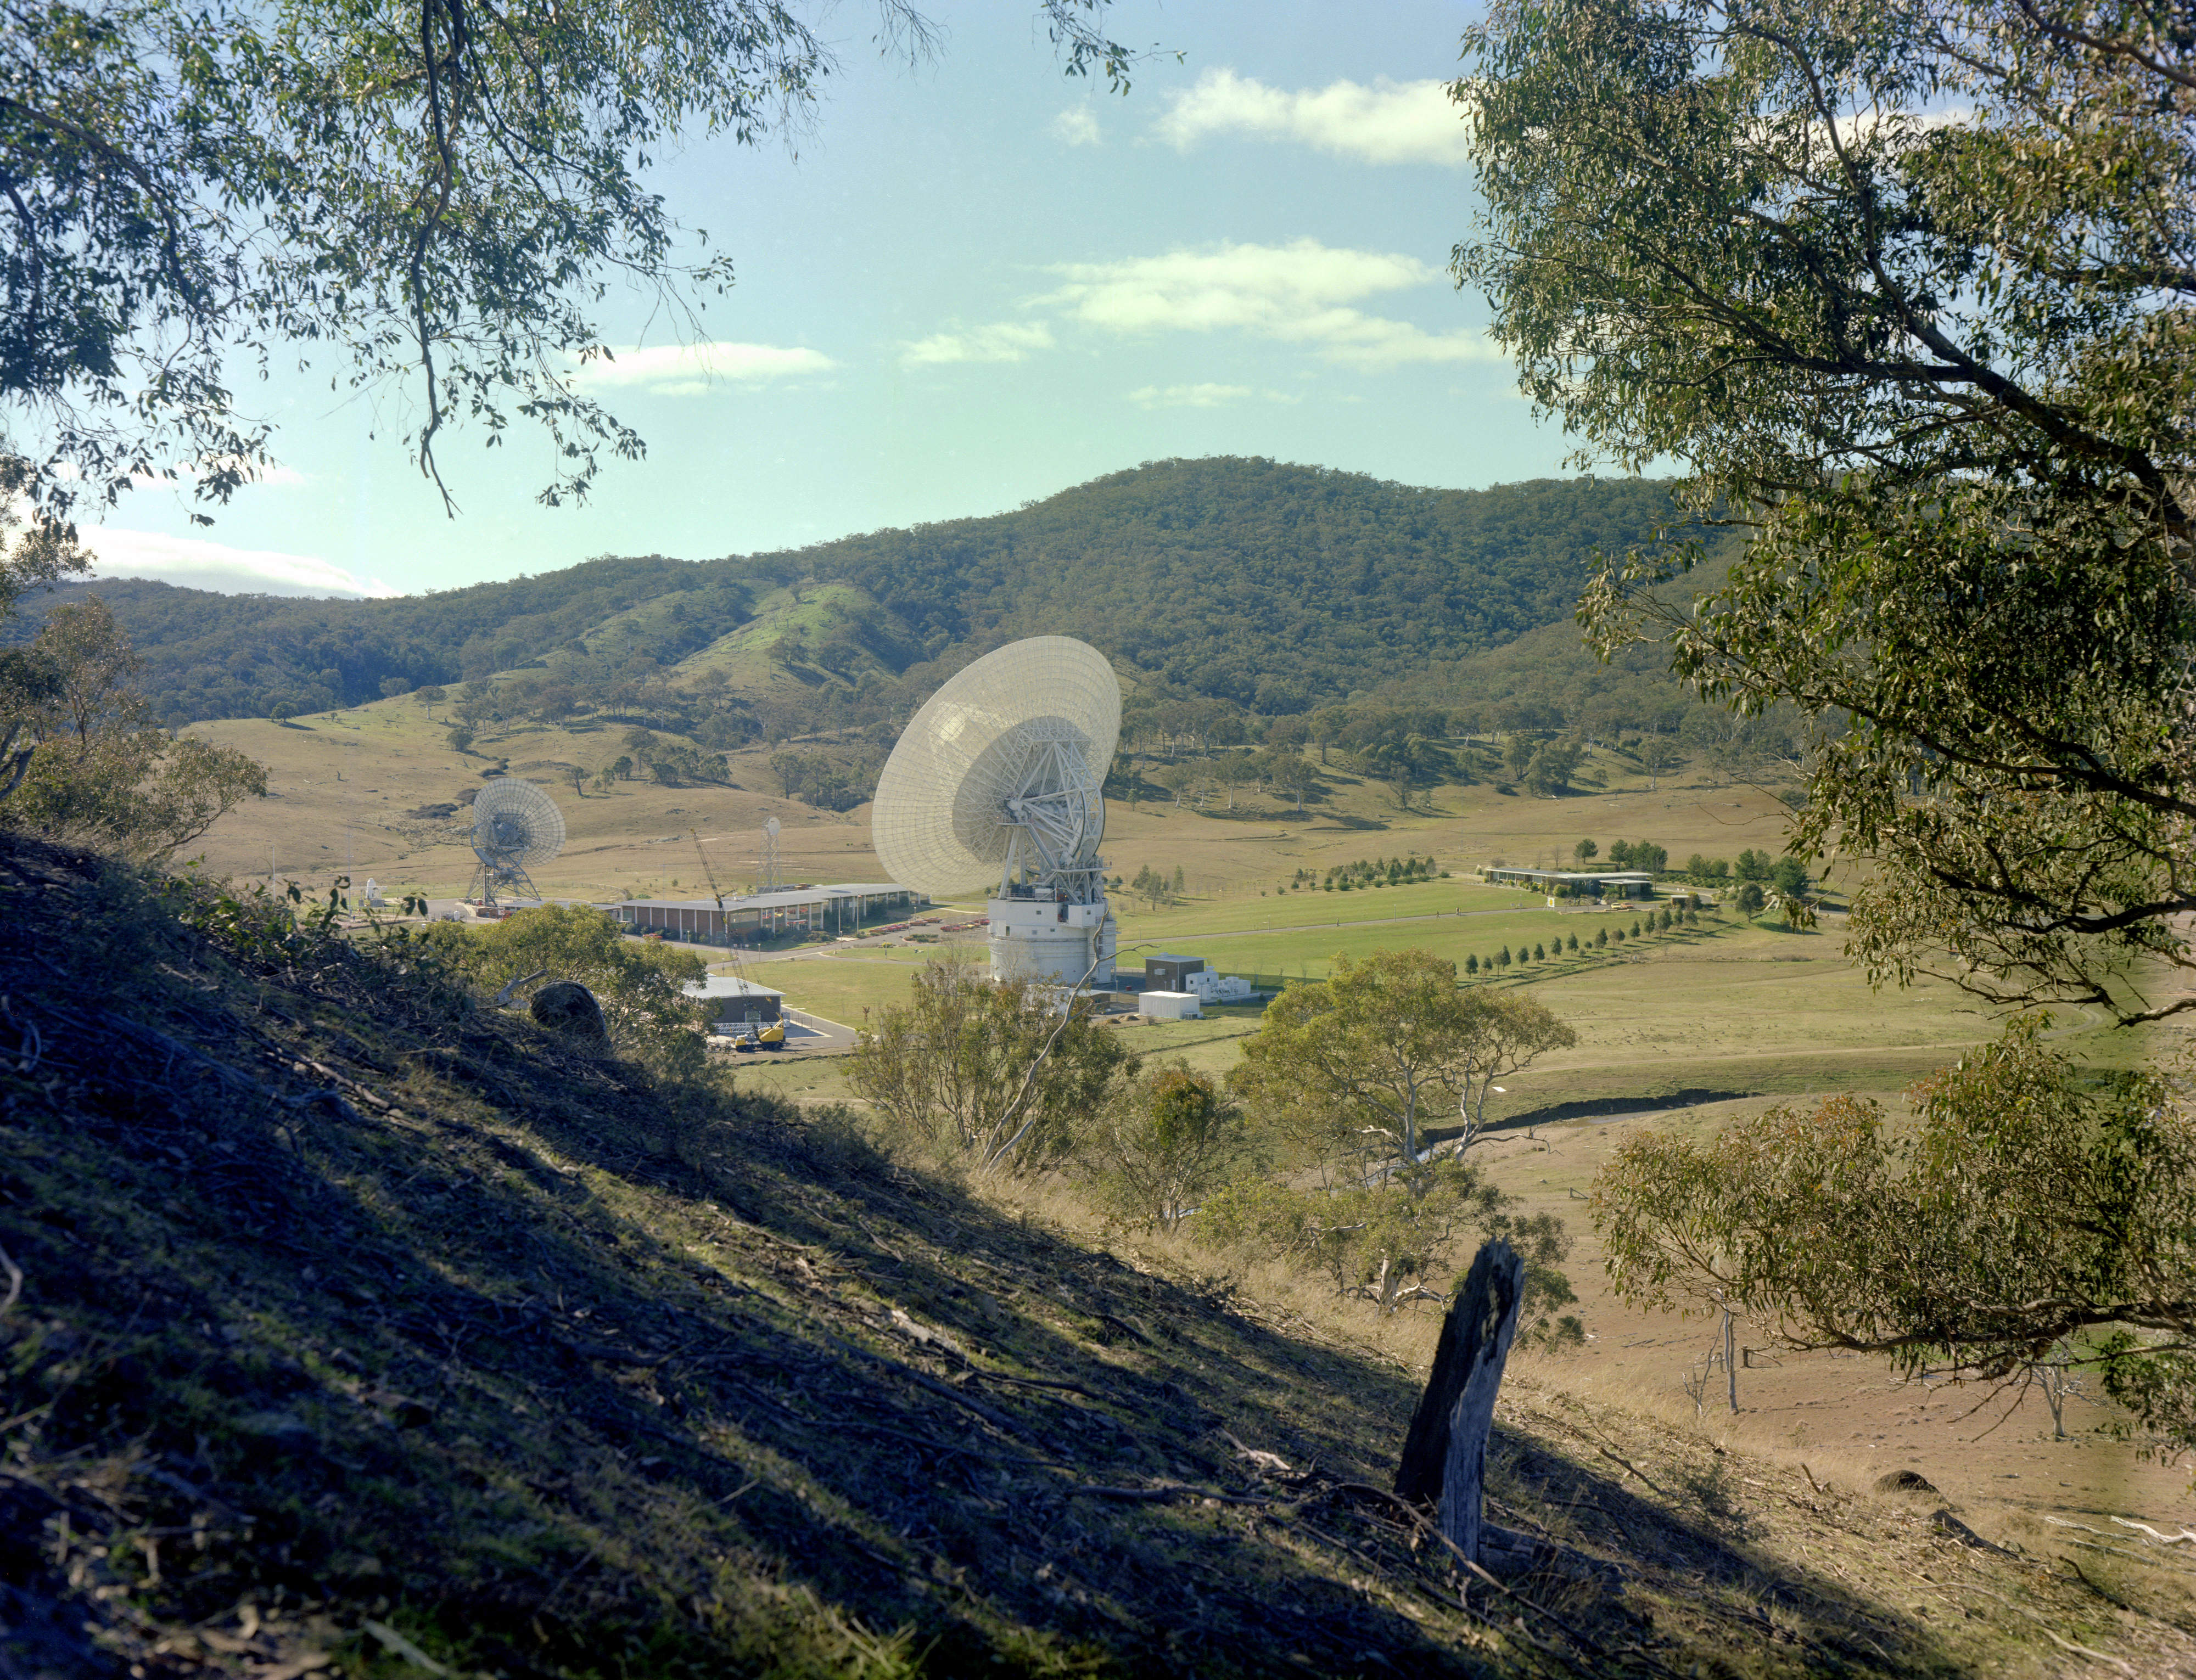 |
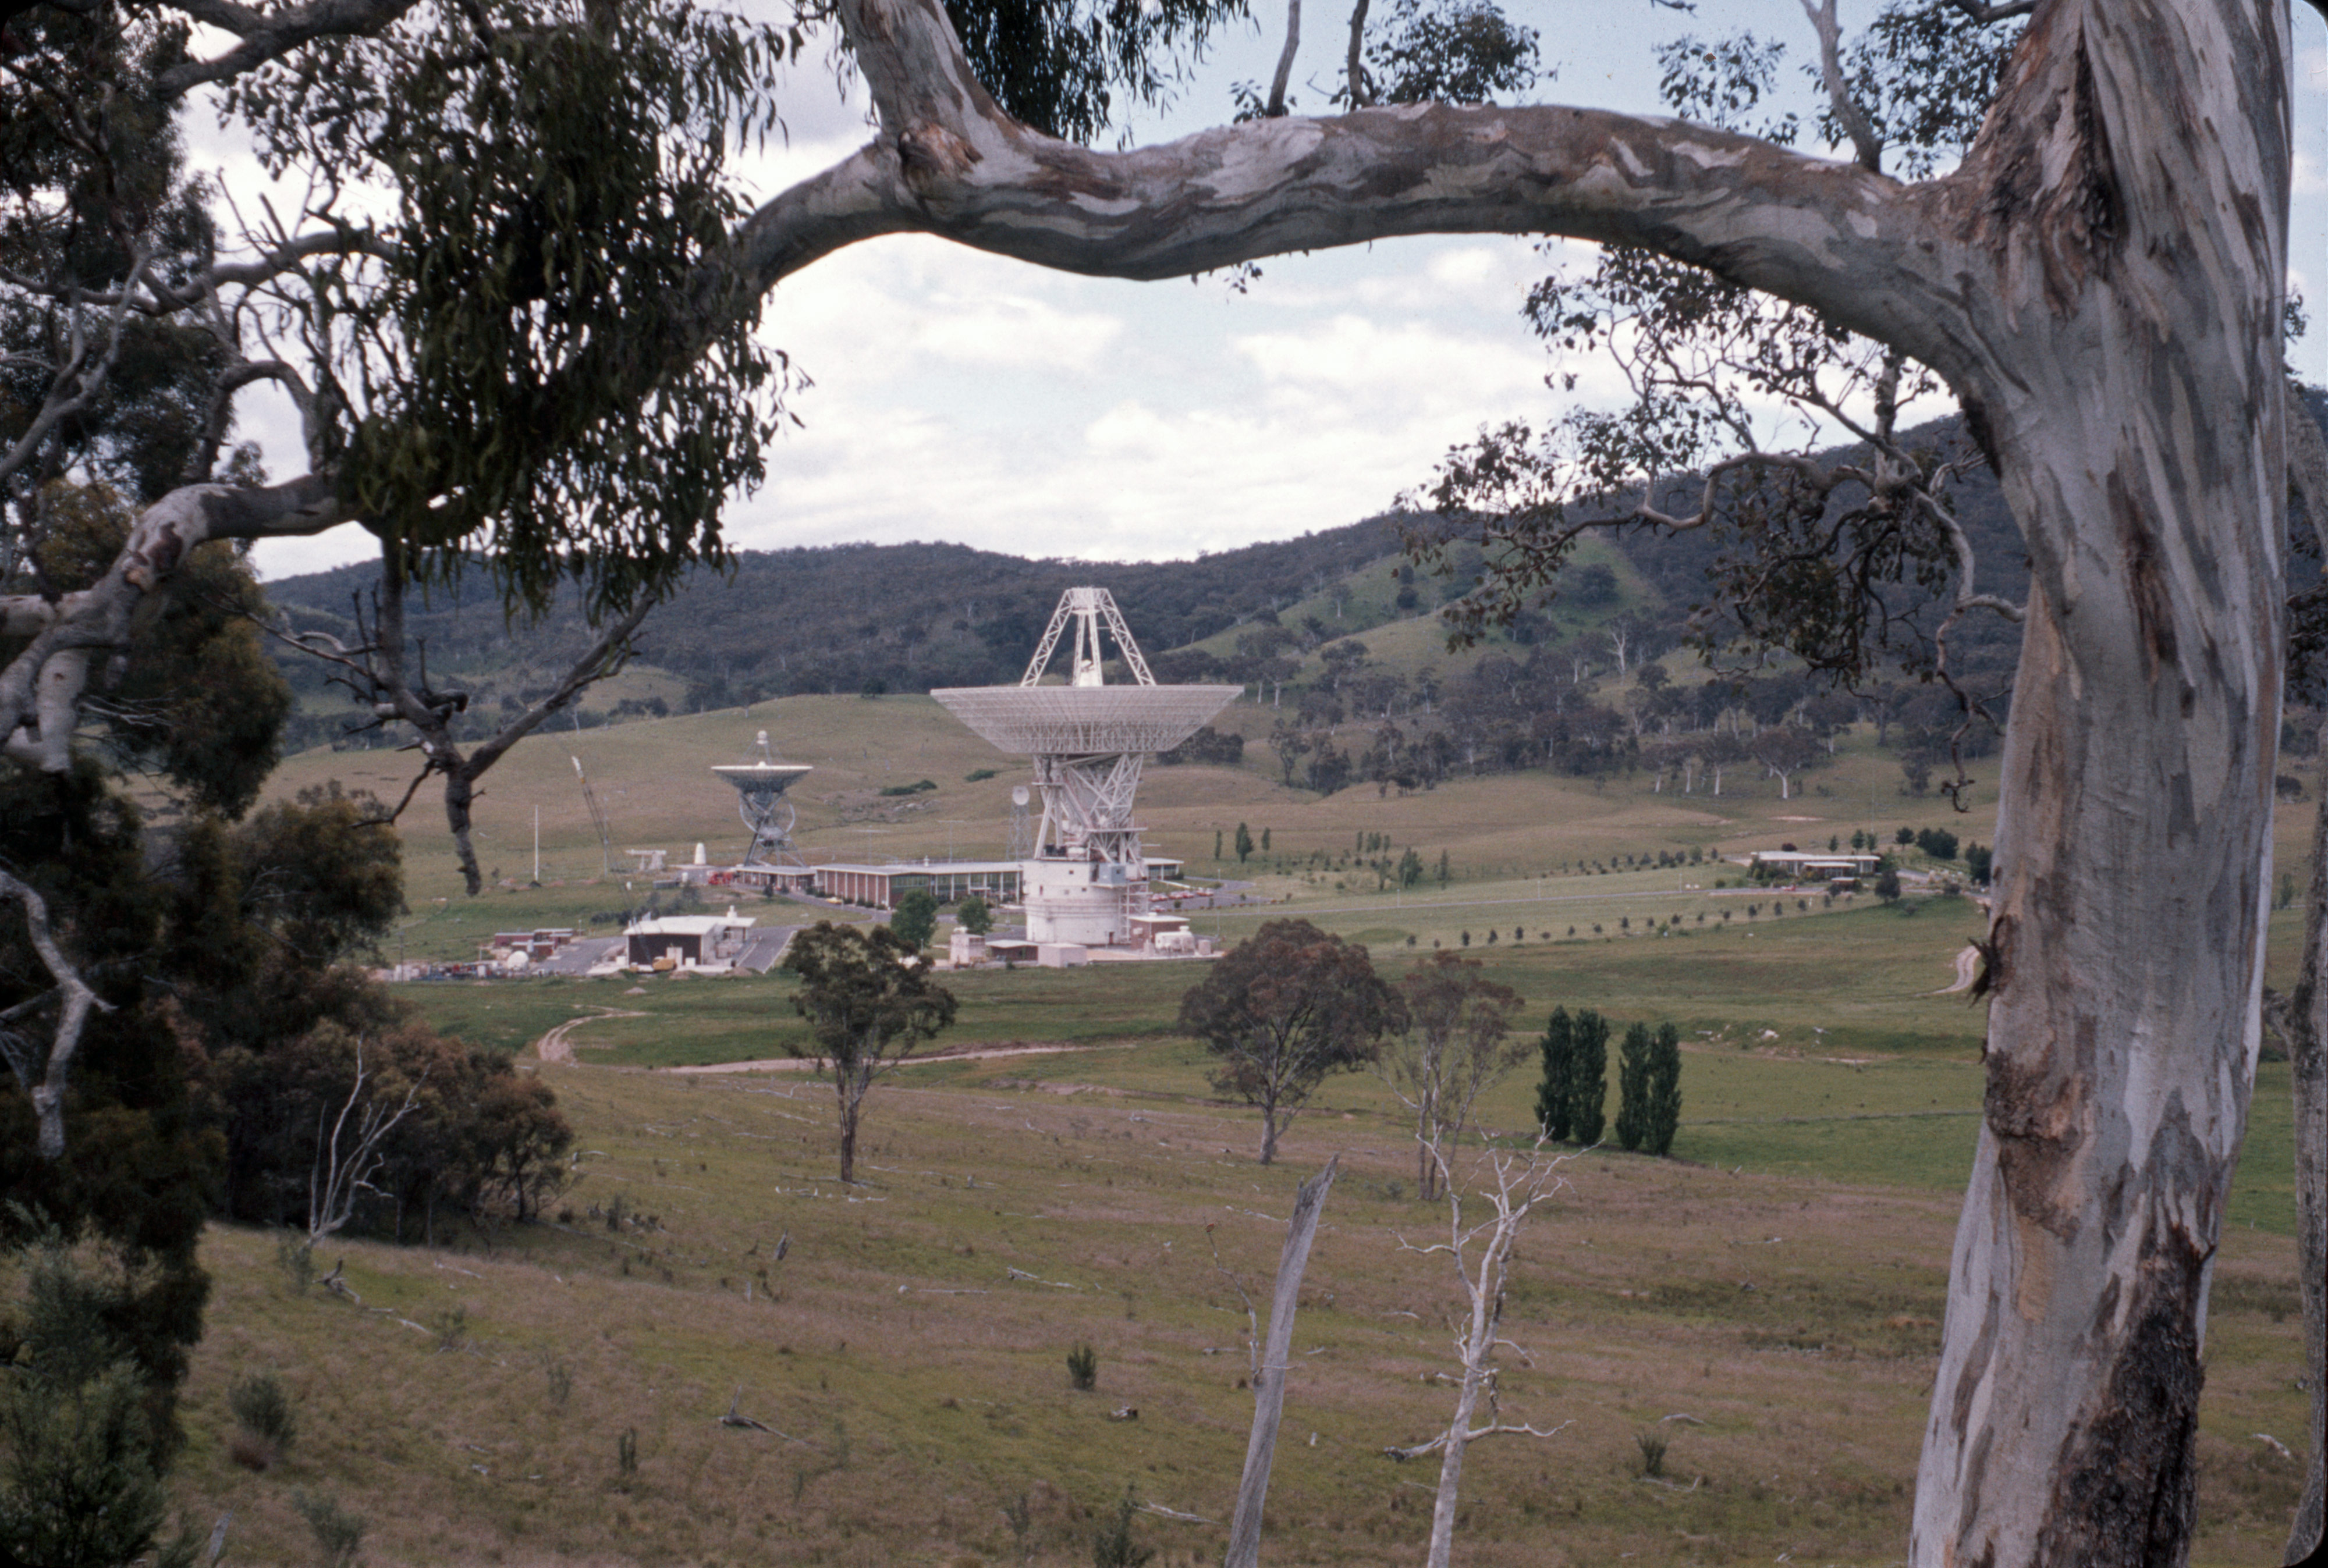
DSS-43 – and DSS-42 at left – from the southern end of Larry’s Hill. 4x5 inch negative by Hamish Lindsay, 2023 scan by Colin Mackellar. |
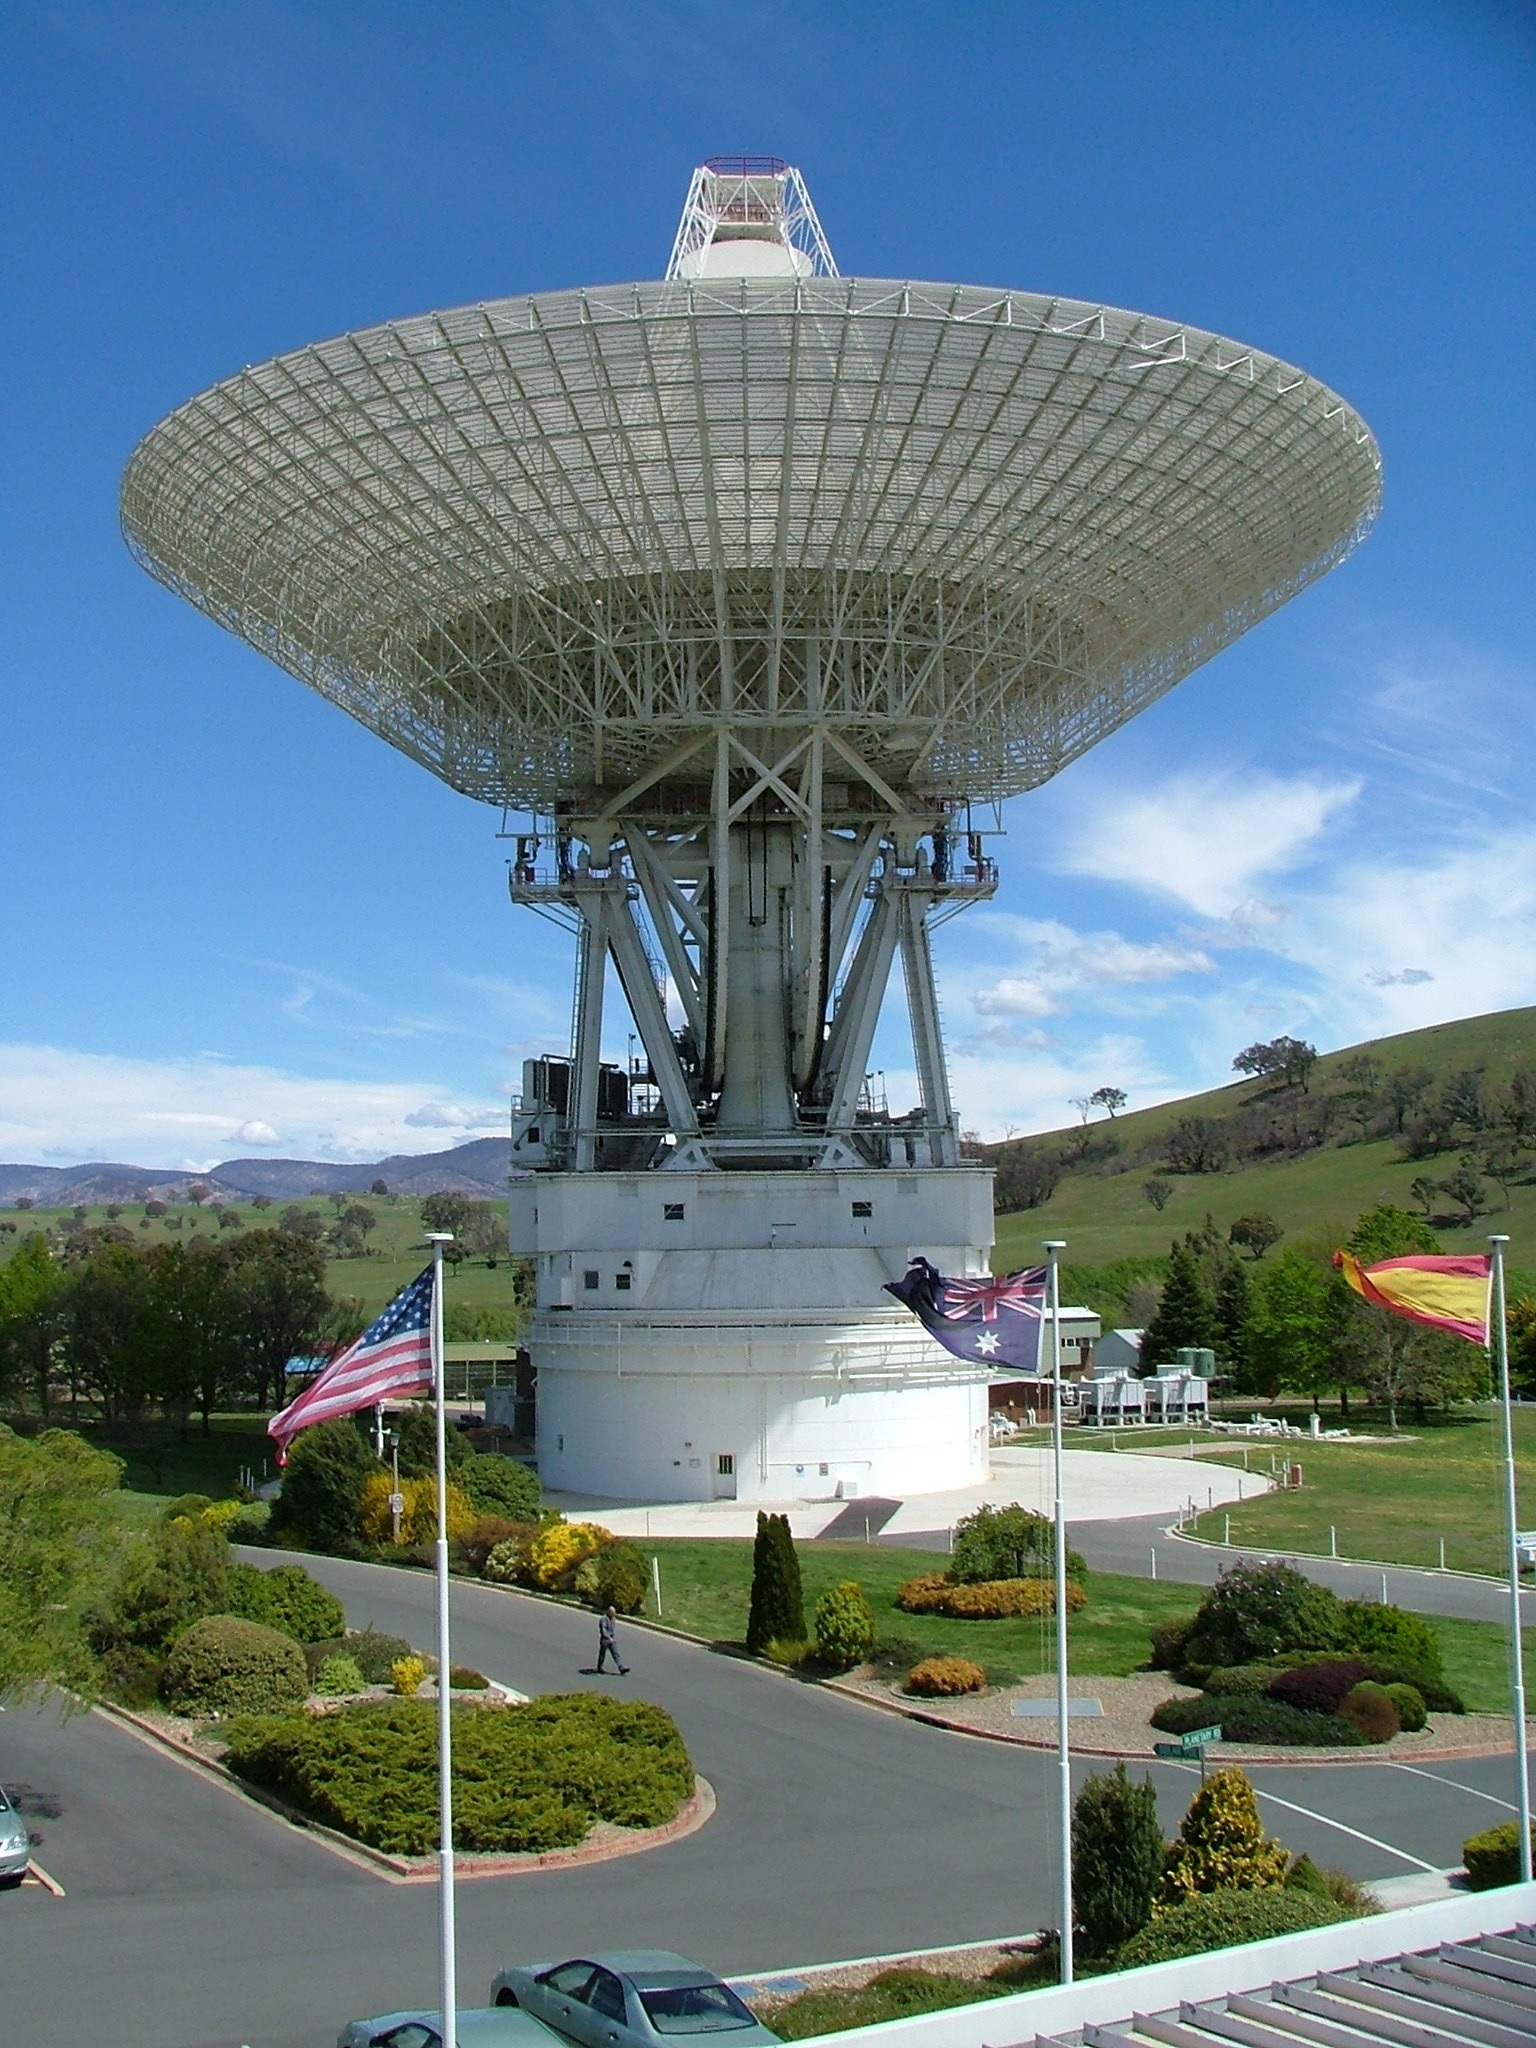 |
DSS-43 towers above Tidbinbilla. Photo courtesy Tony Pelling. |
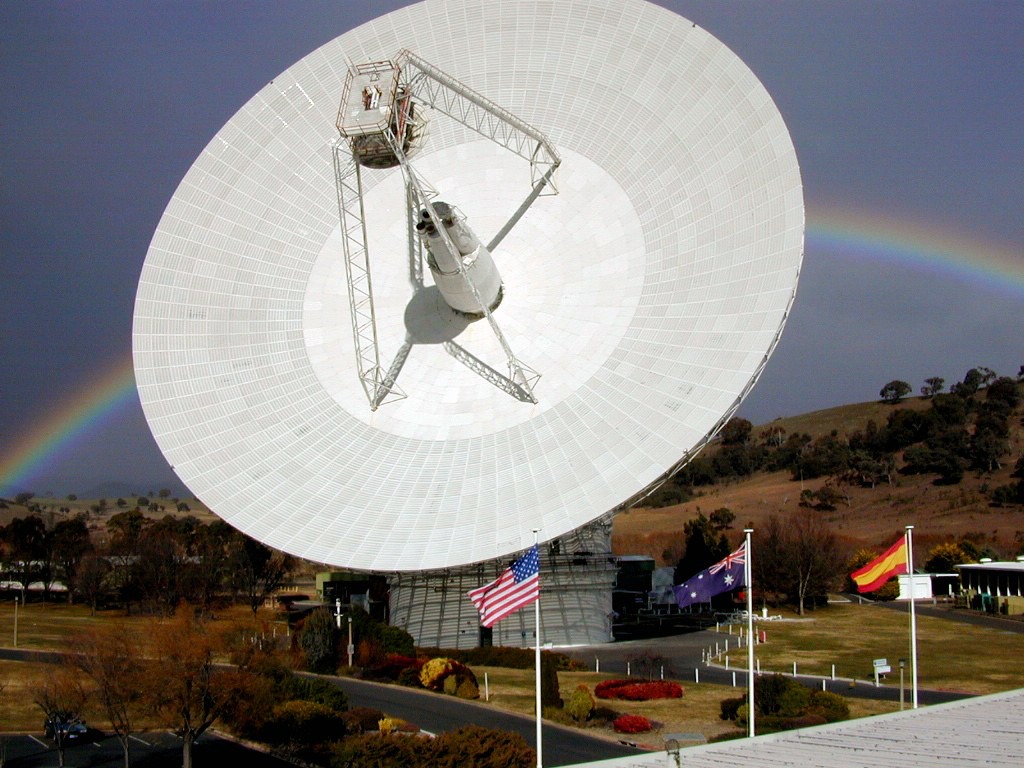 |
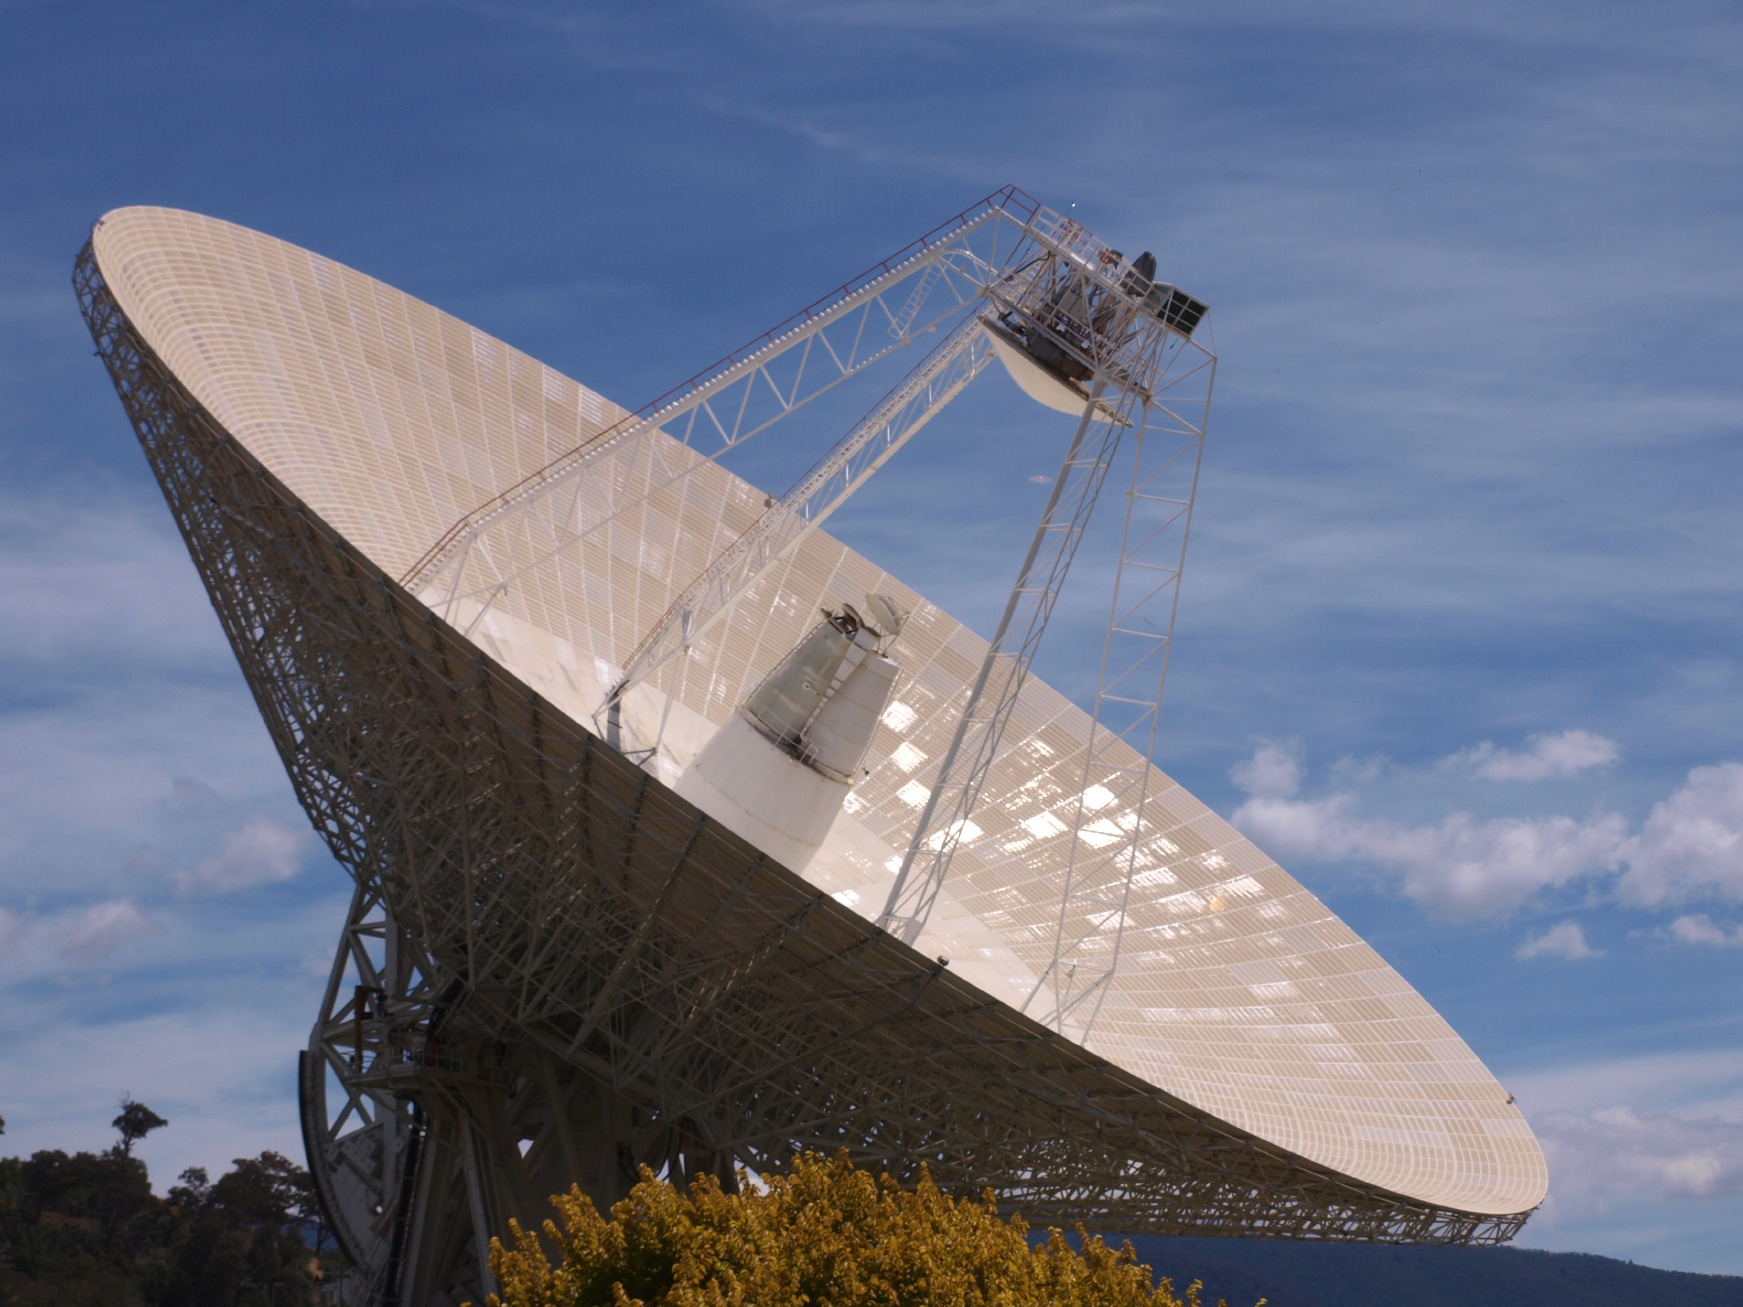
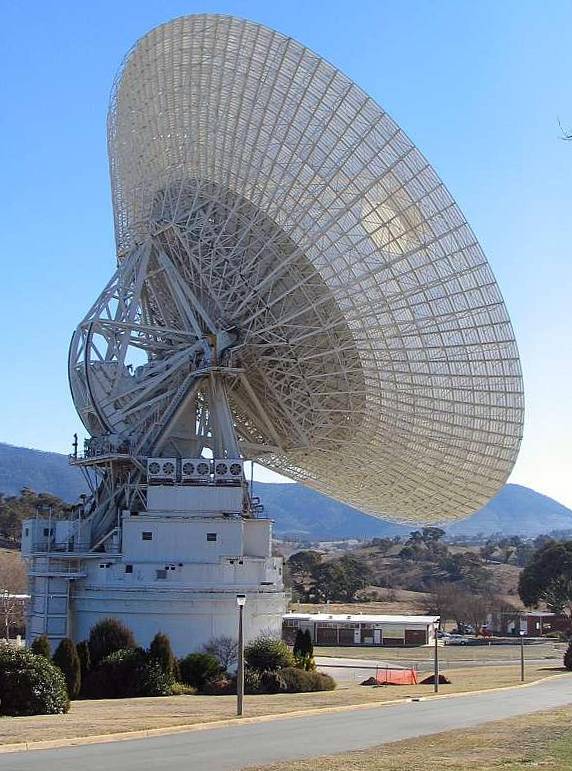
DSS-43. Photo courtesy Tony Pelling. |
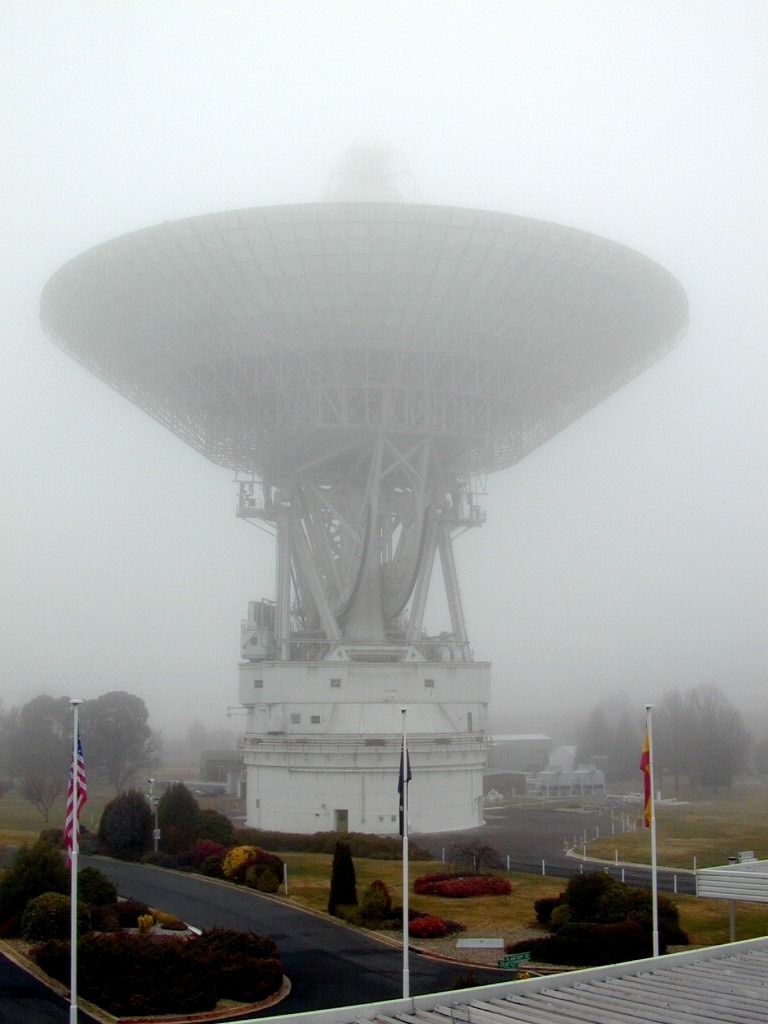 |
DSS-43 in fog. Photo courtesy Tony Pelling. |
 |
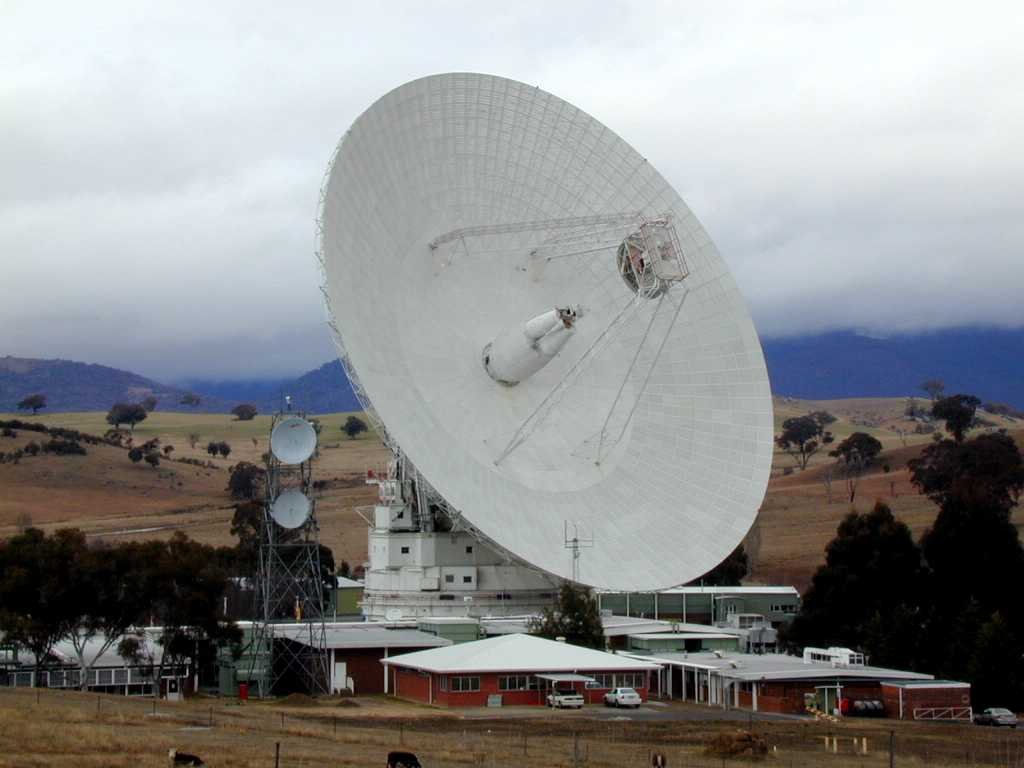
Looking down on the Operations and Engineering building from the Apex of DSS-43. The 34 metre DSS-34 is at the top of the picture. Photo courtesy Tony Pelling. Panorama assembled by Colin Mackellar. |
 |
DSS-43 as seen from DSS 34. Photo courtesy Tony Pelling. |
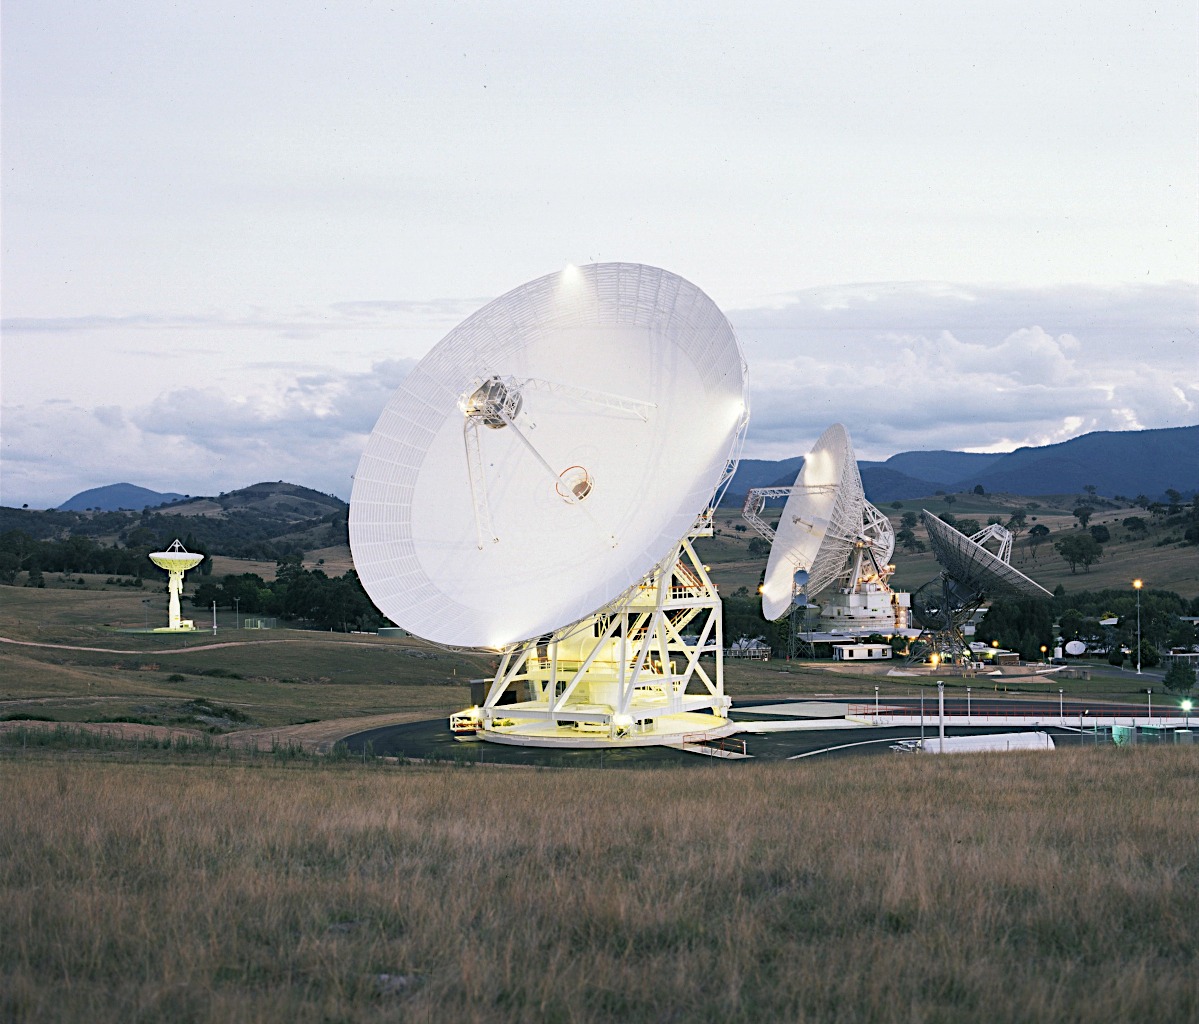 |
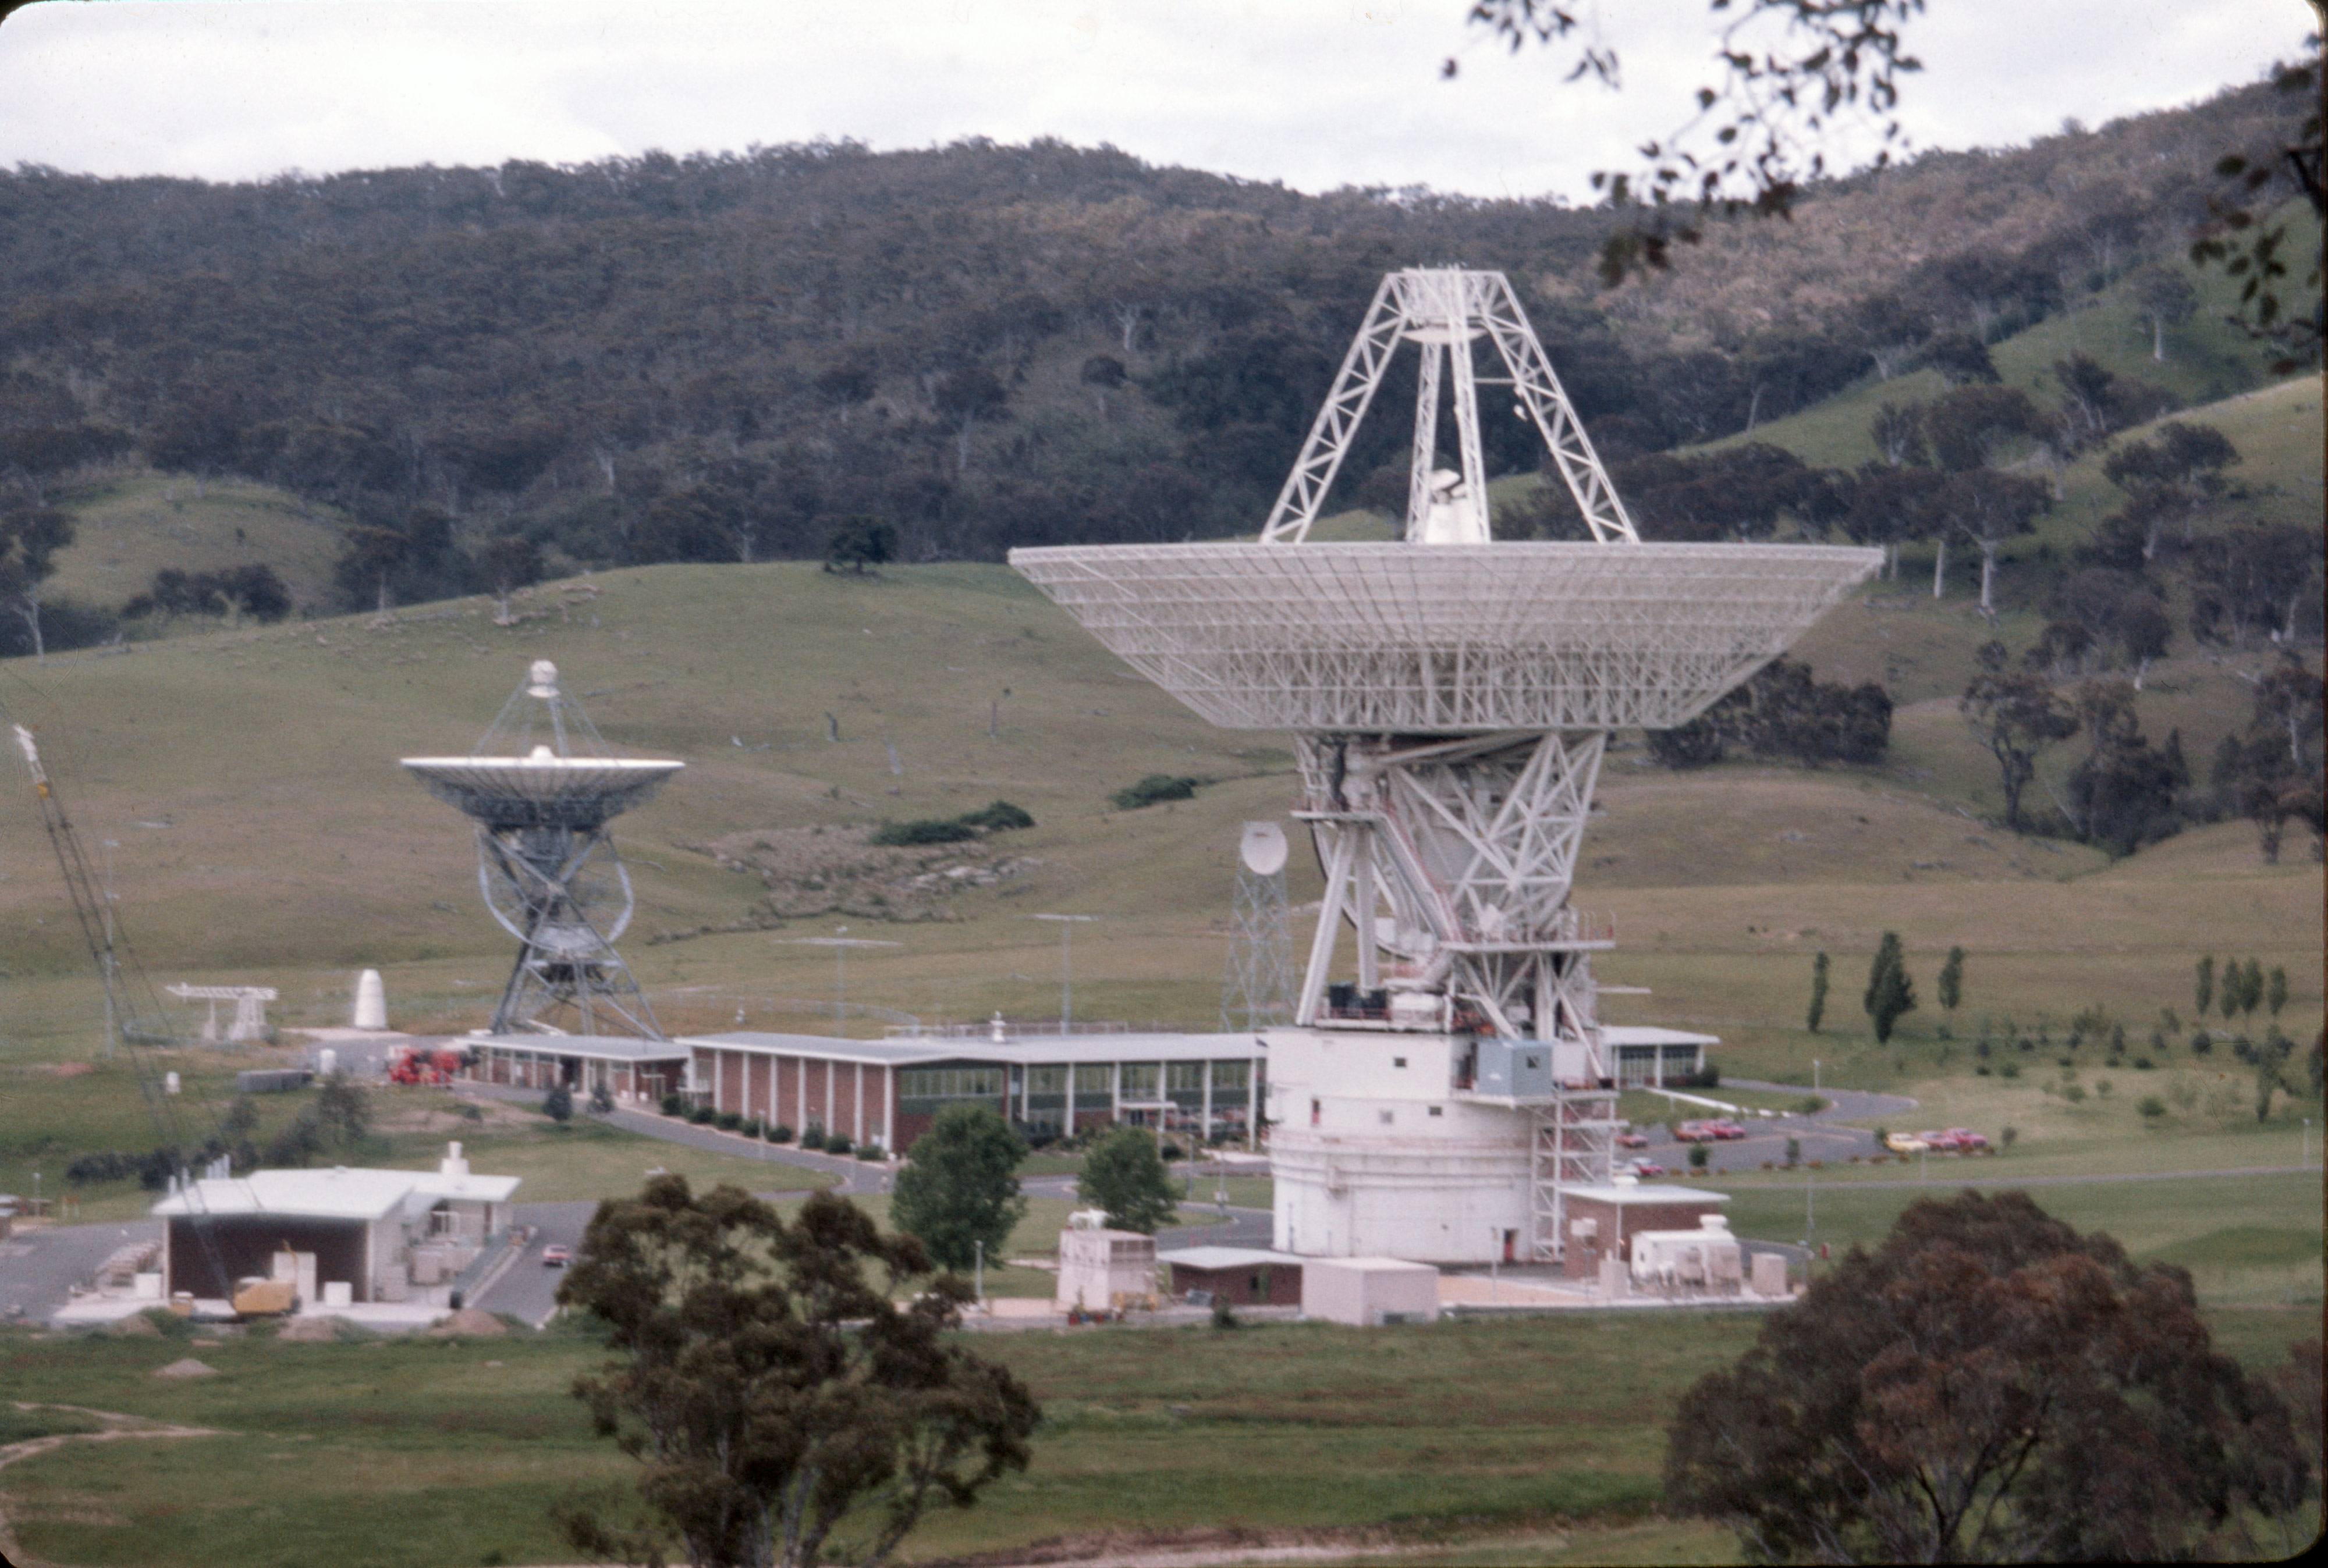
From left to right: DSS-33 (decommissioned in 2002 and moved to Norway in 2009), DSS-34 (foreground), the 250 foot DSS-43, Photo courtesy Tony Pelling. |
 |
The Tidbinbilla Complex as seen from the Coll. Tower, June 2003. Photo courtesy Tony Pelling. |
 |
The Tidbinbilla Complex as seen from the Collimation Tower. Photo courtesy Tony Pelling. |
 |
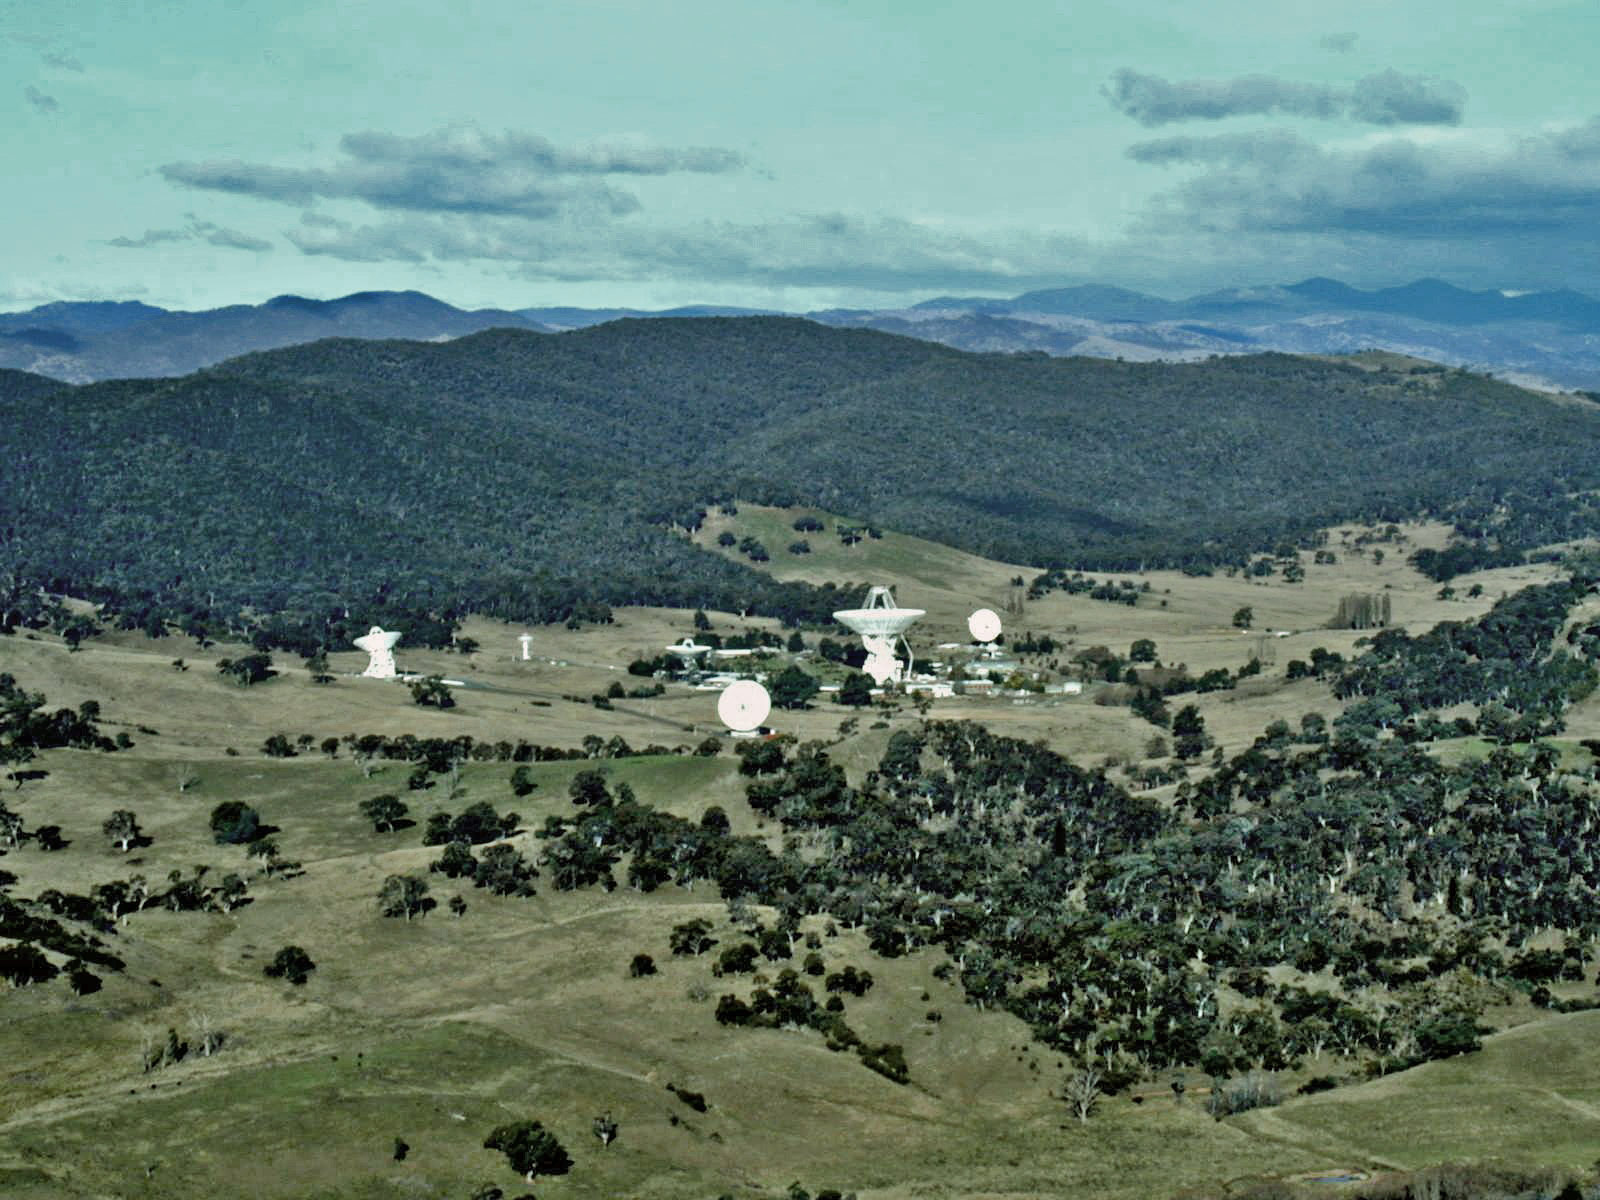
The Tidbinbilla Complex as seen from the ridge to the NE of the station. Photo courtesy Tony Pelling. |
 |
DSS-43 – as seen from the Visitors Centre, February 2012. Photo: Colin Mackellar. |
 |
DSS-43. Photo: Bill Wood, July 2004. |
 |
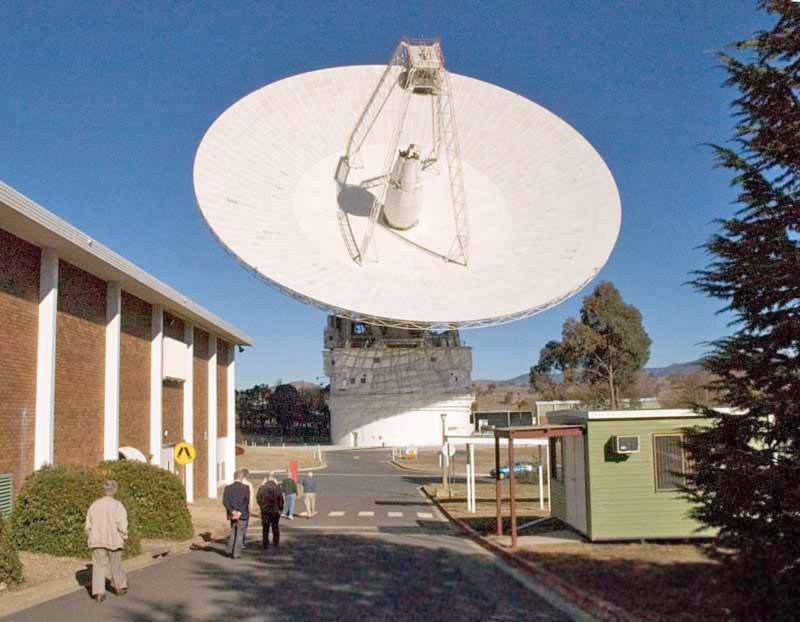
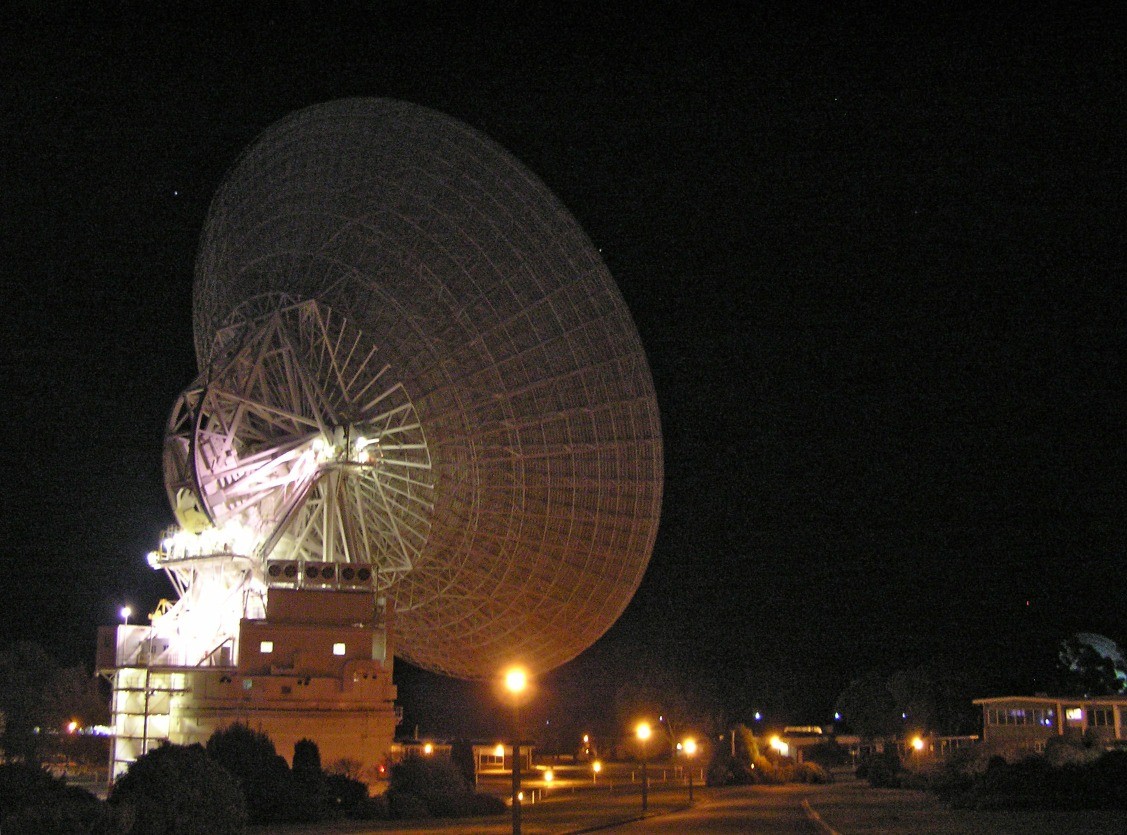
DSS-43. Photo courtesy Tony Pelling. |
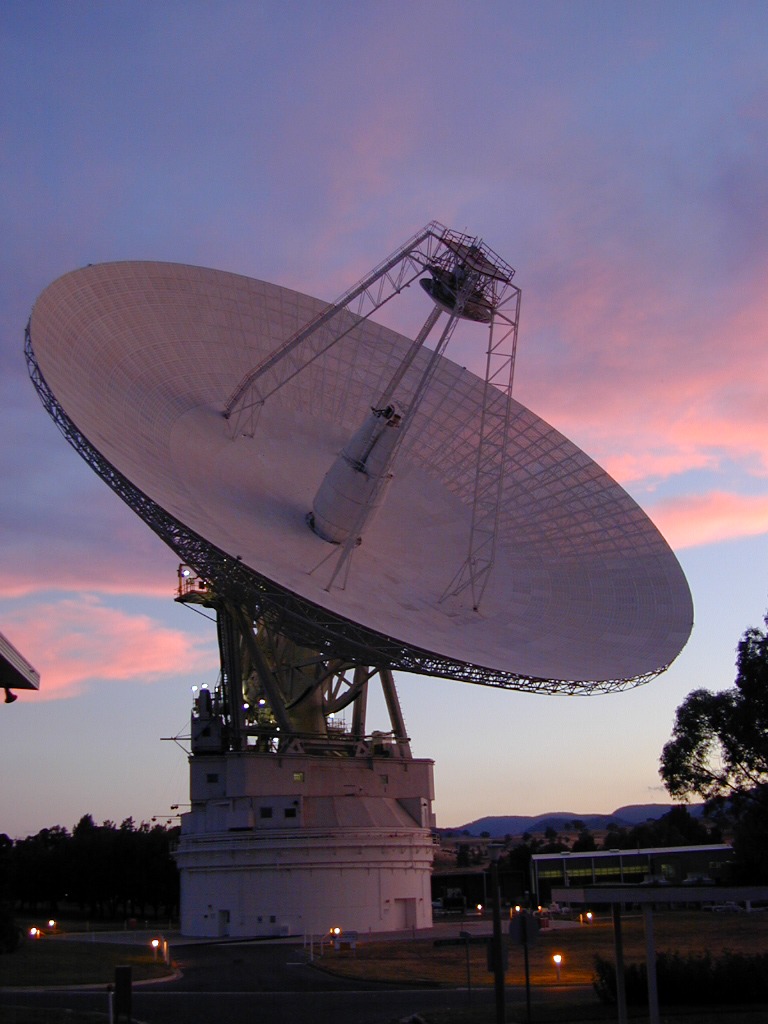 |
DSS-43 at sunset. Photo courtesy Tony Pelling. |
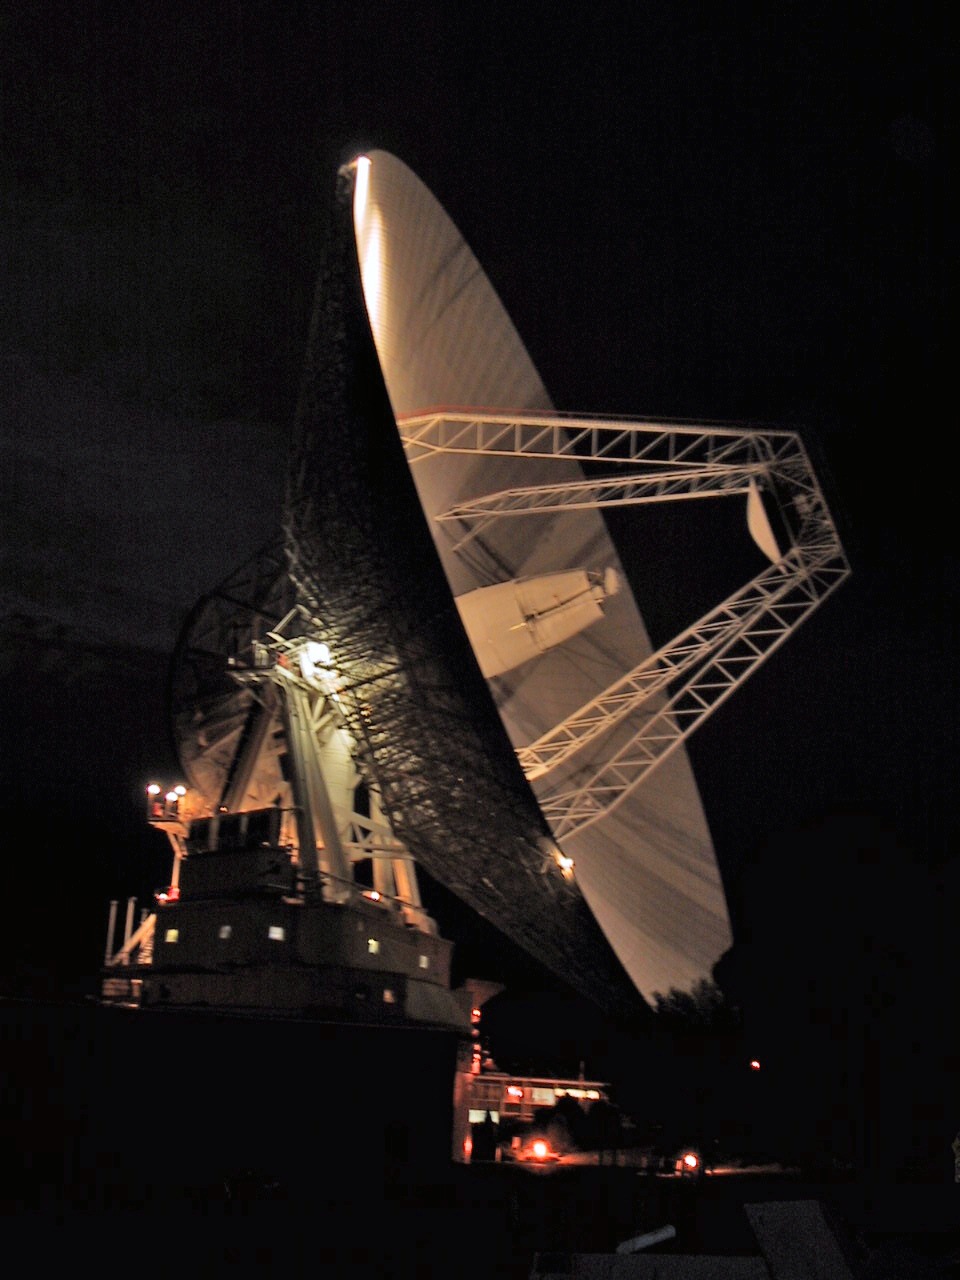 |
DSS-43 at night. Photo courtesy Tony Pelling. |
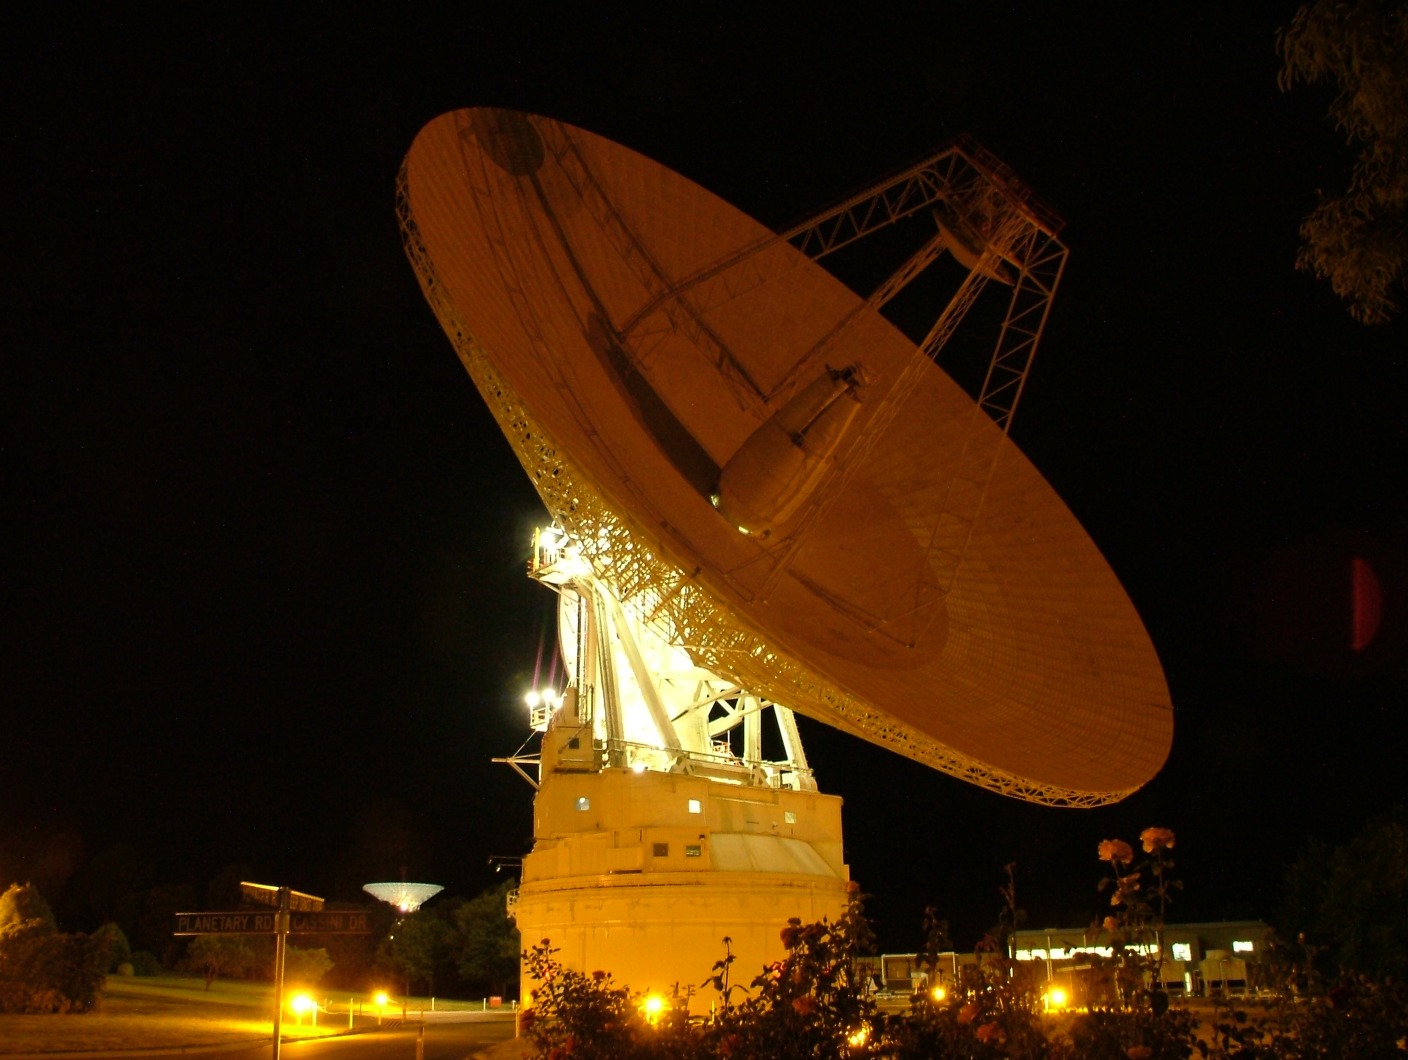 |
DSS-43 January 2004. |
 |
DSS-43 tracking the Phoenix lander as it approaches Mars. Photo: Colin Mackellar, 12 May 2008. |
 |
 |
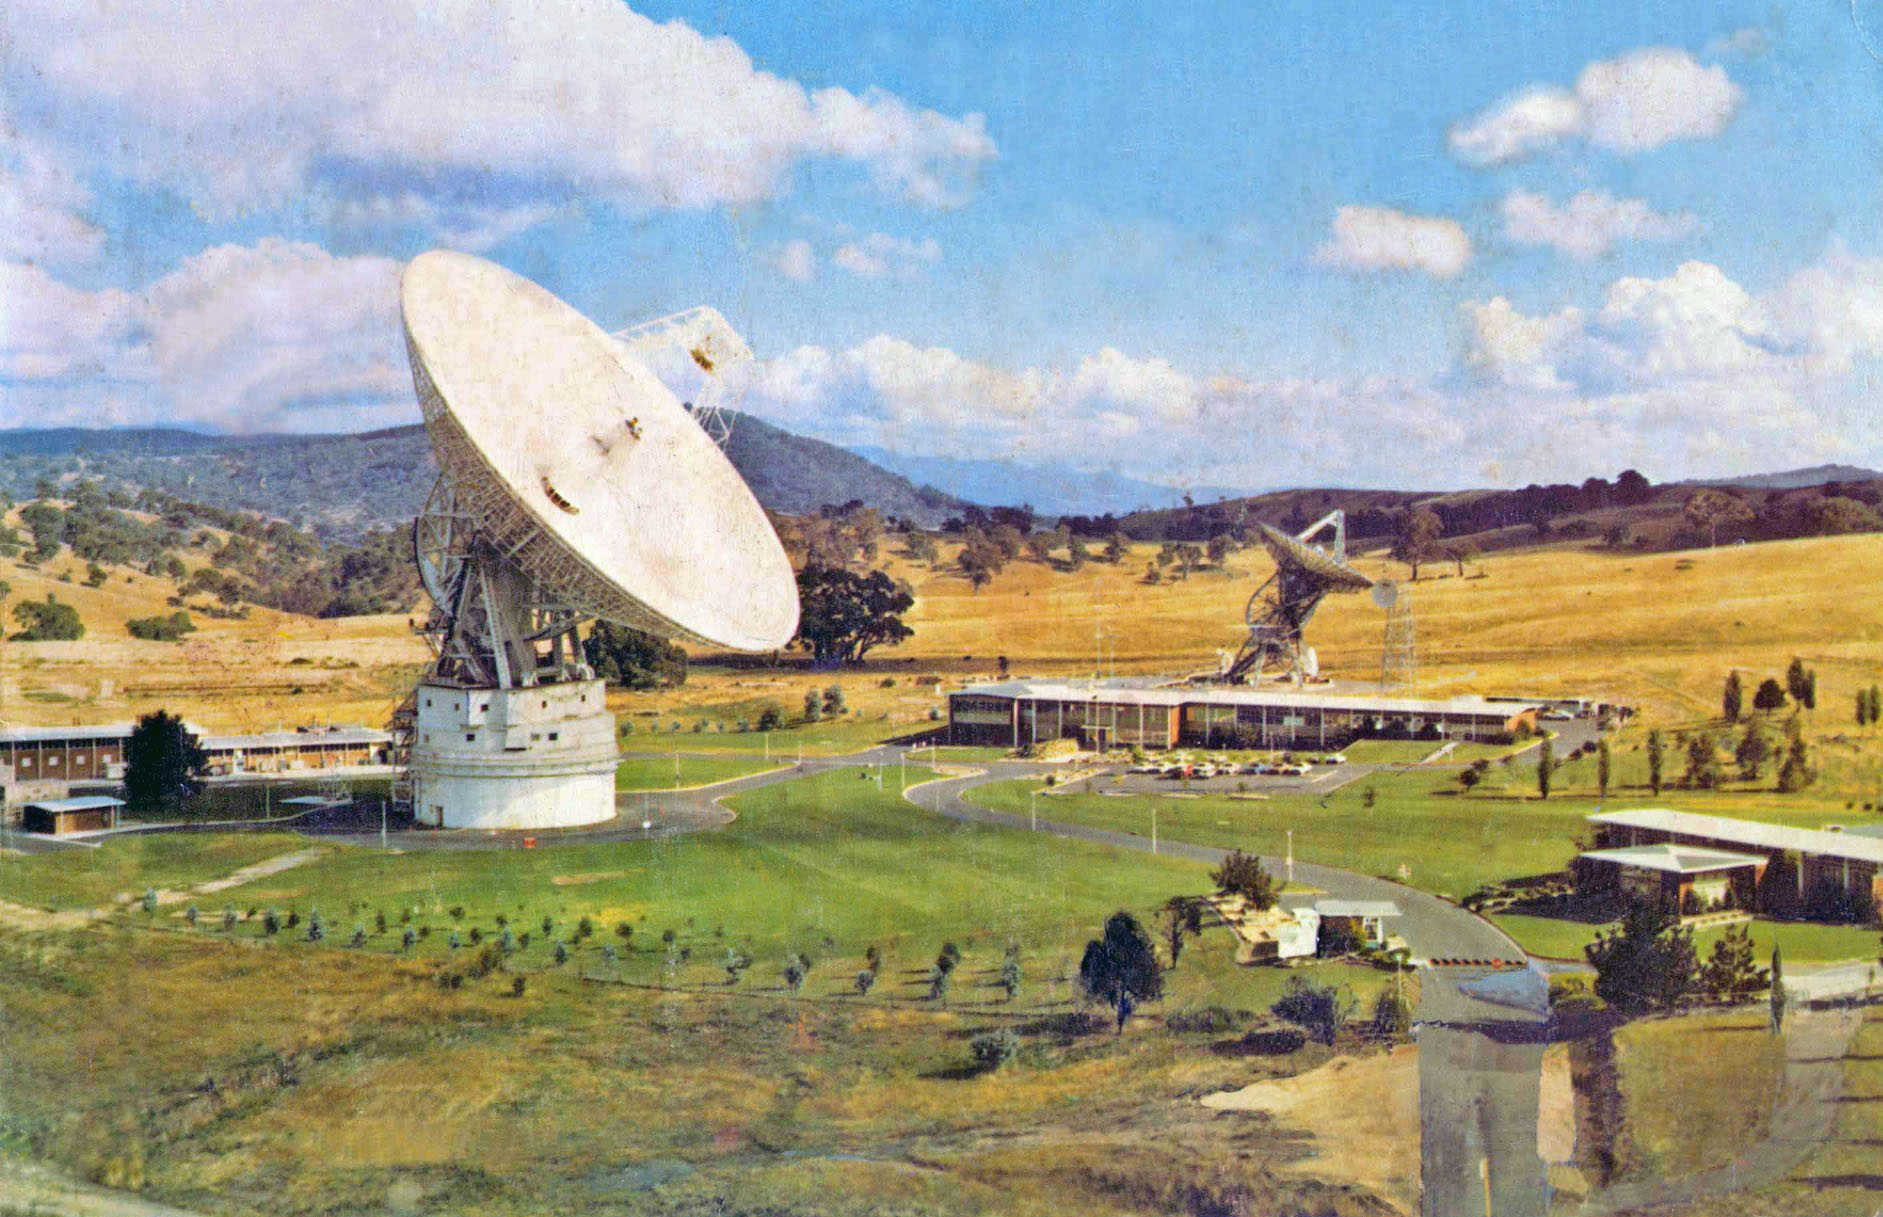
DSS-43 in the foreground, and DSS-42, from the base of Larry’s Hill, December 1975. Transparency by Hamish Lindsay, scan by Colin Mackellar. |
 |
DSS-43 in the foreground, and DSS-42, from the base of Larry’s Hill, December 1975. Transparency by Hamish Lindsay, scan by Colin Mackellar. |
 |
DSS-43 in December 1975. Transparency by Hamish Lindsay, scan by Colin Mackellar. |
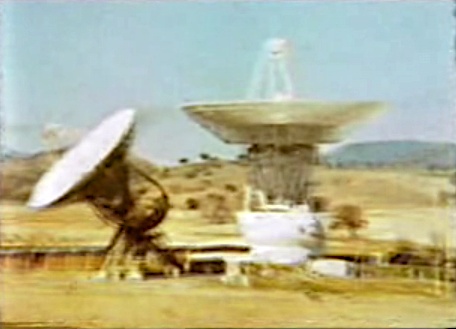 |
In the early 1980s, DSS-42 (left) and 43 featured (for about 2 seconds) in the Australian Broadcasting Commission’s nightly playing of the national anthem at the close of transmission. |
 |
 |
|
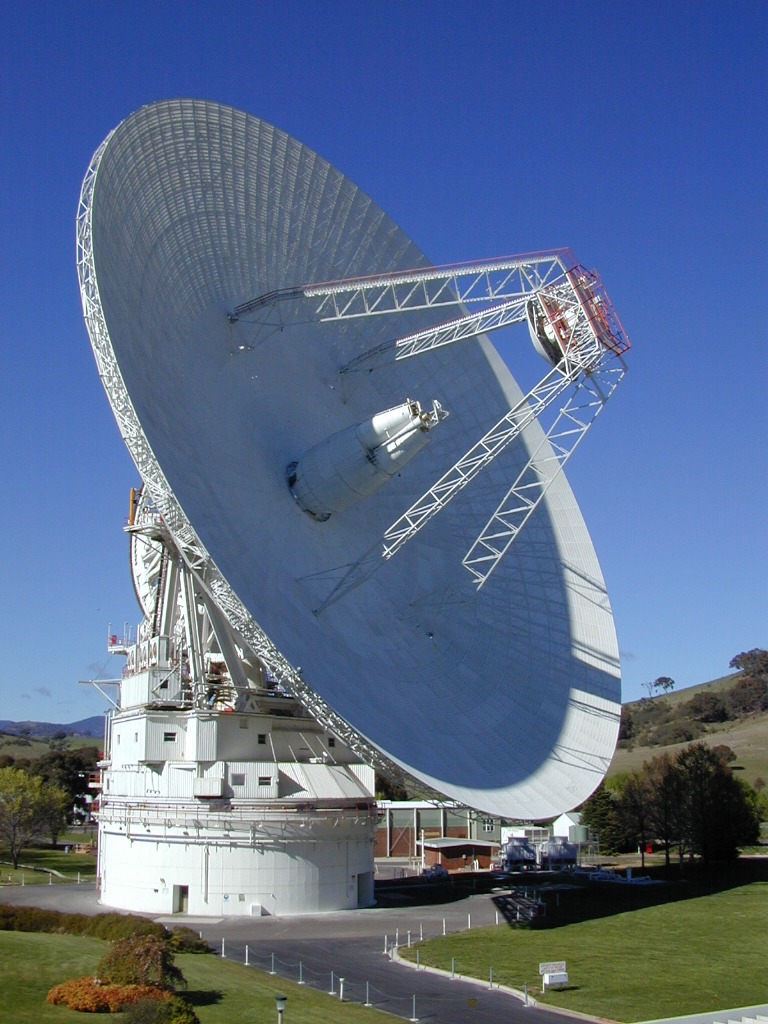
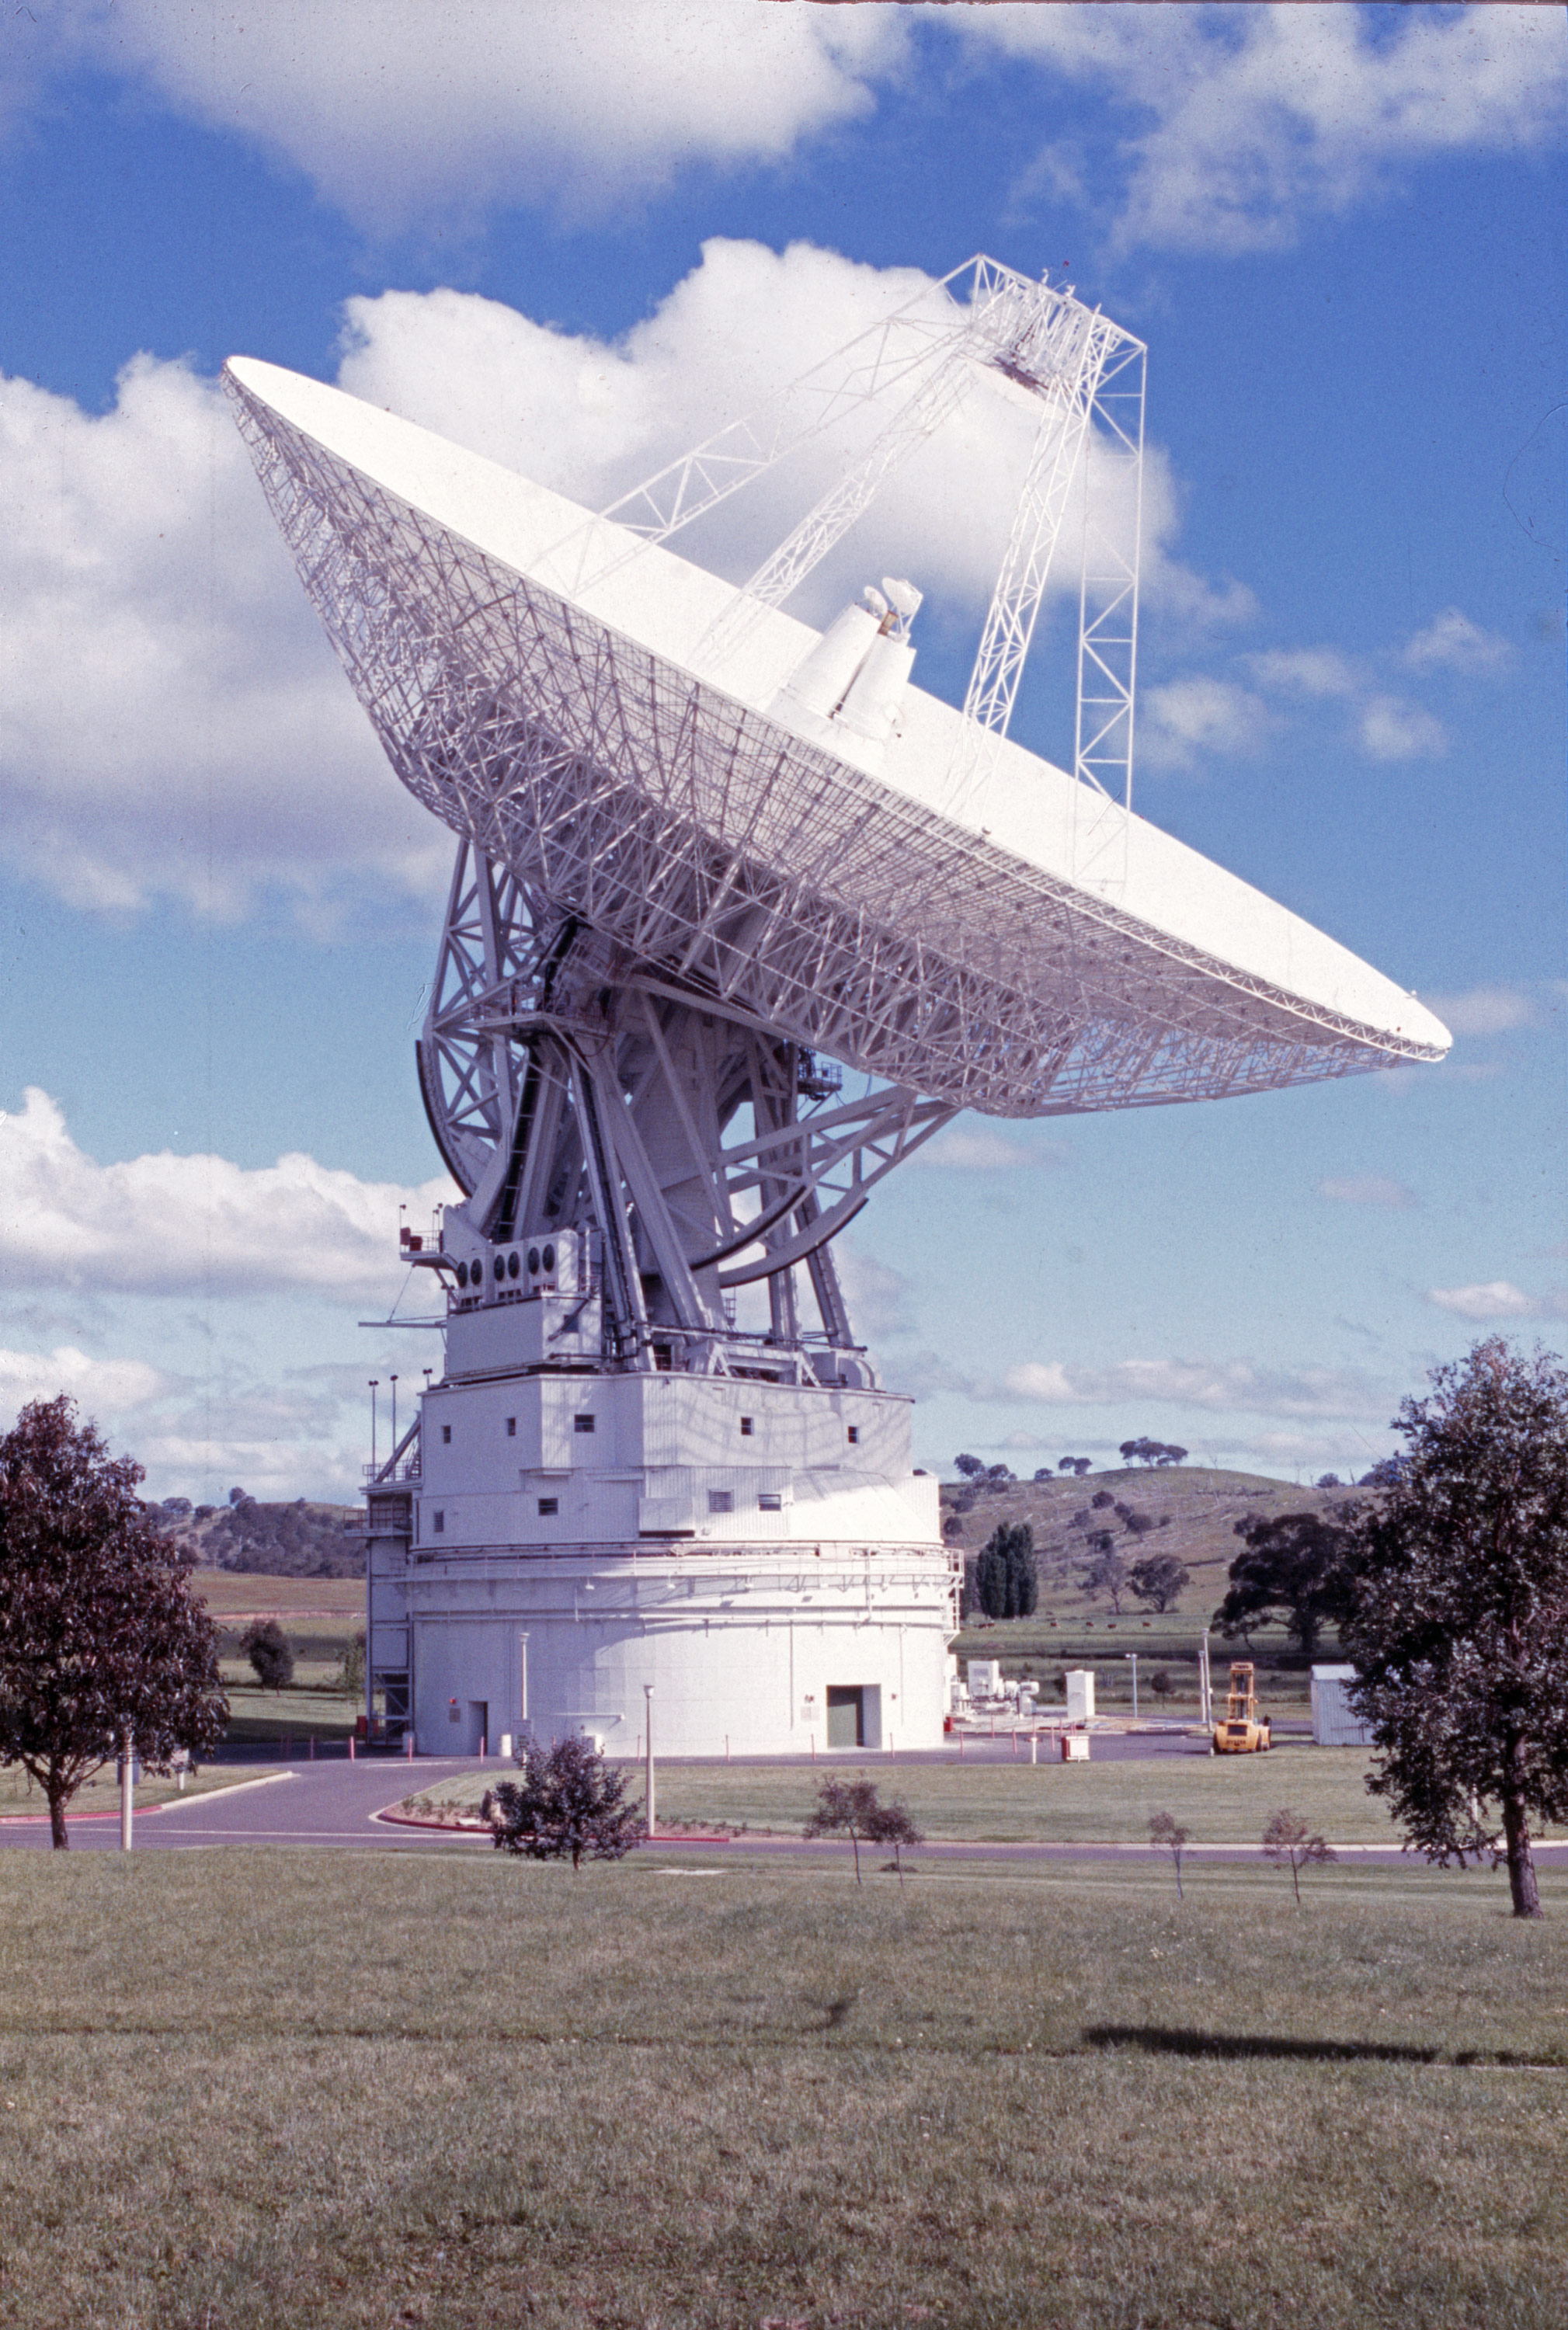
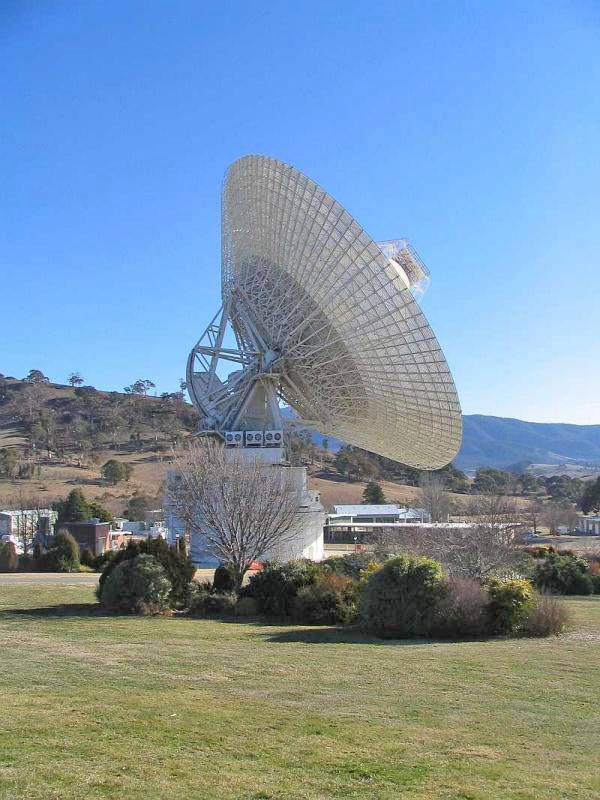
DSS-43 today – now a magnificent 70 metre antenna. Photo: John Saxon, July 2004. |
|